English - 15
Adding / Locking Channels
Using the Channel Manager, you can conveniently lock or add
channels.
1
Press the
MENU
button to display the menu.
2
Press the ▲ or ▼ button to select
Channel
, then press the
ENTER
button.
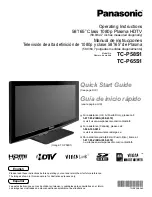
3
Press the ▲ or ▼ button to select
Channel Manager
, then
press the
ENTER
button.
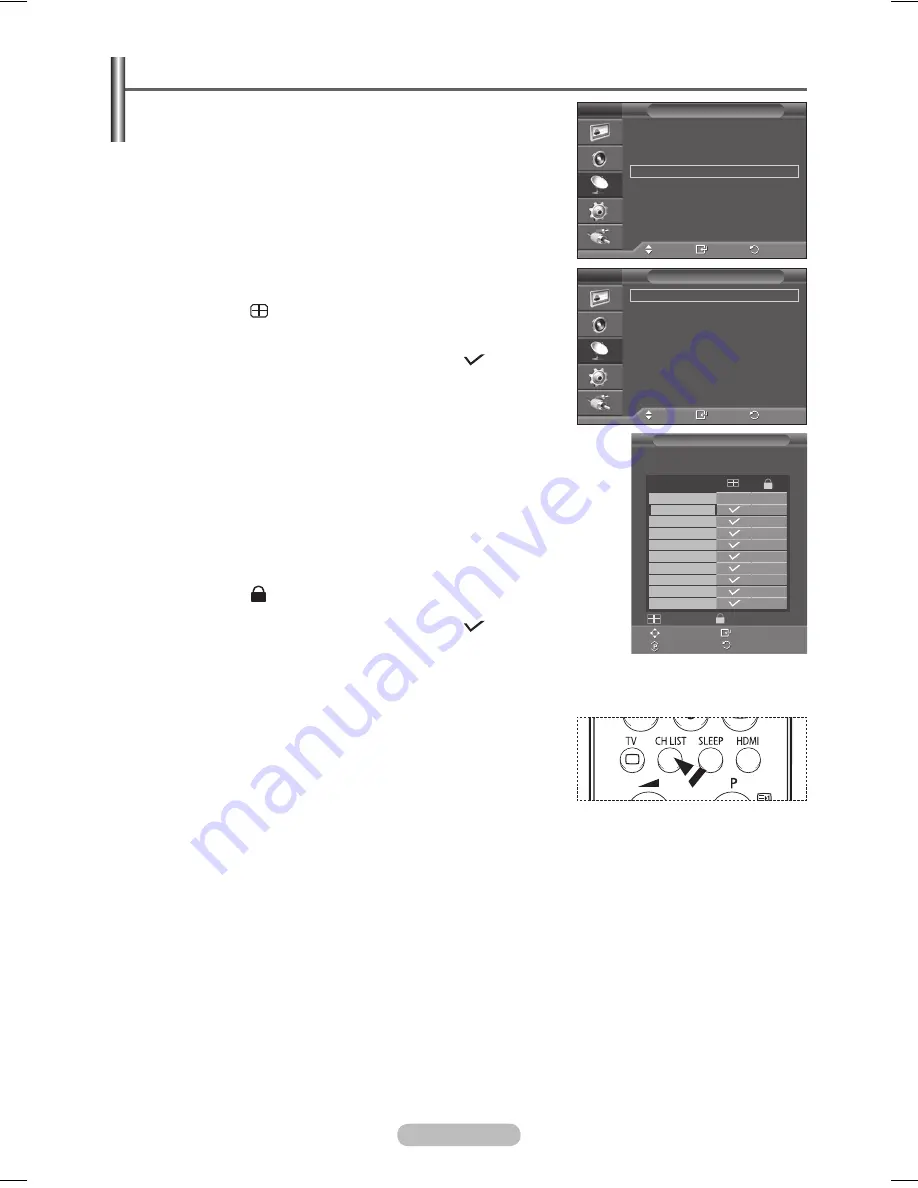
Adding channels
Using the Channel List, you can add channels.
4
Select
Channel List
by pressing the
ENTER
button.
5
Move to the ( ) field by pressing the ▲/▼/◄/► buttons,
select a channel to be added, and press the
ENTER
button to
add the channel.
➢
If you press the
ENTER
button again, the ( ) symbol next
to the channel disappears and the channel is not added.
Locking channels
This feature allows you to prevent unauthorized users, such as
children, from watching unsuitable programmes by muting out
video and audio.
6
Press the ▲ or ▼ button to select
Child Lock
, then press the
ENTER
button.
7
Select
On
by pressing the ▲ or ▼ button, then press the
ENTER
button.
8
Press the ▲ or ▼ button to select
Channel List
, then press the
ENTER
button.
9
Move to the ( ) field by pressing the ▲/▼/◄/► buttons, select a
channel to be locked, and press the
ENTER
button.
➢
If you press the
ENTER
button again, the ( ) symbol next to the
channel disappears and the channel lock is canceled.
➢
A blue screen is displayed when Child Lock is activated.
10
Press the
EXIT
button to exit.
➢
You can select these options simply by pressing the
CH LIST
button on the remote control.
Move
Enter
Return
Country
:
Belgium
Auto Store
Manual Store
Channel Manager
Sort
Name
Fine Tune
Channel
T V
Move
Enter
Return
Channel List
Child Lock
:
Off
Channel Manager
T V
Channel List
P 1 C 6
1 / 10
▲
▼
Prog.
0 C 1
1 C 6
2 C 5
3 C 8
4 C 11
5 C 22
6 C 26
7 C 36
8 C 52
9 C 24
Add
Lock
Move
Enter
Page
Return
BN68-01294E-00Eng(´Üº»).indd 15
2007-07-19 ¿ÀÀü 10:04:55