© SAMSUNG Electronics Co., Ltd.
25
4.
PC Connection:
Connect the LAN port of the PC to the LAN port of the OfficeServ SOHO by using a
LAN cable.(RJ-45).
5.
LAN Connection:
Connect the LAN port of the external modem to the WAN port of the OfficeServ
SOHO by using a LAN cable.(This is not applicable to an internal ADSL modem.)
6.
Power Connection:
Connect the power port of the OfficeServ SOHO to the power outlet by using a
power adapter for +5 V.
After installation, turn on the power of the external modem, OfficeServ SOHO, and PC(or
facsimile) in sequence.
Easy Installation of OfficeServ SOHO
Once the power of the OfficeServ SOHO is turned on, the green LEDs of the
[Internal Call]
and
[Mute]
buttons on the front panel of the OfficeServ SOHO blink in turns.
Within a short time, the loading screen and the
[EasyInstall]
screen will appear in sequence
on the LCD of the OfficeServ SOHO.
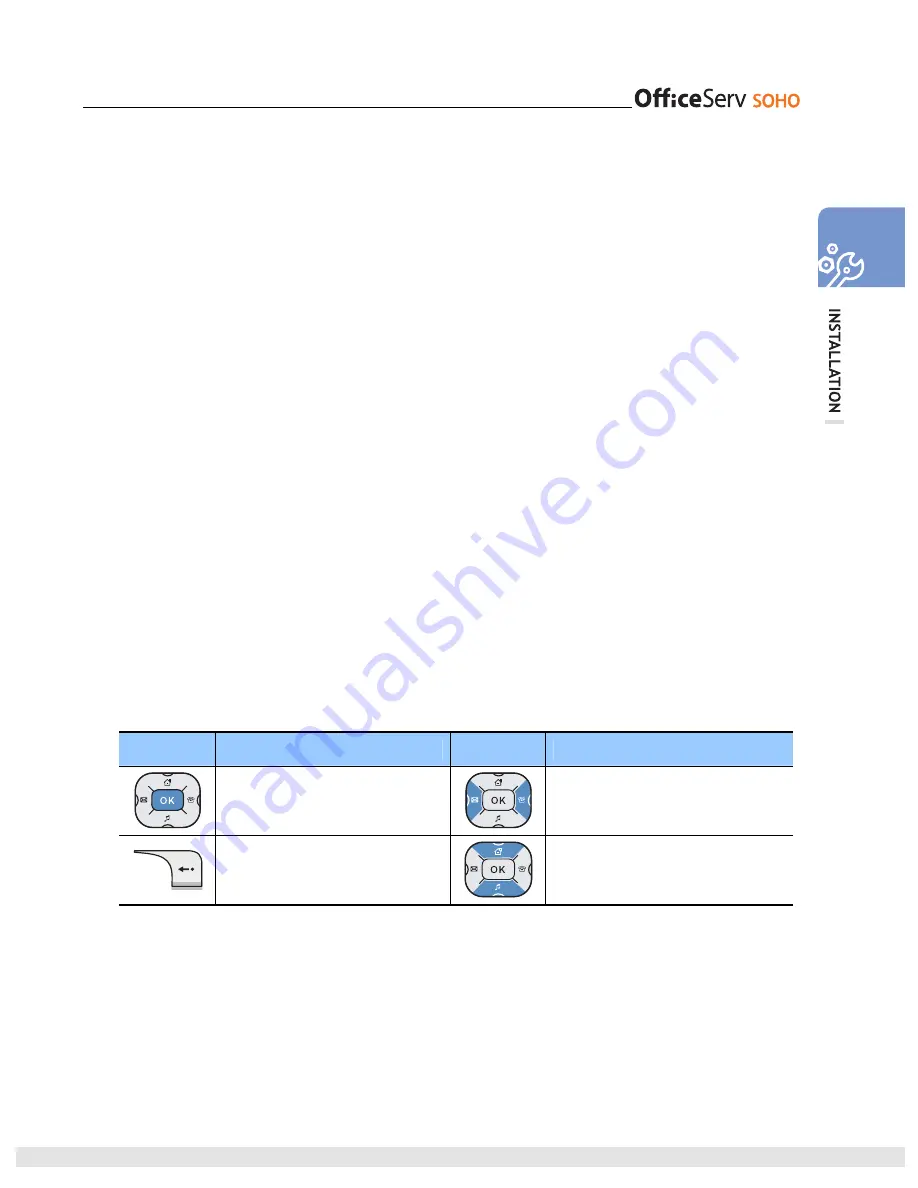
The use of the buttons for menu settings is described below:
Button
Description
Button
Description
The
[OK]
button is used after text is
entered or to set the menus.
The direction buttons are used to
move the cursor
left or right
or to
search the menus.
The
[Cancel]
button is used to delete
entries or to return to the previous
step.
The direction buttons are used to
move the cursor
up or down
.
Press the
[OK]
button to move to the next step after the menu settings or press the
[Cancel]
button to return to the previous step.
In case of problems with the Internet connection or with the registration of a WLAN phone,
please refer to the ‘Troubleshooting’ section in User Guide. The procedure for easy installation
of the OfficeServ SOHO is as follows:
Summary of Contents for OfficeServ SOHO
Page 1: ...User Guide ...


