34
DISASSEMBLY AND REASSEMBLY
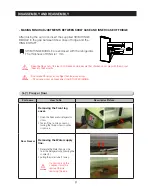
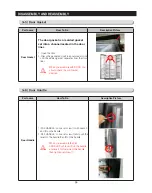
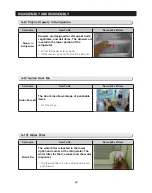
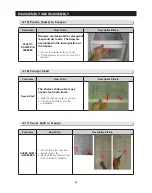
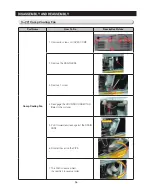
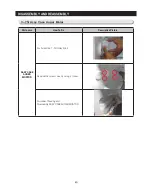
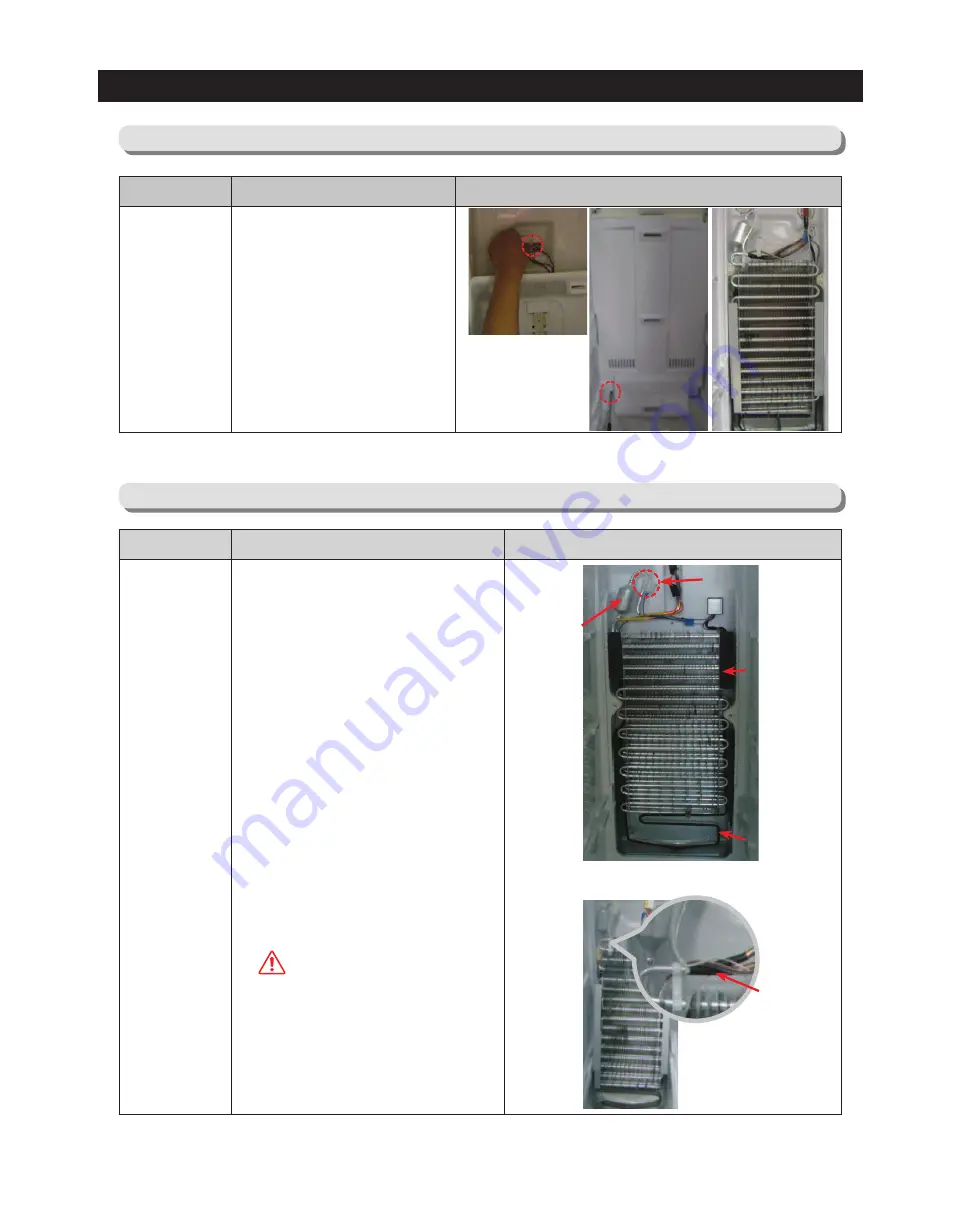
3-18) Evapoartor Cover In Freezer
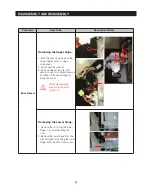
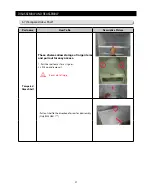
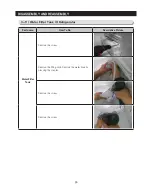
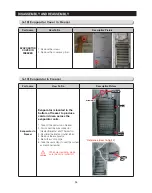
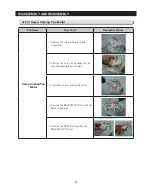
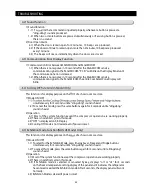
3-19) Evaporator In Freezer
Part name
How To Do
Descriptive Picture
EVAPOARTOR
COVER IN
FREEZER
1. Remove the screws.
2. Remove the cover-evap front.
Part name
How To Do
Descriptive Picture
Evaporator In
Freezer
Evaporator is located in the
bottom of freezer to produce
cold air driven across the
evaporator coils.
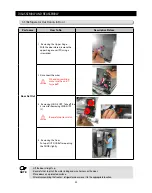
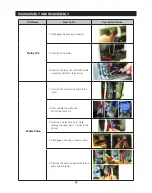
1. Take off the ductwork in Freezer.
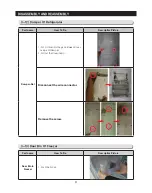
2. Disconnect the wire connector
(Heater, Bimental, and Thermistor).
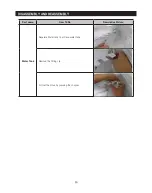
3. Desolder the inlet and outlet tubes.
5. Remove the evaporator.
4. Bend the suction pipe.
6. Take the same steps to seal the system
as mentioned earlier.
CAUTION
When diassembling, make
sure the unit is turned off
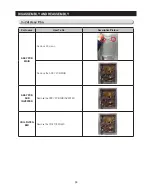
* Reference (How To Do #4)
Accumulator
Accumulator
Thermistor
Thermistor
Bimetal
Bimetal
Sheath
Sheath
Heater
Heater
suction
suction
pipe
pipe
Summary of Contents for LS3165H52HR
Page 52: ...54 TROUBLESHOOTING Diode Voltage of IPM ...
Page 69: ...72 PCB DIAGRAM 6 3 Connector Arrangement Main Board ...
Page 71: ...69 5 WIRING DIAGRAM ...
Page 72: ...74 7 1 Block Diagram 7 SCHEMATIC DIAGRAM ...
Page 73: ...75 SCHEMATIC DIAGRAM 7 2 Block Diagram INVERTER PBA DC 13 2V 5V ...
Page 76: ...EXPLODED VIEW 1 FREEZER ...
Page 78: ...15 EXPLODED VIEW 2 FRIDGE 16 ...
Page 83: ...1 7 1 8 4 5 7 3 8 2 8 3 11 10 12 EXPLODED VIEW 4 DOOR FRE 4 6 9 3 13 ...
Page 85: ...3 4 5 1 3 2 2 3 3 3 4 3 4 1 3 1 6 EXPLODED VIEW 5 DOOR REF IN ...
Page 87: ...3 3 1 2 1 1 1 4 1 5 1 6 1 7 4 EXPLODED VIEW 6 DOOR REF OUT 1 ...

