


English - 8
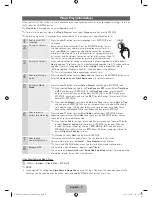
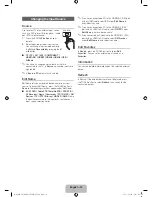
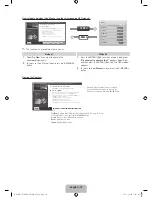
How to Navigate Menus
Before using the TV, follow the steps below to learn how to
navigate the menu and select and adjust different functions.
1
MENU
button: Displays the main on-screen menu.
2
ENTER
E
/ Direction button: Move the cursor and
select an item. Confirm the setting.
3
RETURN
button: Returns to the previous menu.
4
EXIT
button: Exits the on-screen menu.
How to Operate the OSD (On Screen Display)
The access steps may differ depending on the selected
menu.
1
MENU
The main menu options appear on
the screen:
Picture, Sound, Channel,
Network, System, Support
.
2
▲
/
▼
Select an icon or option with the
▲
or
▼
button.
3
ENTER
E
Press
ENTER
E
to access the
sub-menus.
4
▲
/
▼
Select the desired submenu with
the
▲
or
▼
button.
5
◄
/
►
Adjust the value of an item with the
◄
or
►
button. The adjustment in
the OSD may differ depending on
the selected menu.
6
ENTER
E
Press
ENTER
E
to confirm the
selection.
7
EXIT
e
Press
EXIT
.
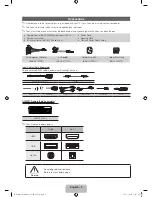
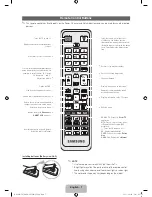
PRE-CH
CH LIST
POWER
1
4
2
3
5
6
7
8
9
0
<
<
MUTE
M
B
C
D
l
VOL
CH
SMART
ll
ll
l l
l l
ON/OFF
SOURCE
HUB
SEARCH
SOCIAL TV
E-MANUAL
PRE-CH
CH LIST
POWER
1
4
2
3
5
6
7
8
9
0
<
<
MUTE
M
B
C
D
l
VOL
CH
SMART
ll
l
l
l
ll
l l l l l
l l
ON/OFF
SOURCE
HUB
SEARCH
SOCIAL TV
E-MANUAL
l
l
l
l
MENU
m
1
2
3
4
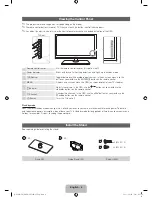
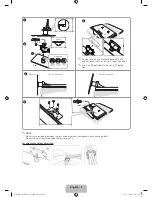
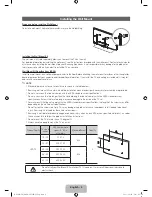
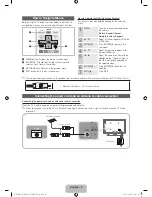
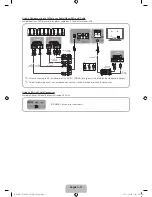
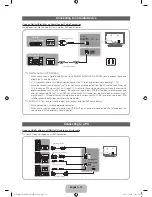
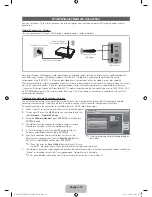
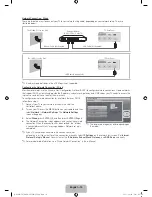
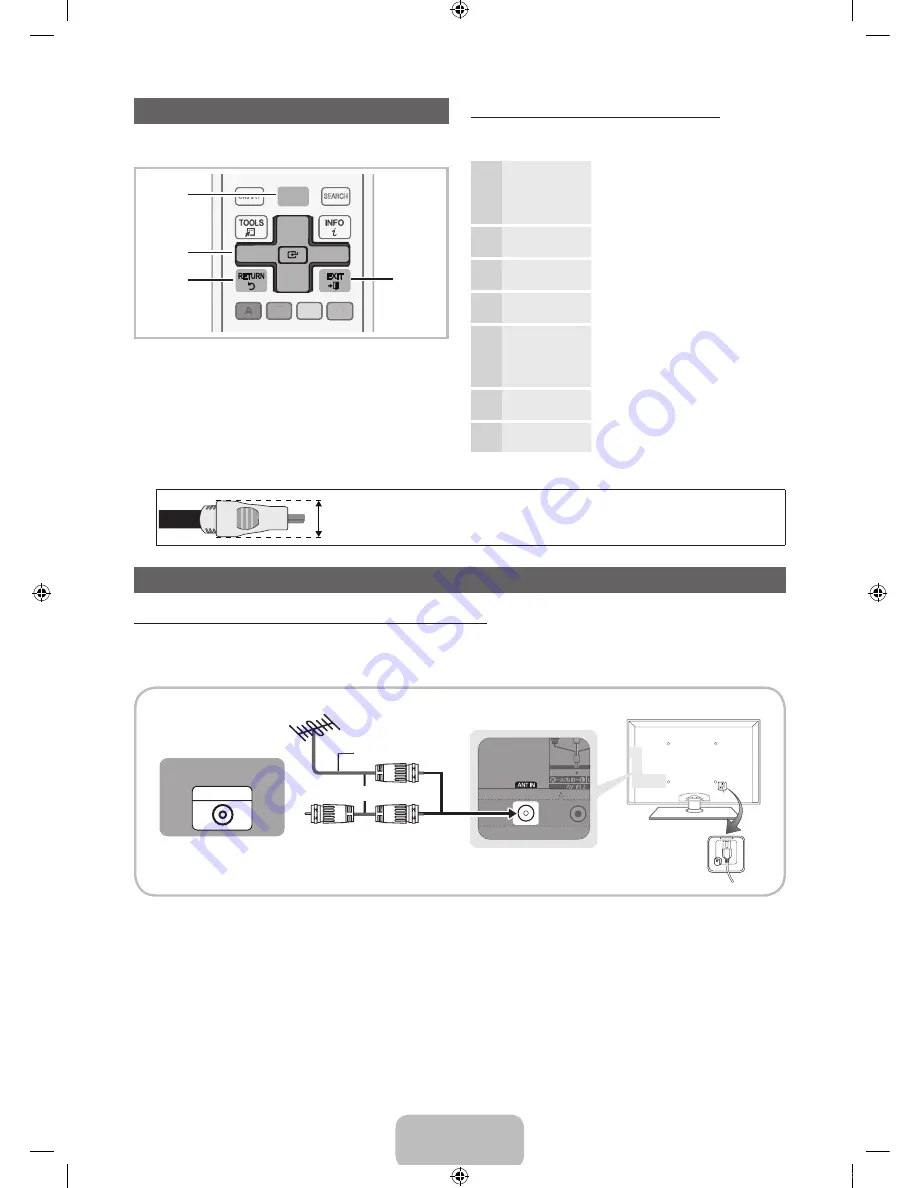
Connecting the power cord and an antenna or cable connection
Connecting the power cord and an antenna or cable connection
When the TV is initially powered on, basic settings proceed automatically.
✎
When you move or swivel the TV with Antenna cable tightly connected, there is high risk antenna jack on TV will be
broken off.
✎
For the best cable connections to this product, be sure to use cables with a maximum thickness of 0.55 inches (14mm.)
x
Maximum thickness - 0.55 inches (14mm)
VHF/UHF Antenna
ANT OUT
Power Input
or
Cable
Antenna Cable (Not Supplied)
[UD6400-ZA]BN68-03525A-03Eng.indb 8
2011-06-30 오후 3:57:16


