GB
61
GB
60
COPY
CHANNEL REC VIDEO
N/CLOSE
LINE
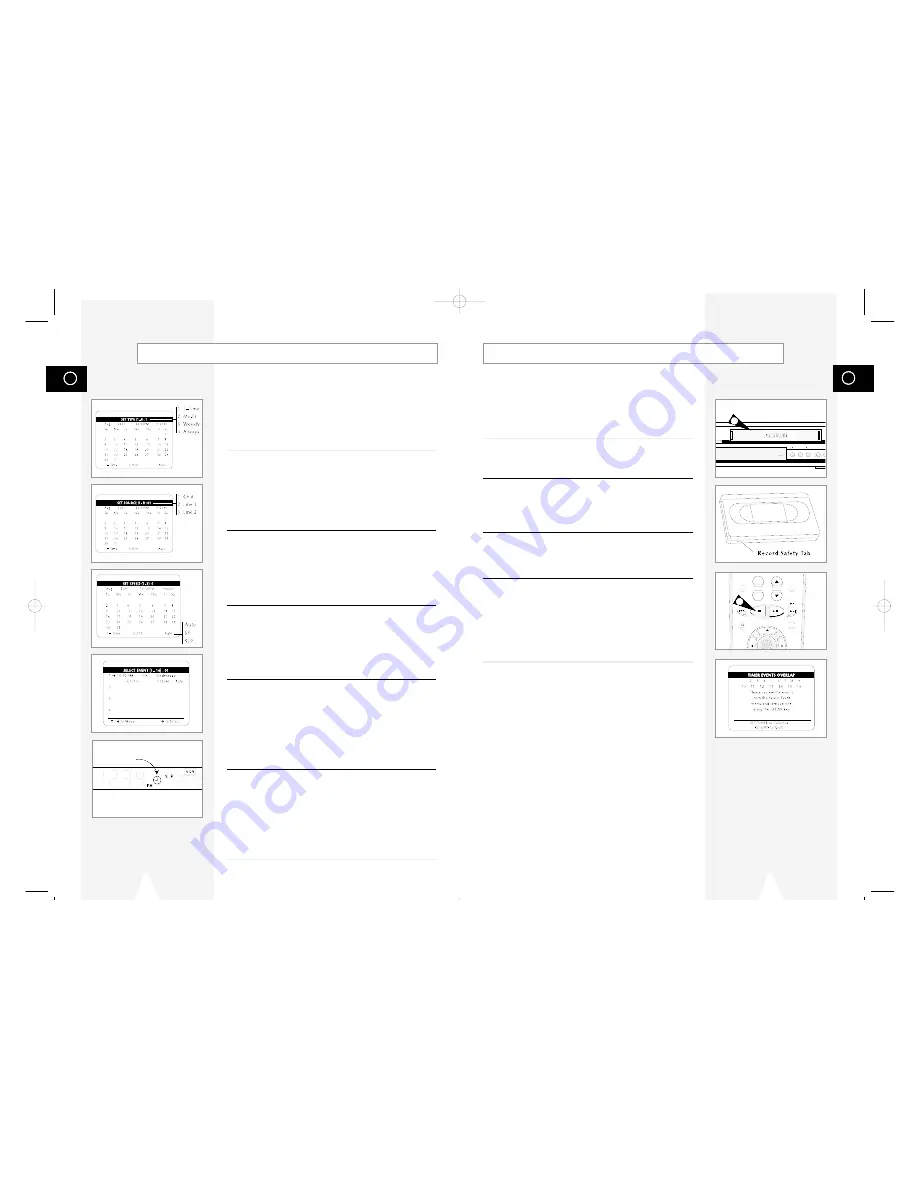
If there is a problem with your Timer Recording, the Timer icon
will flash on the Front Panel Display and an error message will
appear on the On-Screen Display. Once you correct the error, the
event will begin if there is still time remaining for that event. You
can also clear the event in the Event Summary screen.
1
Tape Missing
There is no videotape in the VCR deck.
• Insert a videotape in the VCR deck.
2
Tape Missing Tab
The videocassette is missing the Record Safety Tab.
• Insert a video cassette with the Record Safety Tab intact, or
place a small piece of adhesive tape over the opening to permit
recording
3
Not Ready
The VCR deck is not in Stop mode (e.g., it is playing, rewinding,
etc.).
• Press Stop to stop the VCR deck
4
Overlapping Events
Two or more events are programmed to occur at the same time:
• When you program a new event, the DVD-VCR checks all timer
events for conflicts. If two events overlap, you will be prompted to
either delete one of the events, or allow them to overlap.
• If events overlap, the first event will be completely recorded, then
the next event will start and the remainder of that event will be
recorded.
Timer Recording Errors/Solutions
1
+
-
TV VIEW
VOL CH
ANGLE
REC
DISC MENU
INPUT
PREV.CH
SETUP
/ENTER
3
How to Set a Timer Recording
Complete Program Record, or CPR, helps to ensure you won’t run
out of tape before your Timer Recording is complete. When Auto is
selected, the Timer event begins to record in SP; the DVD-VCR
then calculates how much time is remaining on the tape and adjusts
the record speed to SLP if necessary to fit the entire event. If there
is not enough tape to record the entire event, the DVD-VCR will
record in SLP until the end of the tape is reached.
6
Set Event Type
Use the number buttons (1–4) to set the type of event, i.e. how
often the event will be recorded. The default setting is “1–Time”.
1 1–Time – The event will be recorded only once.
2 Monday-Friday – The event will be recorded every
weekday.
3 Weekly – The event will be recorded once a week.
4 Always – The event will be recorded every single day.
7
Set Recording Source
Use the number buttons (1–3) to set the Record Source. The
default setting is the current tuner (television) channel.
1 CH # – Records from the Tuner. Use the number buttons (0–9)
to set the channel number.
2 Line 1 – Records from the front line inputs
3 Line 2 – Records from the rear line inputs.
8
Set Recording Speed
Use the number buttons (1–3) to set the Recording Speed. The
default setting is Auto.
1 Auto – Complete Program Record (see sidebar).
2 SP – Standard Play. Delivers best quality. A T-120 tape will
record 2 hours.
3 SLP – Super Long Play. Delivers maximum recording time.
A T-120 tape will record 6 hours.
9
Confirm Settings
When all setting are complete, press RETURN to confirm the Timer
event and view a summary of all programmed events.
• To program another event, select another available event
number.
• To edit an event, select an event number that has already been
programmed.
• To delete an event, use the up/down to select it and then press
CLEAR.
• To exit the Event Summary screen, press RETURN.
10
Programming is Complete!
The event is stored in memory and will record at the scheduled
time. A Timer icon will appear on the front panel display to indicate
that an event is programmed.
• If there is a problem with your Timer Recording, the Timer icon
will flash and a Timer Error appears on the TV screen; see page
61.
• The VCR will automatically turn on when the Timer Recording
begins.
Time Record
icon
01547A DVD-V1000/XAA-Eng4 5/16/02 3:41 PM Page 60


