English
_35
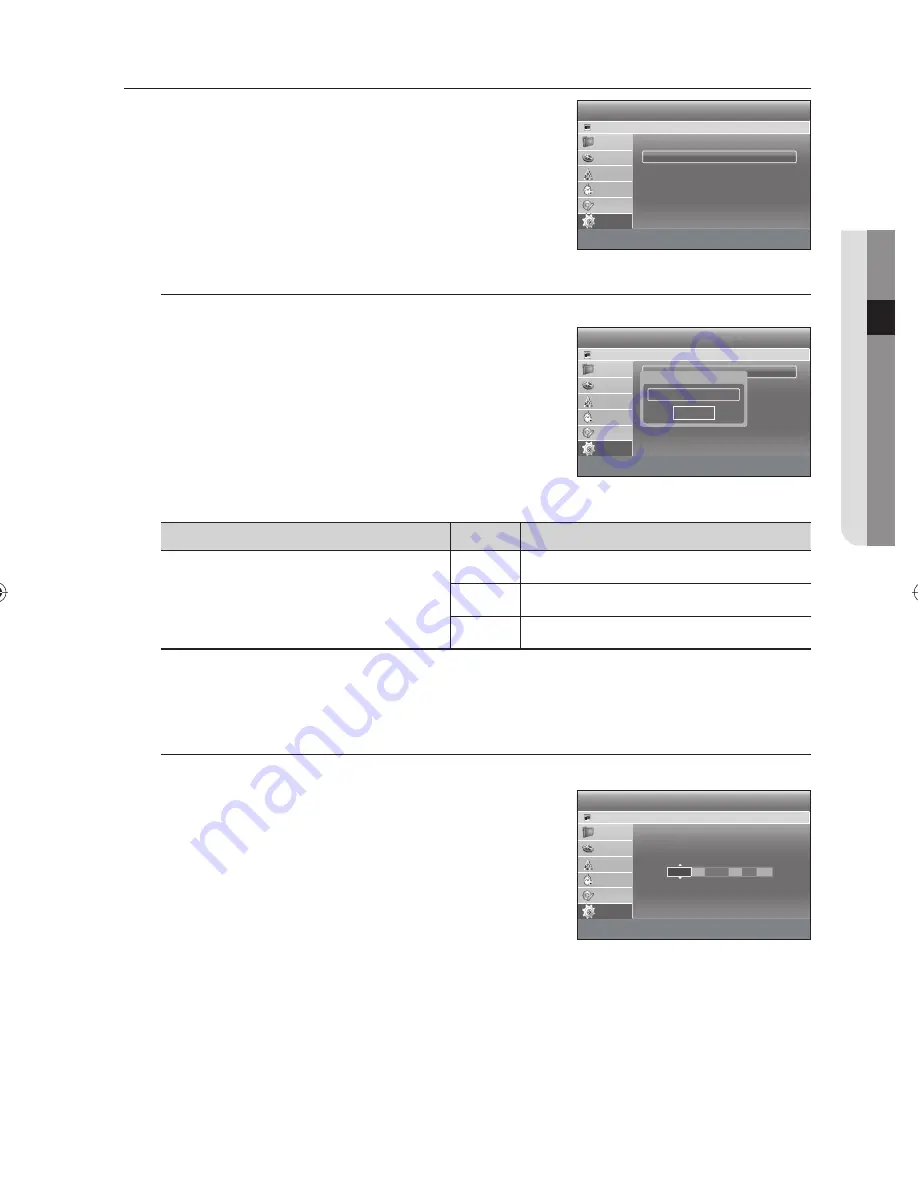
CLOCK SET
With the unit in Stop mode, press the
MENU
button.
Press the
▲▼
buttons to select
Setup
, then press the
OK
or
►
button.
Press the
▲▼
buttons to select
Clock Set
, then press the
OK
or
►
button.
Time Zone
To setup, follow steps 1~3.
Press the
▲▼
buttons to select
Time Zone
, then press the
OK
or
►
button.
Select the time zone of your area using the
◄ ►
buttons, then
select
OK
using
▲▼
button.
GMT (Greenwich Mean Time) Table
Country
GMT
City
Australia
GMT+8
WA
GMT+9:30
NT, SA
GMT+10
ACT, NSW, TAS, VIC, QLD
If the Time Zone information of digital signal and selected Time Zone area are different, Auto clock will not be set.
Manual clock set
To setup, follow steps 1~3.
Press the
▲▼
buttons to select
Manual Clock Set
, then press
the
OK
or
►
button.
Use the
▲▼◄ ►
buttons to input Time, Date or Year.
Use number buttons to input clock data directly.
Press the
OK
button, then the date and time will be saved.
If you don’t press the
OK
button, it will not be saved.
You must have the RF cable connected to set the Auto Clock. (See page 23)
The clock will be searched automatically in the DVB-T. If you do not need the Auto clock set function, select
Off
.
1.
2.
3.
4.
❖
M
4.
5.
M
●
SYSTEM SETUP
Setup
HDD & DVD RECORDER
HDD
System
►
Clock Set
►
Language
►
Audio
►
Video
►
Parental Lock
1
►
Recording
►
m
MOVE
s
SELECT
r
RETURN
e
EXIT
Library
Guide
Channel
Timer Record
Disc Manager
Setup
Clock Set
HDD & DVD RECORDER
HDD
Time Zone
►
Manual Clock Set
►
m
MOVE
s
SELECT
r
RETURN
e
EXIT
Library
Guide
Channel
Timer Record
Disc Manager
Setup
Time Zone
NSW/ACT
OK
Clock Set
HDD & DVD RECORDER
HDD
<
MOVE
s
SELECT
r
RETURN
e
EXIT
Library
Guide
Channel
Timer Record
Disc Manager
Setup
JAN
01
2008
12
00
On
mo. da. yr. hr. min.
Auto
Tuesday
01721A-SH873,5,7-XSA-ENG.indb 35
01721A-SH873,5,7-XSA-ENG.indb 35
2008-06-19 오후 1:59:57
2008-06-19 오후 1:59:57


