background image

2

3

Precautions

TO REDUCE THE RISK OF ELECTRIC SHOCK, DO NOT REMOVE
THE COVER(OR BACK). 
NO USER-SERVICEABLE PARTS ARE INSIDE. REFER SERVICING
TO QUALIFIED SERVICE PERSONNEL.

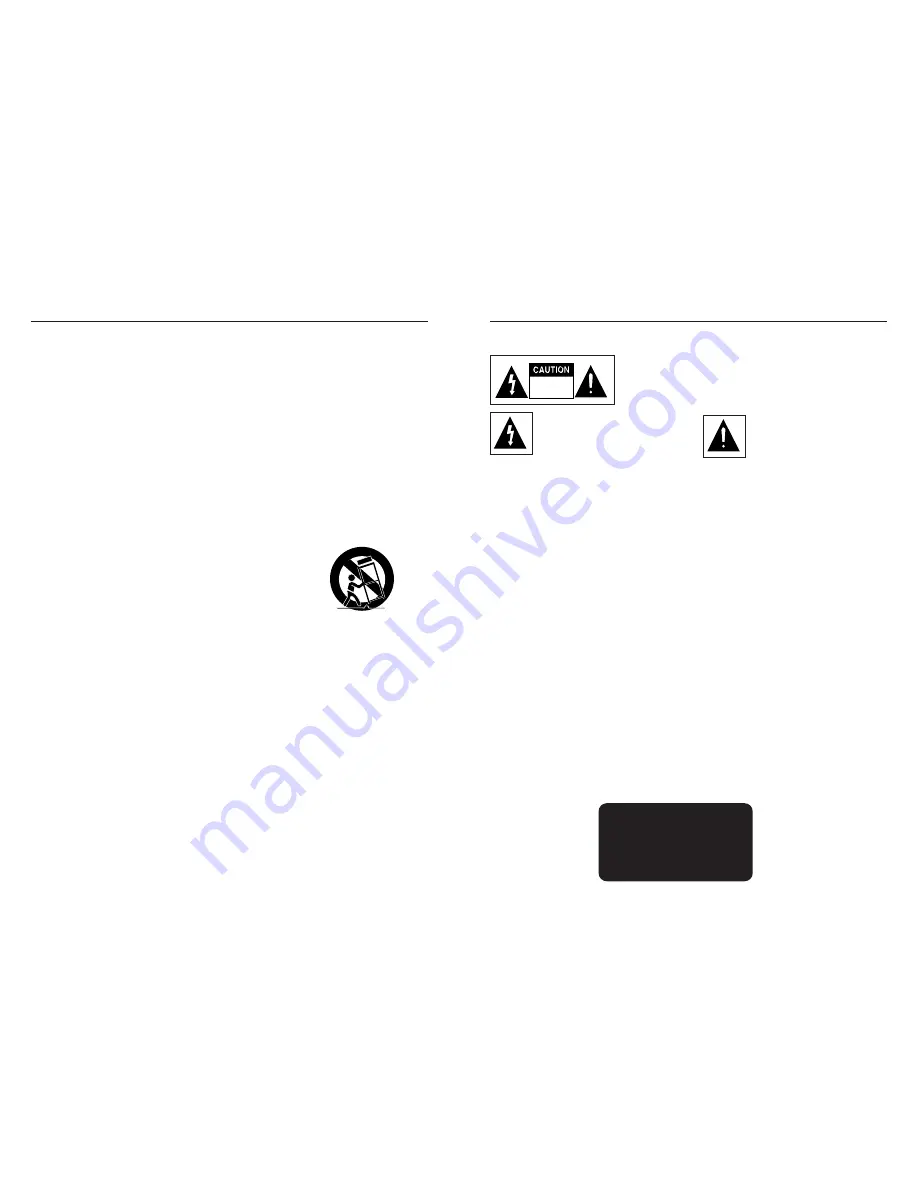
This symbol indicates “dangerous
voltage” inside the product that presents
a risk of electric shock or personal injury.

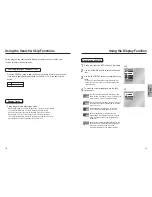
This symbol indicates important
instructions accompanying the
product.

RISK OF ELECTRIC SHOCK

DO NOT OPEN

CAUTION : DVD PLAYERS USE AN INVISIBLE LASER BEAM WHICH CAN

CAUSE HAZARDOUS RADIATION EXPOSURE IF DIRECTED. 
BE SURE TO OPERATE PLAYER CORRECTLY AS INSTRUCTED.

Do not install this equipment in a confined space such as a bookcase or similar unit.

WARNING : 

To prevent damage which may result in fire or electric shock hazard, do not
expose this appliance to rain or moisture.

CAUTIONS

Caution: 

To prevent electric shock, match wide blade of plug to wide slot, fully insert.

Attention:

Pour éviter les chocs électriques, introduíre la lame la plus large de la fiche dans la borne
correspondante de la prise et pousser jusqu au fond.

This product satisfies FCC regulations when shielded cables and connectors are used to connect the unit to
other equipment. To prevent electromagnetic interference with electric appliances, such as radios and
televisions, use shielded cables and connectors for connections.

FCC NOTE (for U.S.A):

This equipment has been tested and found to comply with the limits for a Class B digital device, pursuant to
Part 15 of the FCC rules. These limits are designed to provide reasonable protection against harmful
interference in a residential installation. This equipment generates, uses and can radiate radio frequency
energy and, if not installed and used in accordance with the instructions, may cause harmful interference to
radio or television reception, which can be determined by turning the equipment off and on. 
The user is encouraged to try to correct the interference by one or more of the following measures.
• Reorient or relocate the receiving antenna.
• Increase the separation between the equipment and receiver.
• Connect this equipment into an outlet on a circuit different from that to which the receiver is connected.
• Consult the dealer or an experienced radio/TV technician for help.

This class B digital apparatus meets all requirements of the Canadian Interference --
Causing Equipment Regulations

.

CLASS 1

LASER PRODUCT

KLASSE 1

LASER PRODUKT 

LUOKAN 1

LASER LAITE

KLASS 1     LASER APPARAT

PRODUCTO LÁSER CLASE 1

Important Safety Instructions

1) Read these instructions.

2) Keep these instructions.

3) Heed all warnings.

4) Follow all instructions.

5) Do not use this apparatus near water.

6) Clean only with dry cloth.

7) Do not block any ventilation openings, Install in accordance with the manufacturer's instructions.

8) Do not install near any heat sources such as radiators, heat registers, or other apparatus (including

amplifiers) that produce heat.

9) Do not defeat the safety purpose of the polarized or grounding- type plug. A polarized plug has two blades

with one wider than the other. A grounding type plug has two blades and a third grounding prong. 

The wide blade or the third prong are provided for your safety. If the provided plug does not fit into your

outlet, consult an electrician for replacement of the obsolete outlet.

10) Protect the power cord from being walked on or pinched particularly at plugs, convenience receptacles,

and the point where they exit from the apparatus.

11) Only use attachments/accessories specified by the manufacturer.

12) Use only with cart, stand, tripod, bracket, or table specified by the

manufacturer, or sold with the apparatus. 

13) Unplug this apparatus. When a cart is used, use caution when moving the

cart/apparatus combination to avoid injury from tip-over.

14) Refer all servicing to qualified service personnel. Servicing is required when the

apparatus has been damaged in any way, such as power-supply cord or plug is damaged, liquid has been

spilled or objects have fallen into the apparatus the apparatus has been exposed to rain or moisture, does

not operate normally, or has been dropped.

Summary of Contents for DVD P241 - Progressive-Scan DVD Player

Page 1: ...D P241 AK68 00342A HEADQUARTERS 105 Challenger Road Ridgefield Park NJ 07660 0511 TEL 1 800 SAMSUNG SERVICE DIVISION 400 Valley Road Suite 201 Mount Arlington NJ 07856 1 800 SAMSUNG 1 800 726 7864 www...

Page 2: ...sures Reorient or relocate the receiving antenna Increase the separation between the equipment and receiver Connect this equipment into an outlet on a circuit different from that to which the receiver...

Page 3: ...ipe the cabinet with a soft cloth Before You Start If remote doesn t operate properly Remote Control AK59 00011K Batteries for Remote Control AAA Size AC43 12002H User s Manual AK68 00342A Video Audio...

Page 4: ...ct Ratio EZ View 24 Slow Repeat play 26 Selecting the Audio Language 27 Selecting the Subtitle Language 28 Changing the Camera Angle 29 Using the Instant Replay Skip Function 30 Using the Bookmark Fun...

Page 5: ...ce adult subject matter etc Various On Screen Menu Functions You can select various languages Audio Subtitle and screen angles while enjoying movies Progressive Scan Progressive scanning creates an im...

Page 6: ...cted in Setup Menu interlaced scan mode will work 1 2 3 4 5 Rear Panel Consult your TV User s Manual to find out if your TV supports Progressive Scan If Progressive Scan is supported follow the TV Use...

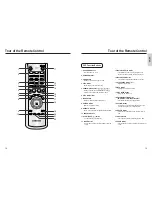
Page 7: ...e disc tray 12 CLEAR Button Use to remove menus or status displays from the screen 13 INSTANT REPLAY Button This function is used to replay the previous 10 seconds of the movie from the current positi...

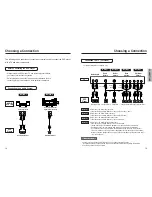
Page 8: ...nu must be set to the S Video DVD Player TV with Component Video Jacks The Video Output in Setup Menu must be set to the 525i DVD Player TV with Progressive Scan Jacks The Video Output in Setup Menu m...

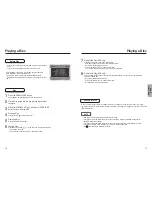
Page 9: ...he player remembers where you stopped so when you press PLAY again it will pick up where you left off unless the disc is removed or the player is unplugged or if you press the STOP button twice If the...

Page 10: ...ons to select the desired item Use the LEFT RIGHT buttons to make the desired setup You may use the number buttons of the remote control to directly access a title chapter or to start the playback fro...

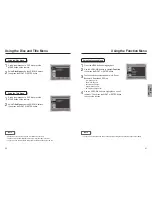
Page 11: ...ing the Title Menu During the playback of a DVD disc press the MENU button on the remote Select Title Menu using the UP DOWN buttons then press the RIGHT or ENTER button 1 2 Using the Disc Menu During...

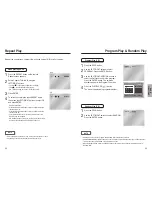
Page 12: ...VD repeats play by chapter or title CD repeats play by disc or track Depending on the disc the Repeat function may not work DVD CD 1 2 3 4 22 23 Repeat Play Program Play Random Play PROGRAM RANDOM NOT...

Page 13: ...The screen size changes when the button is pressed repeatedly The screen zoom mode operates differently depending on the screen setting in the initial setup menu To ensure correct operation of the EZ...

Page 14: ...o Setting Up the Language Features on page 41 DVD CD 1 2 3 Slow Repeat play When playing a DVD During play press the PLAY PAUSE button Press and hold the button to choose the play speed between 1 8 1...

Page 15: ...title languages How to have the same subtitle language come up whenever you play a DVD Refer to Setting Up the Language Features on page 41 NOTE If the disc has only one angle this feature won t work...

Page 16: ...e lets you bookmark sections of a DVD so you can quickly find them at a later time Using the Bookmark Function DVD During play press the MENU button on the remote Use the UP DOWN buttons to highlight...

Page 17: ...ide up Close the tray The tray closes and you should get a screen that looks like the one below 1 2 3 0 0 00 23 1_mp3 B e c a u s e Yo u S a d D a y O f f Parent Folder Current Folder and Peer Folders...

Page 18: ...button Repeat Random playback Open the disc tray Place the disc on the tray Place the disc with the labeled side up Close the tray The tray closes and you should get a screen that looks like the one b...

Page 19: ...ile recording on CD Rs prevent optimal playback of these files on your DVD player degraded sound quality and in some cases inability of the player to read the files This unit can play a maximum of 300...

Page 20: ...2 3 CHANGING SETUP MENU Picture CD Playback 38 39 Only files with the jpg and JPG extensions can be played If the disc is not closed it will take longer to start playing and not all of the recorded f...

Page 21: ...ded language is selected Howto make the SETUP menu disappear or return to menu screen during set up Press RETURN or LEFT button Using the Audio Language Using the Subtitle Language 1 2 3 5 4 6 1 2 3 4...

Page 22: ...DTS when connecting to a DTS Decoder Dynamic Compression 1 On To select dynamic compression 2 Off To select the standard range PCM Down Sampling 1 On Select this when the amplifier connected to the pl...

Page 23: ...view the full 16 9 picture on your widescreen TV Still Mode These options will help prevent picture shake in still mode and display small text clearer 1 Auto When selecting Auto Field Frame mode will...

Page 24: ...eously on the front panel for three seconds The SELECT MENU LANGUAGE display will appear Select the number button of the desired language Press power on from a cold start with no disc in the unit Pres...

Page 25: ...y to the following including but not limited to damage which occurs in shipment applications and uses for which this product was not intended failures or problems which are caused by products or equip...

Reviews: