

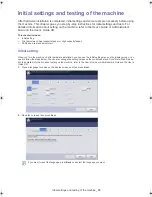


Initial settings and testing of the machine
_ 41
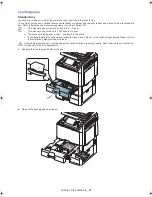
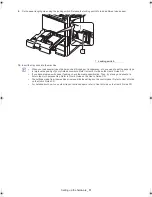
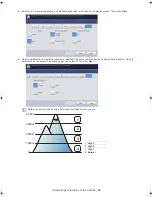
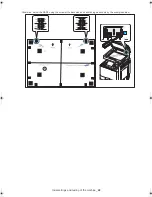
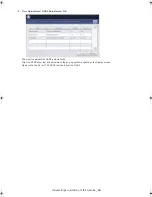
Print adjustment (Dual cassette feeder or High capacity feeder)
If you have installed the dual cassette feeder or high capacity feeder on the machine, you have to print adjustment before
using the machine. The procedure of print adjustment for both cassette feeders is same. The explanation in this user’s
guide is based on the dual cassette feeder.
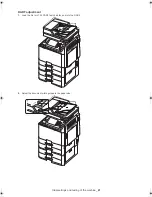
•
If you have installed the dual cassette feeder, select
Tray 3
and
Tray 4
for print adjustment.
•
If you have installed the high capacity feeder, select
Tray 3
for print adjustment.
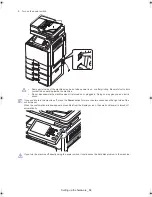
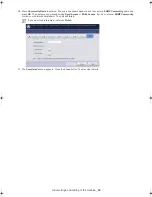
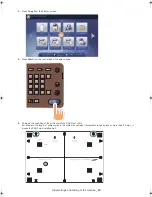
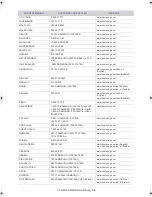
1.
Press
Machine Setup
from the display screen.
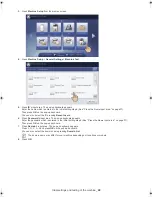
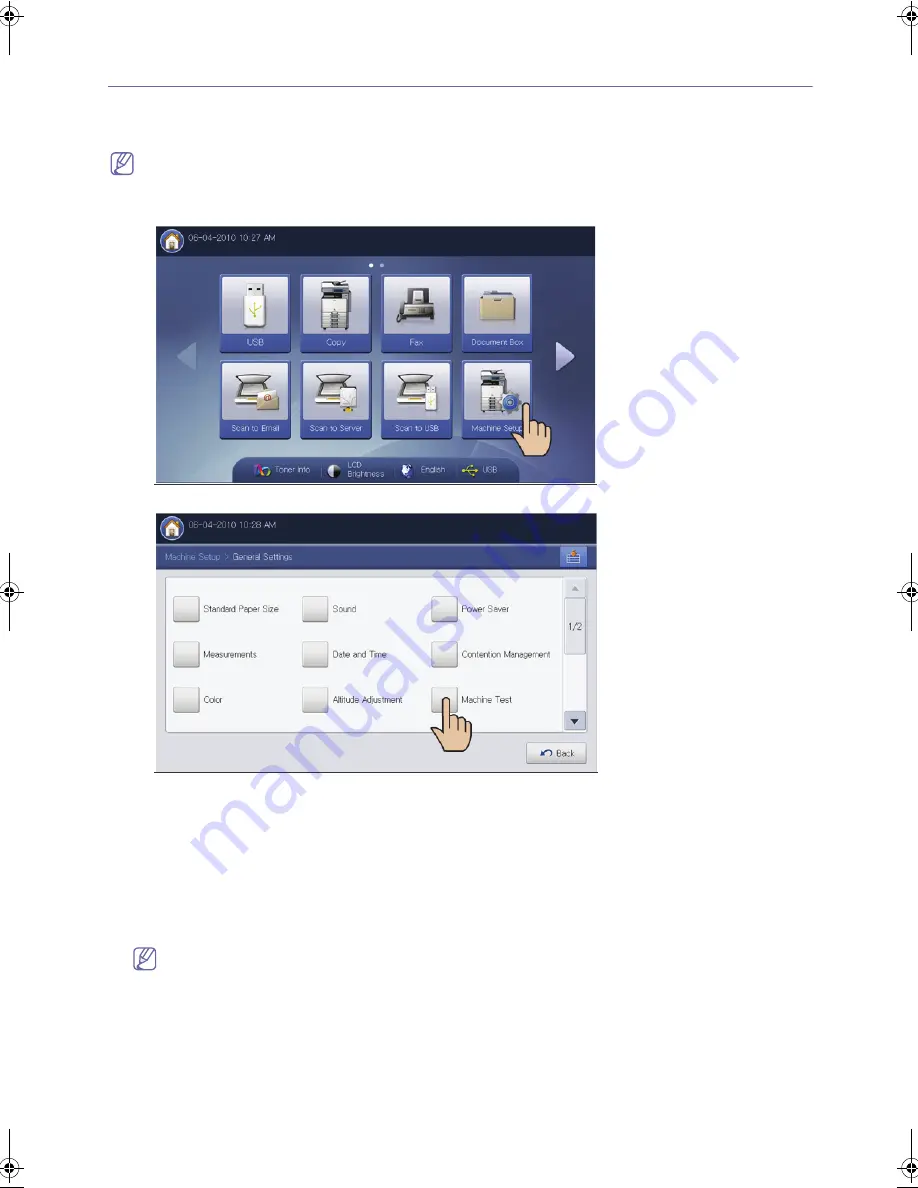
2.
Press
Machine Setup
>
General Settings
>
Machine Test
.
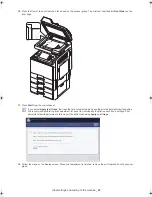
3.
Press
ID
’s input area. The pop-up keyboard appears.
Enter the name which is entered in the initial setting step 6 (See "Press the Name input area." on page 37).
Then press
OK
on the pop-up keyboard.
You can also select the ID pressing
Recent users
.
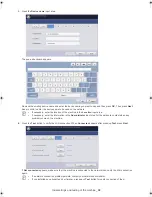
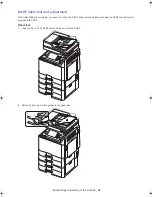
4.
Press
Password
’s input area. The pop-up keyboard appears.
Enter the password which is entered in the initial setting step 6 (See "Press the Name input area." on page 37).
Then press
OK
on the pop-up keyboard.
5.
Press
Domain
’s input area. The pop-up keyboard appears.
Press L, O, C, A, L and press
OK
on the pop-up keyboard.
You can also select the domain name by pressing
Domain List
.
The domain name may differ for your machine depending on its options or models.
6.
Press
OK
.
install_guide_english.book Page 41 Saturday, July 21, 2012 4:53 PM
Summary of Contents for CLX-9252 Series
Page 1: ......
Page 3: ...Copyright_ 2 ...
Page 9: ...Setting up the hardware_ 8 Machine configuration ...
Page 51: ...Initial settings and testing of the machine_ 50 ...
Page 59: ...Contact SAMSUNG worldwide_ 58 ...
Page 61: ......


