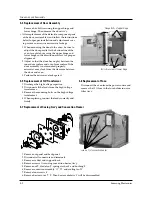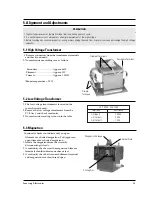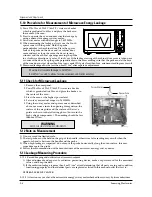
4 Magnetron flange nuts at top
Pin plate
screws (1) of damper
screws
(2) of
Magnetron
thermostat
Choke Coil
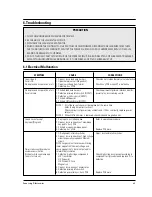
4. Disassembly and Reassembly
4-1 Replacement of Fan Motor and HVCapacitor
4-2 Replacement of Damper, Magnetron
4-3 Replacement of Lamp
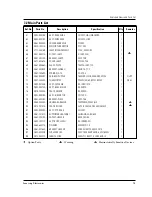
Samsung Electronics
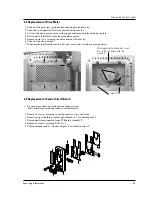
4-1
1. Remove out panel.
2. Disconnect all connectors and terminals.
3. Remove a screw 1) securing the fan motor
bracket.
4. Remove two screws 2) at back plate.
5. Remove a screw 3) securing HVC bracket for
removal of HVC.
1. After removing out panel and magnetron
supporter, disconnect all the terminals and
connectors from magnetron and damper assembly.
2. Remove four screws (1) securing damper Ass'y.
3. Remove two screws (2) securing magnetron
thermostat.
4. Remove four magnetron flange nuts at top.
=> : 1) When removing the magnetron, make sure that
its antenna does not hit any adjacent parts, or it
may be damaged.
2) when replacing the magnetron, be sure to
remount the magnetron gasket in the correct
position and make sure the gasket is in good
condition.
3) Never install magnetron without metalic gasket
plate, which should be packed with each
magnetron to prevent microwave leakage.
4) Check microwave leakage after repair work is
carried out on magnetron.
1) Remove out panel.
2) Remove two screws securing lamp holder.
(Top View)
screw 1)
(Rear View)
screw 2)
screw 3) of HVC bracket
screws of lamp
Thermistor Probe
Thermal Cutout Switch


