


―
Install your wall mount on a solid wall perpendicular to the floor. Before attaching the wall mount to surfaces
other than plaster board, please contact your nearest dealer for additional information. If you install the
product on a slanted wall, it may fall and result in severe personal injury. Samsung wall mount kits contain a
detailed installation manual and all parts necessary for assembly are provided.
Model name
VESA screw hole specs
(A * B) in millimetres
Standard Screw
Quantity
C32G3*T*
100.0 x 100.0
M4
4 EA
―
Do not install your Wall Mount Kit while your product is turned on. It may result in personal injury due to
electric shock.
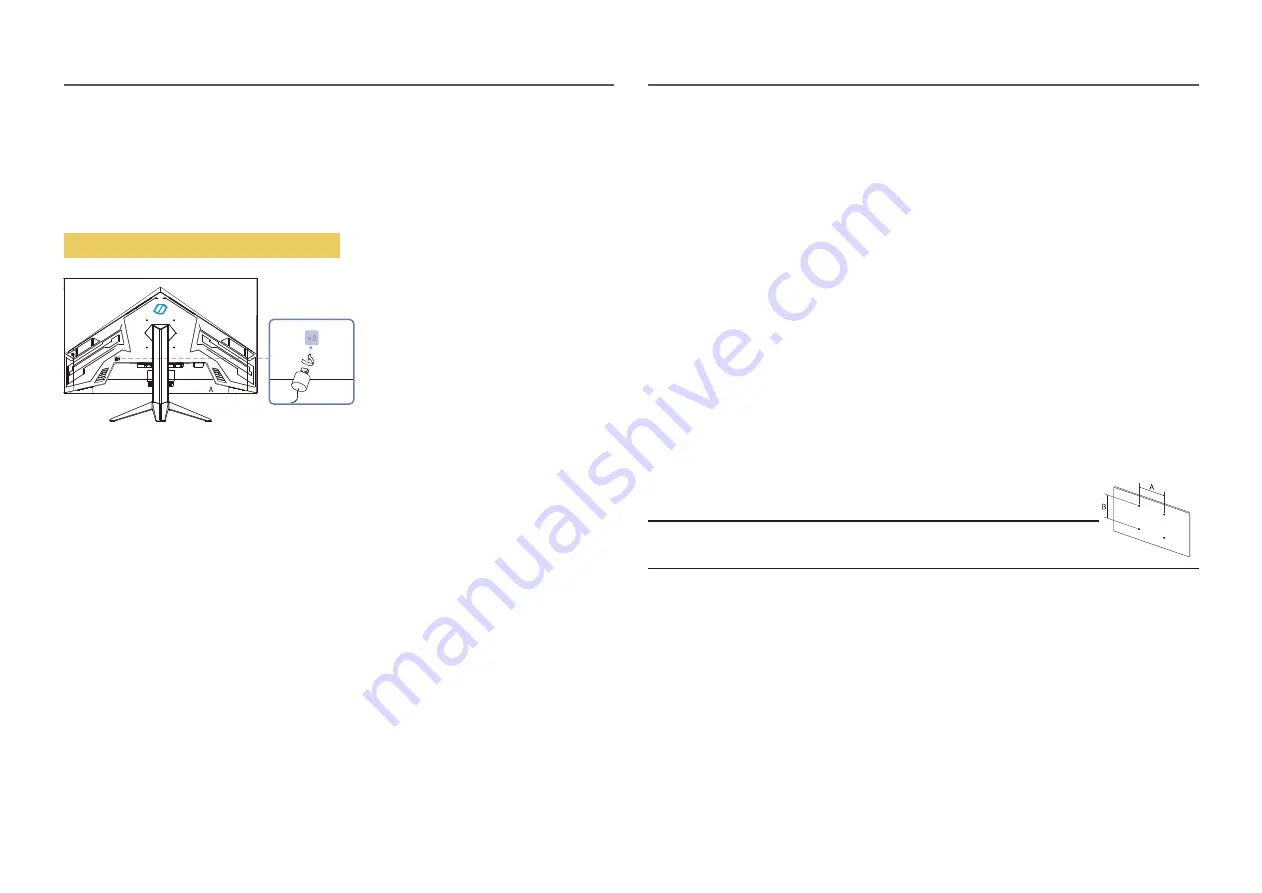
Anti-theft Lock
―
An anti-theft lock allows you to use the product securely even in public places.
―
The locking device shape and locking method depend on the manufacturer. Refer to the user guide
provided with your anti-theft locking device for details.
To lock an anti-theft locking device:
Wall Mount Kit Specifications (VESA)
Do not use screws that are longer than the standard length or do not comply with the VESA standard
screw specifications. Screws that are too long may cause damage to the inside of the product.
When installing the wall mount other than the specified product, its installation may be difficult.
For wall mounts that do not comply with the VESA standard screw specifications, the length of the
screws may differ depending on the wall mount specifications.
Do not fasten the screws too firmly. This may damage the product or cause the product to fall,
leading to personal injury. Samsung is not liable for these kinds of accidents.
Samsung is not liable for product damage or personal injury when a non-VESA or non-specified wall
mount is used or the consumer fails to follow the product installation instructions.
Do not mount the product at more than a 15 degree tilt.
Standard dimensions for wall mount kits are shown in the table below.
•
•
•
•
•
•
•
11
Fix the cable of your anti-theft locking device to a heavy object such as a desk.
Put one end of the cable through the loop on the other end.
Insert the locking device into the anti-theft lock slot at the back of the product.
Lock the locking device.
1
2
3
4
An anti-theft locking device can be purchased separately.
Refer to the user guide provided with your anti-theft locking device for details.
Anti-theft locking devices can be purchased at electronics retailers or online.
‒
‒
‒


