


4.
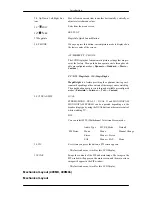
Remove safety pin (3) and insert the 4 product holders into the corresponding bracket holes (1).
Then place the product(2) so that it is firmly fixed to the bracket. Make sure to re-insert and tighten
the safety pin (3) to securely hold the product to the bracket.
A -
LCD Display
B -
Wall Bracket
C -
Wall
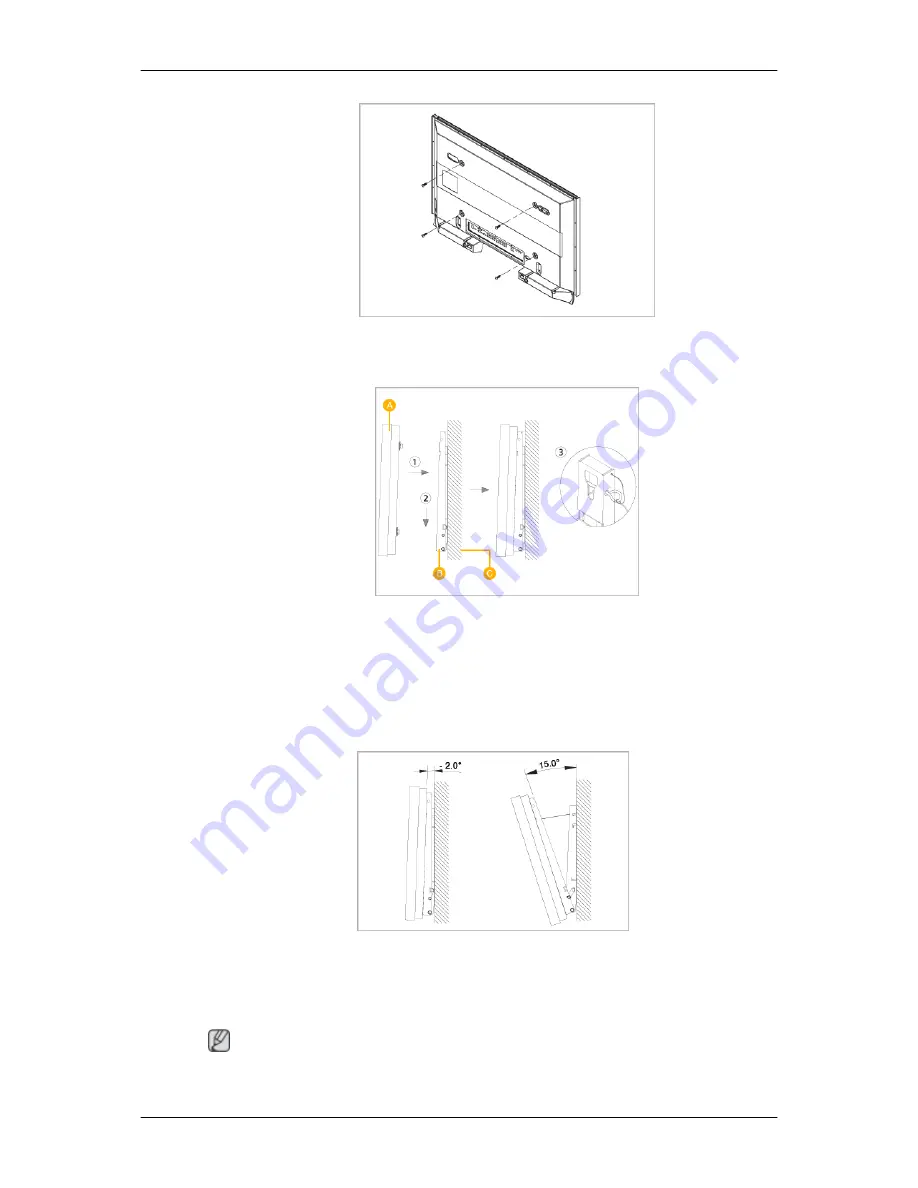
Wall Bracket Angle Adjustment
Adjust the bracket angle to -2° before installing it on the wall.
1.
Fix the product to the wall bracket.
2.
Hold the product at the top in the center and pull it forward (direction of the arrow) to adjust the
angle.
Note
You can adjust the bracket angle between -2° and 15°.
Introduction
Summary of Contents for 400MX - SyncMaster - 40" LCD Flat Panel...
Page 1: ...SyncMaster 400MX 460MX 400MXn 460MXn LCD Monitor User Manual...
Page 18: ...LCD Display Head Introduction...
Page 45: ...6 Choose a folder to install the MagicInfo Pro program 7 Click Install Using the Software...
Page 75: ......
Page 179: ...Zoom Displays a reduced picture Close Closes the image control Menu Adjusting the LCD Display...


