background image

3 of 10

20/12/2006 08:47

A deadzone is a part of the range in which an axis moves that is not detected by the drivers and so has no effect 
on the game in progress. It may be around the center point of the range, or at either end. 

To maintain your deadzones 

Click the Deadzone tab.

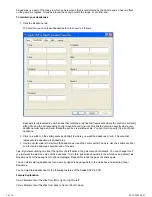
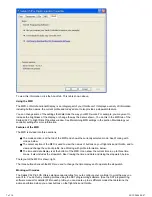
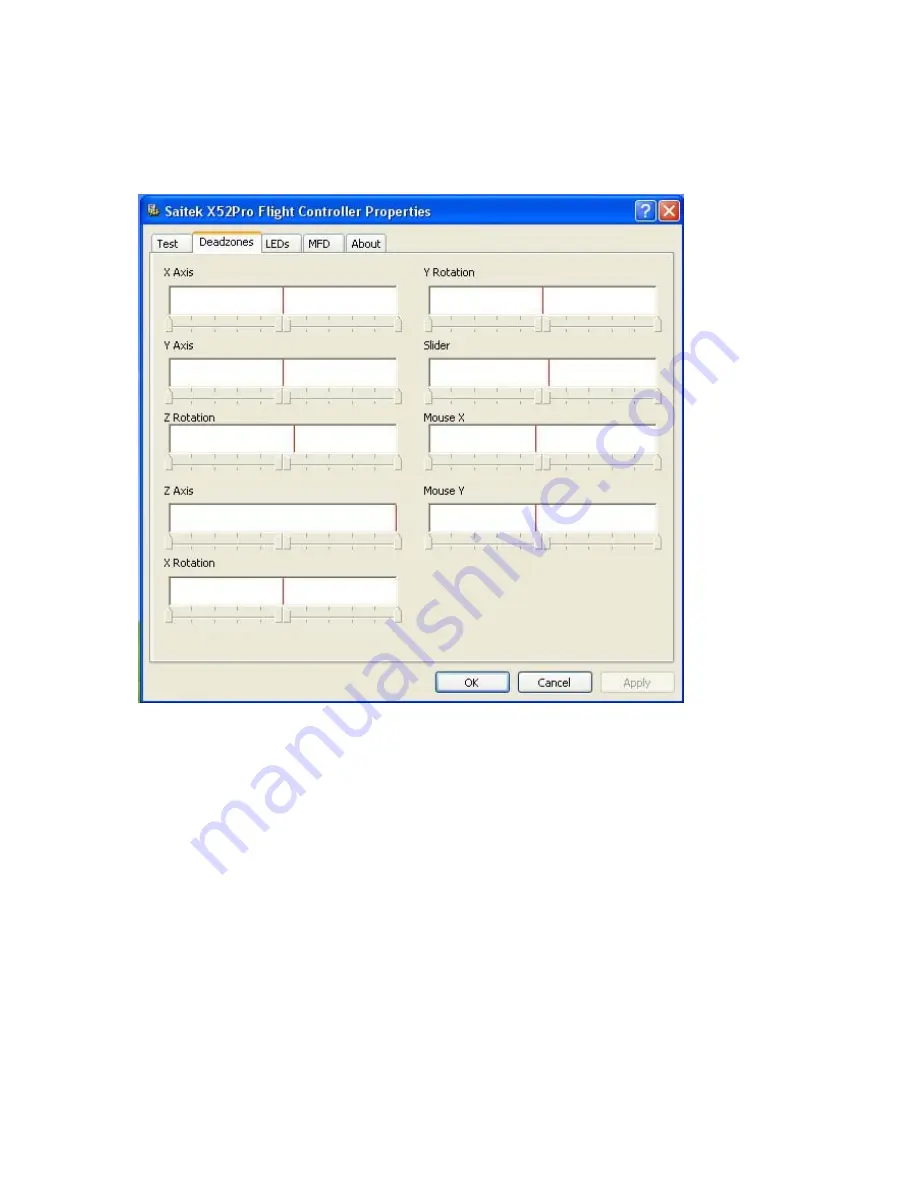
The controls you can create deadzones for are shown, as follows:

Each axis is represented by a white box that contains a red line that represents where the control is currently
sitting. Moving the corresponding control moves the red line. Use this line to determine exactly where your 
deadzone must begin and end. Beneath each box is a sliding scale. You use this to specify the size of each 
deadzone. 

1.

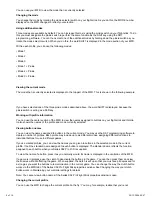
Click on a slider on the sliding scale and drag it to where you want the deadzone to end. The area that 
represents the deadzone is shaded gray.

2.

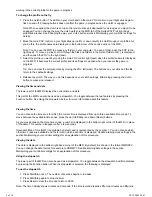
Use the center sliders to maintain the deadzone around the center point of an axis. Use the sliders at either 
end to create deadzones at either end of the axis.

3.

Tips: By default, clicking on either the right or the left slider in the pair moves both sliders. You can change this if 
you just want to adjust one side of the deadzone. To do this, right-click anywhere in the white box and select Link 
Deadzones from the popup list of options displayed. Repeat this to link the pairs of sliders again. 

You can clear existing deadzones for an axis by right-clicking anywhere in the white box and selecting Clear 
Deadzone. 

You can maintain deadzones for the following features of the Saitek X52 Pro FCS: 

Feature Explanation 

X Axis Movements of the stick from left to right or right to left.

Y Axis Movements of the stick from back to front or front to back.

Summary of Contents for Pro Flight X52 Pro

Page 1: ...n the Control Panel and then click Properties in the Game Controllers window that is displayed Or If the SST programming software has been installed right click on the Saitek X52 Pro Flight Stick prof...

Page 2: ...t in turn The corresponding numbered disc lights up in the Buttons panel of the Test tab Note What each button does depends on the game in progress You can if you wish assign functions to individual b...

Page 3: ...here you want the deadzone to end The area that represents the deadzone is shaded gray 2 Use the center sliders to maintain the deadzone around the center point of an axis Use the sliders at either en...

Page 4: ...52 Pro FCS is enhanced by a number of LEDs on the throttle unit and flight stick You can control the appearance of these LEDs making them brighter or dimmer according to your preference To maintain LE...

Page 5: ...n your MFD Greenwich Mean Time GMT is included by default You can choose up to two additional time zones When using your MFD you switch between the three time zones as required To change your clock se...

Page 6: ...ation To change the way your clutch works check or uncheck the Latched Clutch Button checkbox in the Clutch Settings panel and then click Apply When the box is checked pressing and releasing the clutc...

Page 7: ...e currently selected mode See Working with modes below The center section of the MFD is used to view the names of buttons on your flight stick and throttle and to view and change the current profile S...

Page 8: ...also shows the names of the profile and mode currently selected Viewing button names You can view the names assigned to buttons in the current mode You may use the SST programming software to create a...

Page 9: ...se it 4 Viewing the time and date The lower part of the MFD displays the current time and date This part of the MFD can also be used as a stopwatch You toggle between the two features by pressing the...

Page 10: ...flight stick by adjusting the height of the hand rest and pinkie switch If your hands are small you can place the hand rest and pinkie switch in the highest position available This reduces the distan...

Reviews: