background image

2

Warning


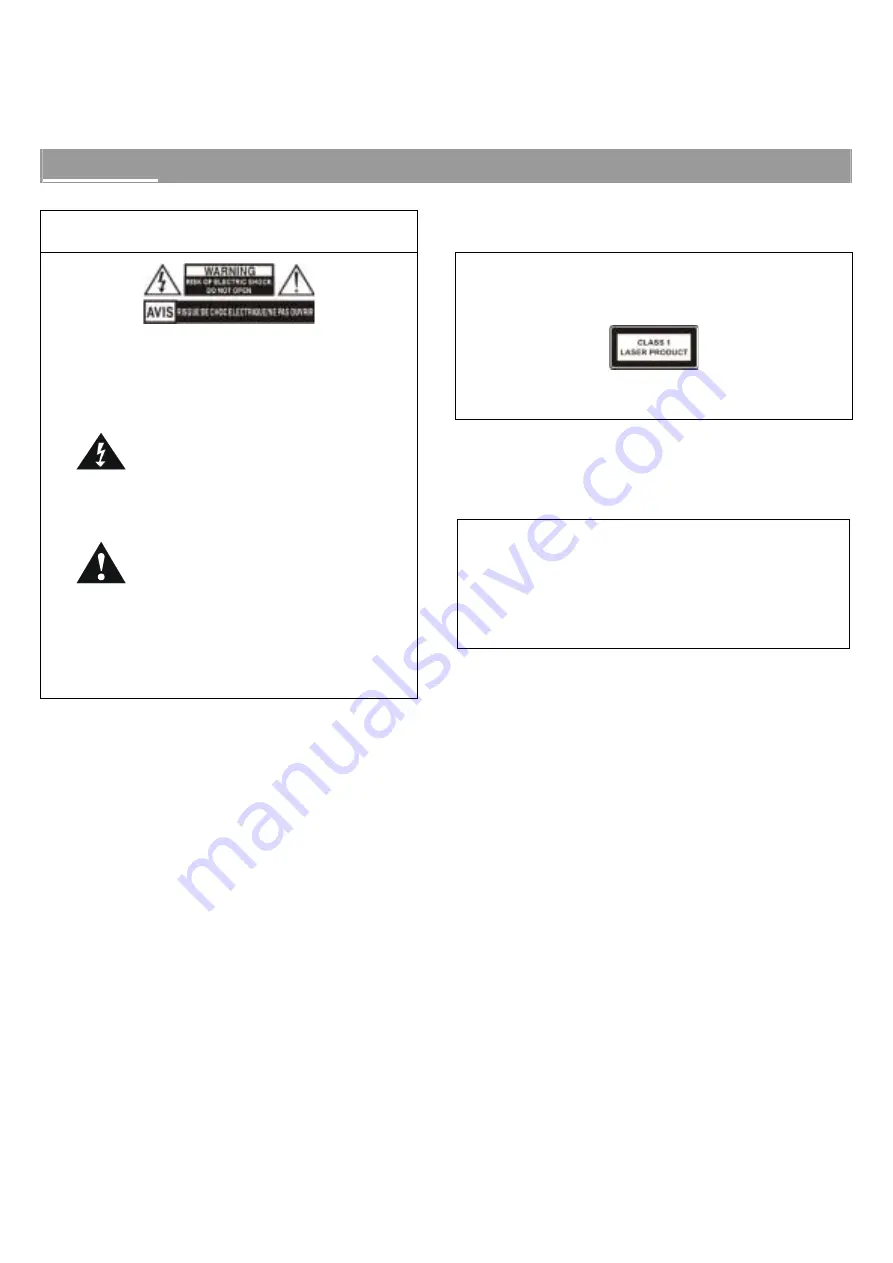
WARNING: To prevent fire or shock hazard, do not 
expose the unit to rain or moisture.

IMPORTANT

CAUTION: This appliance contains a low powered laser 
device and is classified as a CLASS 1 LASER product. The 
following caution label is located on the rear panel 

To ensure continued safety do not remove any covers or 
attempt to gain access to the inside of the product. 

CAUTION: To avoid electrical shock, do not open the 

cabinet. There are no user serviceable parts 
inside. Refer servicing to qualified personnel 
only. 

This symbol is intended to alert the user of the 

presence of un-insulated “dangerous voltage” 

within the product’s enclosure that may be of 

sufficient magnitude to constitute a risk of 

electric shock to persons.

This symbol is intended to alert the user of the 

presence of important operating and 

maintenance (servicing) instructions in the 

literature accompanying the appliances

WARNING: Any adjustments made to this unit may 
alter the performance and can result in hazardous 
radiation exposure. 

x

 Do not attempt to clean the lens. 

x

 Refer servicing to qualified personnel only

.

WARNING: The laser beam used in this unit is harmful to 
the eyes. Do not attempt to disassemble the cabinet. 
Refer servicing to qualified personnel only. 

This product incorporates copyright protection technology that is 

protected by method claims of certain U.S. patents and other intellectual 

property rights owned by Macrovision Corporation and other rights 

owners. Use of this copyright protection technology must be authorized by 

Macrovision Corporation, and is intended for home and other limited 

viewing uses only unless otherwise authorized by Macrovision 

Corporation. Reverse engineering or disassembly is prohibited.


NOTE: This equipment has been tested and found to comply with the limits for a Class B digital device, pursuant to Part 15 of the FCC Rules. These limits 

are designed to provide reasonable protection against harmful interference in a residential installation. This equipment generates, uses, and can radiate 

radio frequency energy and, if not installed and used in accordance with the instructions, may cause harmful interference to radio communications. 

However, there is no guarantee that interference will not occur in a particular installation. If this equipment does cause harmful interference to radio or 

television reception, which can be determined by turning the equipment off and on, the user is encouraged to try to correct the interference by one or 

more of the following measures: 

x

Reorient or relocate the receiving antenna. 

x

Increase the separation between the equipment and receiver. 

x

Connect the equipment into an outlet on a circuit different from that to which the receiver is connected.   

© 2003 RadioShack Corporation. 

All Rights Reserved. 

         RadioShack and RadioShack.com are trademarks used by RadioShack Corporation. 

SABA is a registered trademark of Thomson Corporation. 

Summary of Contents for 31-5023

Page 1: ...31 5023 OWNER S MANUAL...

Page 2: ...ain U S patents and other intellectual property rights owned by Macrovision Corporation and other rights owners Use of this copyright protection technology must be authorized by Macrovision Corporatio...

Page 3: ...Nonuse Periods x When the unit is not being used turn the power off x When left unused for a long period of time the unit should be unplugged from the household AC outlet Condensation Moisture may fo...

Page 4: ...n display OSD language 16 Selecting the listening mode 16 Downmix setting 17 Using test tone mode 17 Center delay setting 17 Rear delay setting 17 Selecting the dynamic range 18 Selecting the audio la...

Page 5: ...ly designed to cushion it from shock and vibration We suggest that you save this carton and packing materials for use in shipping if you move or should the system ever needs repair Your Home Theater S...

Page 6: ...cleaning and replacement of some parts every 1 000 hours Note that this period varies depending on the environment temperature humidity dust etc in which the player is used x Do not connect this unit...

Page 7: ...isc only by its edges Do not touch the surface Fingerprints or dirt on the disc may lower sound and picture quality or cause breaks in playback Cleaning discs x Before playing clean the disc with a so...

Page 8: ...elect the audio channel to view or adjust its level 5 PLAY PAUSE To start or temporarily stop playback 6 STOP Stops playback of a disc and clears the stored program 7 SKIP TUNING In tuner mode press t...

Page 9: ...o the AM terminal of the main unit 5 AUDIO OUT L R Connects to an optional receiver or amplifier 6 AUDIO IN Connects to the audio output of the television or VCR 7 COAXIAL OUT Connects to an optional...

Page 10: ...d on the TV screen or and on the front panel display 10 SUBTITLE Selects a desired language for the subtitles while playing a DVD 11 ANGLE Changes the angles while playing a DVD 12 AUDIO ST MO Selects...

Page 11: ...motion play mode while playing a DVD 20 OPEN CLOSE To open close disc tray 21 GOTO Selects a start point to play 22 ENTER SET Move the cursor to select and execute the items or settings 23 Number but...

Page 12: ...green black subwoofer speaker to the green black SUB terminals NOTE After connecting all speakers check the connections using the test tone feature described on page 17 This feature will help you con...

Page 13: ...onnections Connect the supplied AM FM antennas for listening to the radio x Connect the AM antenna to the AM terminals x Connect the FM antenna to the Fm terminals FR 8 OHMS FL 8 OHMS C 8 OHMS RL 8 OH...

Page 14: ...allows you to view the highest quality pictures with high resolution x Use the 75 ohm coaxial cable to connect COAXIAL OUT jacks to the corresponding Coaxial type digital audio input on an amplifier e...

Page 15: ...hile in a seated position If necessary the rear speakers may be placed slightly higher than the center and front speakers Note the area labeled C in the diagram below 30 o 60o C D C D Balance To set t...

Page 16: ...otes x The default setting is NORMAL PS x Some DVD discs do not permit Pan and Scan mode playback and will automatically playback in Letterbox mode and vice versa x Be sure to set the screen mode on y...

Page 17: ...the following screen Select the desired delay time of the center speaker as follows OFF 3MS 6MS 9MS 12MS 15MS NOTE The default setting is 15ms We recommend that you change it to 9ms Rear delay settin...

Page 18: ...data recorded in multiple languages To adjust this setting use the setup menu select preferences to access the following screen The default setting is ENGLISH Selecting the parental control level This...

Page 19: ...re to change the password from 9999 to the new 4 digit password you have entered NOTE To avoid locking this function forever when you forget the new password you set You can use the password 9999 to u...

Page 20: ...sc on the disc tray NOTE Load the disc placing the label side face up and using the disc tray as a guide for proper alignment When playing a double sided DVD disc load it with the desired playing side...

Page 21: ...le chapter or tracks Press the MEM or MEM button while playing a disc The playback will go to the previous or next title chapter or track Notes x When using repeat title chapter or track playback mode...

Page 22: ...is for use with CD audio discs only By selecting and programming the order of the tracks on a disc to be played you can create your own program One program can be stored in the system and contain up...

Page 23: ...back Viewing disc information You have the option to view current information such as titles and chapters on DVD discs or tracks on VCD and CD discs When playing DVD discs 1 Press DISPLAY button once...

Page 24: ...control Some Video CD discs have PBC playback control menus that are displayed automatically upon playback Use these menus to select playback options DISPLAY MENU When playing VCD2 0 discs with PBC th...

Page 25: ...is setting will be cancelled automatically when the disc tray is opened or the power is turned off Angle selection Some DVD discs contain scenes which have been shot simultaneously from a number of di...

Page 26: ...ta can be recorded on DVD discs in a number of languages or audio tracks allowing you to select the desired language While playing DVD discs press the AUDIO button once to display the current language...

Page 27: ...he audio output mode as follows MONO LEFT MONO RIGHT STEREO NOTE This system does not support CD G formatted discs Selecting the output signal Progressive Interlaced Some televisions or monitors are e...

Page 28: ...ailable Note After pressing the TUNE or TUNE MEM or MEM buttons the listening mode will automatically change to stereo Storing radio stations You can easily enter and store up to 40 AM or FM radio sta...

Page 29: ...timer Use this function to program the system to turn off automatically after a specified amount of time SLEEP Press the SLEEP button repeatedly to select the following the time intervals in minutes 1...

Page 30: ...during the warranty period take the product and the RadioShack sales receipt as proof of purchase date to any RadioShack store RadioShack will at its option unless otherwise provided by law a correct...

Page 31: ...n on the remote control if the green STANDBY LED on the front panel is turn on x The protective device on the system has been activated because of a short circuit Turn off the system eliminate the sho...

Page 32: ...32...

Page 33: ...33...

Page 34: ...34...

Page 35: ...age rejection radio FM 25dB AM 28dB IF rejection radio FM 60dB AM 24dB Signal to Noise ratio FM 60dB AM 40dB AM suppression ration FM 30dB Harmonic distortion FM mono 3 FM stereo 3 AM 5 Frequency Resp...

Page 36: ...mm Weight 0 52Kg each Surround System 1 way no shielded Impedance 8 ohm Speaker drivers 3 full range Dimension W90 X H147 X D110 mm Weight 0 45Kg each SUBWOOFER Subwoofer 6 1 2 Output power 30W Imped...

Reviews: