background image

12 — English

App images may vary.

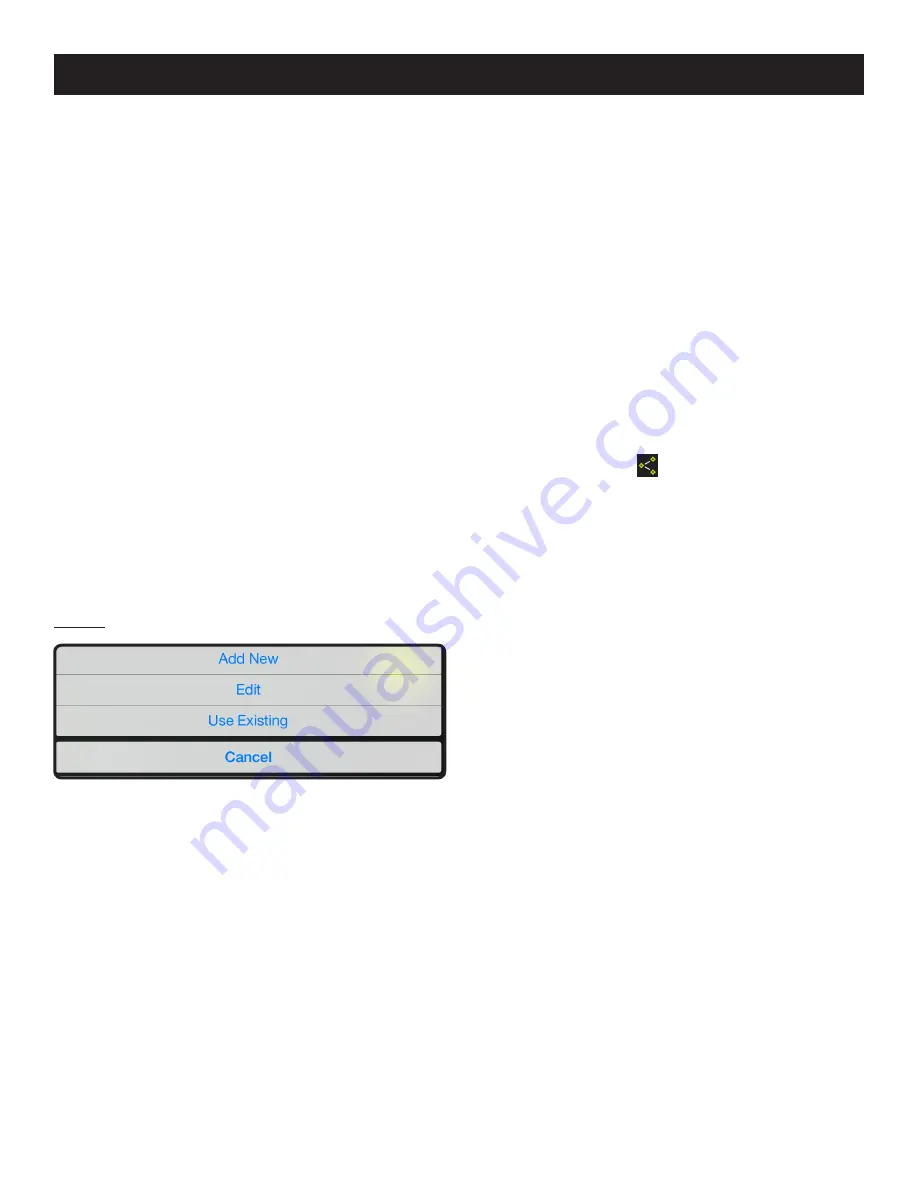
MANAGING YOUR PROJECTS

See Figure 17.

To add, edit, delete or share your images:

Tap the project name. A menu appears showing 

Add New

Edit

Use Existing

 or 

Cancel

.

Add New

 Tap 

Add New

 and enter the name of your new project.

 Tap

 Done 

to return to the screen. Any screen shots or 

images saved will be stored under this new project name.

  To review images, tap the file cabinet icon in the lower left 

corner of the screen. Tap the image to display the saved 
screenshot.


NOTE:

 If no images have been saved, you will receive a 

notice that no readings are available in this project. You 
must save an image before you can open to review.

Edit

  Delete or add characters in the open project name and 

type in a new or revised name for your project.

Use Existing

  Scroll through the list of project names and select the 

one you wish to access.

 Tap 

Done

 to load the project.

OPERATION

Fig. 17

CREATING NOTES

Tap the notes icon in the top right corner of the projects 
screen. A menu appears displaying 

Photos

Audio Memo

Location

 and 

Notes

.

 Tap  plus 

(+)

 for 

Photos

 to take a picture in the selected 

project or view current photos.

 Tap  plus 

(+)

 for 

Audio Memo

 to record a voice memo of 

up to two minutes in the selected project. Tap the green 
button to begin recording. Tap again to stop.

 Tap  plus 

(+)

 for 

Location

 and select 

Use Current Loca-

tion

 to record your current location in the selected proj-

ect. To edit or manually enter the location, tap plus 

(+)


again to access the keyboard.

 Tap  plus 

(+)

 for 

Notes

 to access the notes screen. 

Tap 

plus 

(+)

 again to access the keyboard.

SHARING NOTES

  Select the share icon 

.

  Select the share icon on each piece of data you wish to 

share.

  Select the share method.

Summary of Contents for Phone Works ES1000

Page 1: ...s may increase the risk of electric shock or cause damage to the device Do not use on a ladder or unstable support Stable footing on a solid surface enables better control of the device in unexpected...

Page 2: ...rious injury to the user could result IMPORTANT SAFETY INSTRUCTIONS Ensure the device is disconnected and turned off before inserting or changing batteries Do not mix old and new batteries or differen...

Page 3: ...property damage SYMBOLS Some of the following symbols may be used on this device Please study them and learn their meaning Proper interpretation of these symbols will allow you to operate the device...

Page 4: ...t Pythagorean method Add to previous measurement Subtract from previous measurement Delete ICON DESCRIPTION FUNCTION Main RYOBI Phone Works app home screen Laser is ON Laser is OFF Take a picture Capt...

Page 5: ...device Before first use remove the red pull tab to activate the batteries Disconnect the device from your smartphone Remove the battery cover by inserting the edge of a coin into the slot and twisting...

Page 6: ...pen the LASER DISTANCE MEASURER app segment The user must read the Laser Radiation DANGER that appears on the screen The app will not become active until the user taps OK at the bottom right of the sc...

Page 7: ...e most accurate measurements Limit the range of measurement to 90 ft Measurements are calculated from the bottom of the device Aiming at glossy surfaces may deflect the laser beam and affect accuracy...

Page 8: ...EASUREMENT See Figure 7 Select the Area icon Position the device to take a width measurement NOTE The icon will flash to show which measurement you are taking Turn the laser On When the laser is turne...

Page 9: ...icon The dotted line indicating the base a will begin flashing Position the device for a horizontal measurement which will be calculated from the bottom of the device Tap the Laser button The measurem...

Page 10: ...has a dotted line that aligns with a solid line when the device is level Both will indicate 0 Fig 12 Fig 11 DRAWING MEASUREMENTS ON A PHOTO See Figures 11 16 Choose the type of measurement you want to...

Page 11: ...asure ment Touch a point to indicate the start and end for all measure ments taken 2 for area length and width 3 for volume length width height Tap SAVE to save the photo with measurement to the proje...

Page 12: ...e for your project Use Existing Scroll through the list of project names and select the one you wish to access Tap Done to load the project OPERATION Fig 17 CREATING NOTES Tap the notes icon in the to...

Page 13: ...home screen will dis play all projects and icons representing the app segments used for each project PROJECT SUMMARY See Figures 19 Accessing the file cabinet from within a project will display the ap...

Page 14: ...sh can ap pears next to each item you have selected to delete Tap DELETE to select the item Tap DELETE again to delete the project view To delete an entire project across multiple devices return to th...

Page 15: ...122 F such as on a dashboard or vehicle interior BATTERY RECYCLING Consult the Earth 911 website www earth911 com or your local waste authority for information regarding available re cycling and or d...

Reviews: