2.11
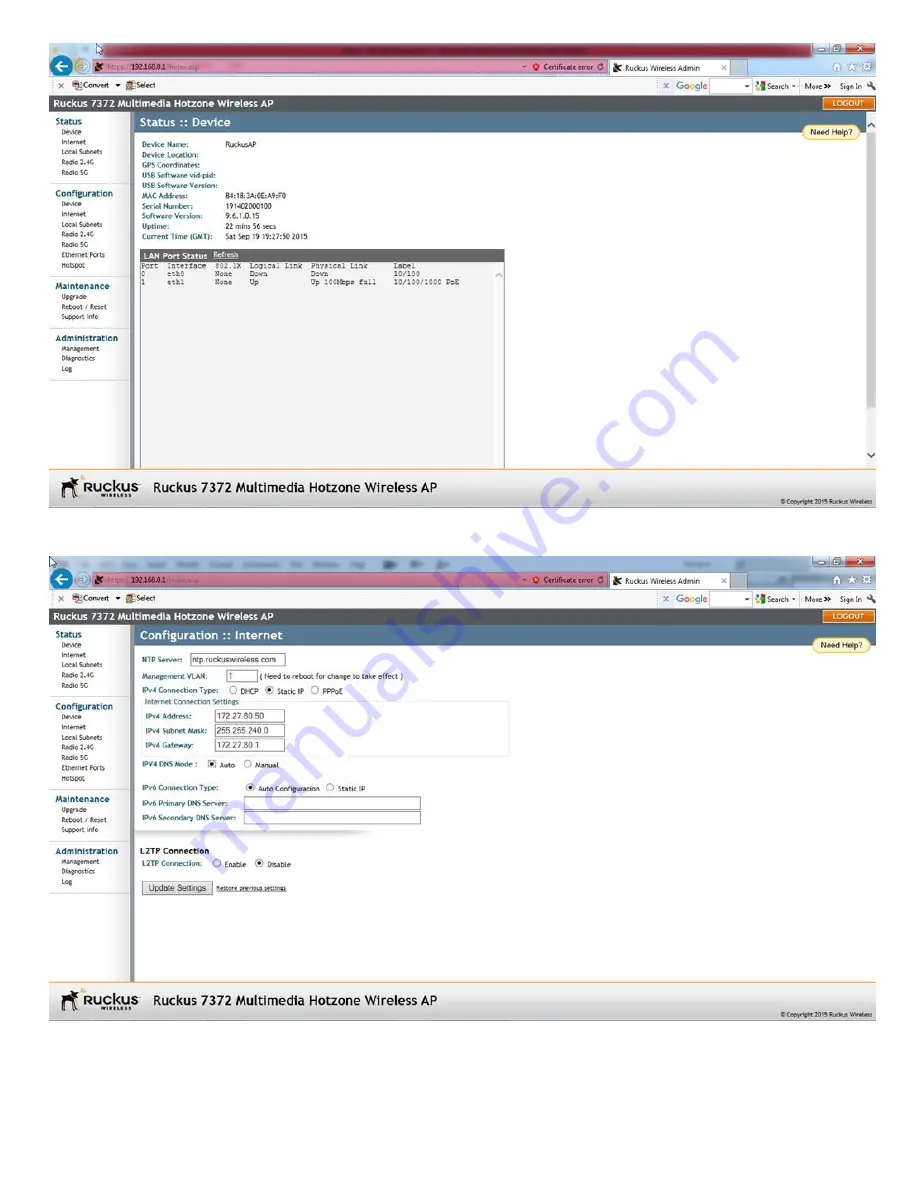
Fill in the values as shown below. Press the Update Settings button.
2.12
There will be no response from the Ruckus ZF 7372. This is because we have just changed the IP address of the Ruckus ZF 7372 to 172.27.80.50. Go back to the step 2.1 and restart. This
time in the step 2.6, put in the IP address 172.27.80.10 followed by the Subnet mask 255.255.240.0. Also in the step 2.8, put in the IP address of 172.27.80.50.
Entering into the Ruckus ZF 7372 as shown in the Step 2.10, click on the Radio 2.4G under Configuration. The following screen will appear. Click on SmartSelect and change it to any fixed
channel 1 - 11. The SmartSelect is to be avoided as it can change the channel in midst of the sound transmission causing glitches and stutters in the audio. As for the channel to which the
SmartSelect should change, it is best to select one that is least used in the actual environment. Use an app such as WiFi Analyser for Android or Apple phones to see the channel usage.
In our example, we select Channel 6. Next click on Update Settings button.


