


2.5
STARTUP AND OPERATIONAL CHECK
Plug in the ac power cord to apply power. When power is ap-
plied, all LEDs will first flash red, then green. This confirms
that all LEDs are working correctly. Also, the call waiting
window will display asterisks (****) then dashes (----).
☞
If the keypanel cannot establish data communications
with the intercom system, asterisks will continue to
display. Check the intercom cable connections (in
particular, the data connections).
Several symptoms may occur if the keypanel address is in-
correctly set: 1) there may be no indication when there is an
incoming call; 2) when an intercom key is pressed to talk,
the destination may not hear the audio, 3) the call waiting
display may behave erratically. If any of these symptoms
occur, recheck the MKP-4 Address switch setting.
☞
Important! Always reset the keypanel after changing
the Address switch setting. Do this by briefly
removing power to the keypanel.
This completes the standard installation procedures.
3
KEYPANEL SETUP
3.1
ASSIGNING INTERCOM KEYS
You can assign MKP-4 intercom keys using ZEUSedit or
ADAMedit. For help with key assignment in ZEUSedit or
ADAMedit, click the KP button on the program's toolbar,
then press the F1 key on the computer keyboard for help.
You can also assign keys at the MKP-4, with the follow-
ing exceptions: 1) Special functions (auto follow, auto lis-
ten, etc.) cannot be assigned. 2) You can only assign one
destination to each talk key (talk level 1). If you need to
assign special functions, or activate two destinations with
a single talk key (talk level 1and talk level 2) you must as-
sign the key using ZEUSedit or ADAMedit. Note: If you
assign talk level 1 from the MKP-4, it will erase any talk
level 2 assignment that you previously assigned using
ZEUSedit or ADAMedit.
Assign intercom keys at the MKP-4 as follows:
1.
Make sure the key that you want to assign is off.
2.
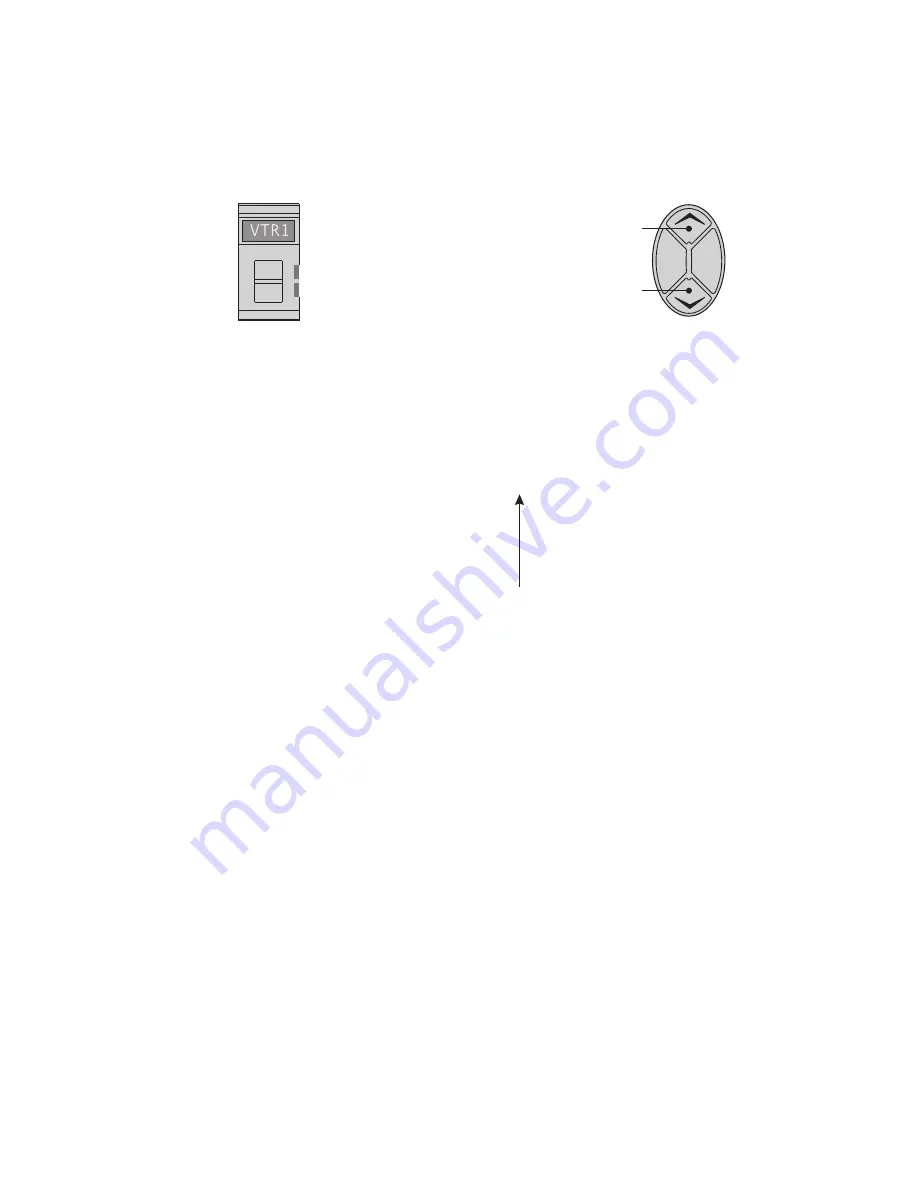
Press the Scroll Up or Scroll Down key to view the
list of intercom names in the call waiting window.
If you start by pressing Scroll Up, the list will start
with all point-to-point names. If you continue to
scroll up, you will scroll through the entire list of
point-to-point names and then start through the list of
party line names, followed by IFB names, etc. Here is
the order of the scroll list when scrolling up:
UR: UPL Resources
IS: ISO's
RY: Relays or GPI Outputs
SL: Special Lists
IF: IFB's
PL: Party Lines
P-P: Point-to-point (Intercom Ports)
☞
You can scroll one name at a time by clicking and
immediately releasing the Scroll Up or Scroll Down
button. If you press and hold the button it will start
scrolling slowly through the names. After a few
seconds the scroll speed will increase. This is useful
when you need to scroll through a long list.
☞
By default, the following types of names will not
appear in the scroll list: UPL Resources, IFB's,
Relays (GPI outputs), and ISO's. This is because by
default, the scroll enable check boxes for these items
are not checked in ADAMedit or ZEUSedit. If you
don't know how to activate these check boxes,
proceed as follows: Run ADAMedit (or ZEUSedit).
Then, press the F1 key on your computer for help.
Click the Search button in help, and type "UPL
Resources" or "IFB", etc (without the quote marks).
From the list of available help topics, select any topic
that tells you how to access or set up the item that
you typed. For example, there is a topic that tells you
how to access UPL Resources. Once you access UPL
Resources, again press the F1 key for help. Within
the new help screen, you should find help with the
scroll enable feature.
User Instructions MKP-4 Keypanel 13
Clear
Copy
Scroll
Down
Scroll
Up
Figure 5. Scroll, Copy and Clear Buttons
Call waiting
Figure 6. Call Waiting Window and Key


