www.rslogger.com
1-2-3 Quick Start & Configuration
1. Power it on.
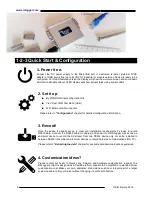
Connect the DC power supply to the MicroUSB port or dedicated terminal. External 5VDC
adapter or USB port is fine (up to 24VDC for industrial or module version). Device is ready to be
configured. For OLED featured version the display will show the welcome screen and some basic
information. Models without OLED display will show actual status using system LEDs.
2. Set it up.
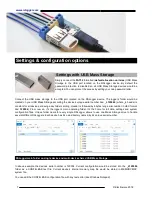
By CONFIG.INI text configuration file
Via Virtual COM Text Menu (USB)
With Ethernet LAN connection
Please refer to
“
Configuration
”
chapter for detailed configuration information.
3. Record!
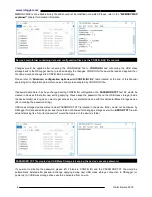
Once the device is already set up to meet your installation requirements it’s ready to record
RS232 data. Connect the RS232 cable (or cables) and power it on! RSLogger may act as an
end-point device to record the RX stream from one RS232 device only or can be installed in
between RS232 transmitter and receiver devices to record both side communications (RX, TX).
Please refer to
“
Extracting the data
”
chapter for available data download options explained.
4. Customization ideas?
Please contact our Team to discuss any firmware and hardware customization request. The
RSLogger project is designed as a flexible platform capable to be modified or extended at low
customization cost. Make your own, dedicated, stand-alone solution or integral part of a larger
system capable to fit your project without changing it’s entire architecture.
6 ©
Electroware
2018


