About the Wireless LAN Function
56
Wireless LAN Function Settings
You can view or edit the wireless settings.
Wireless Menu (Wireless)
1.
Press the [MENU] button.
2.
Use the [VALUE] dial to select “Wireless.”
3.
Press the [ENTER] button.
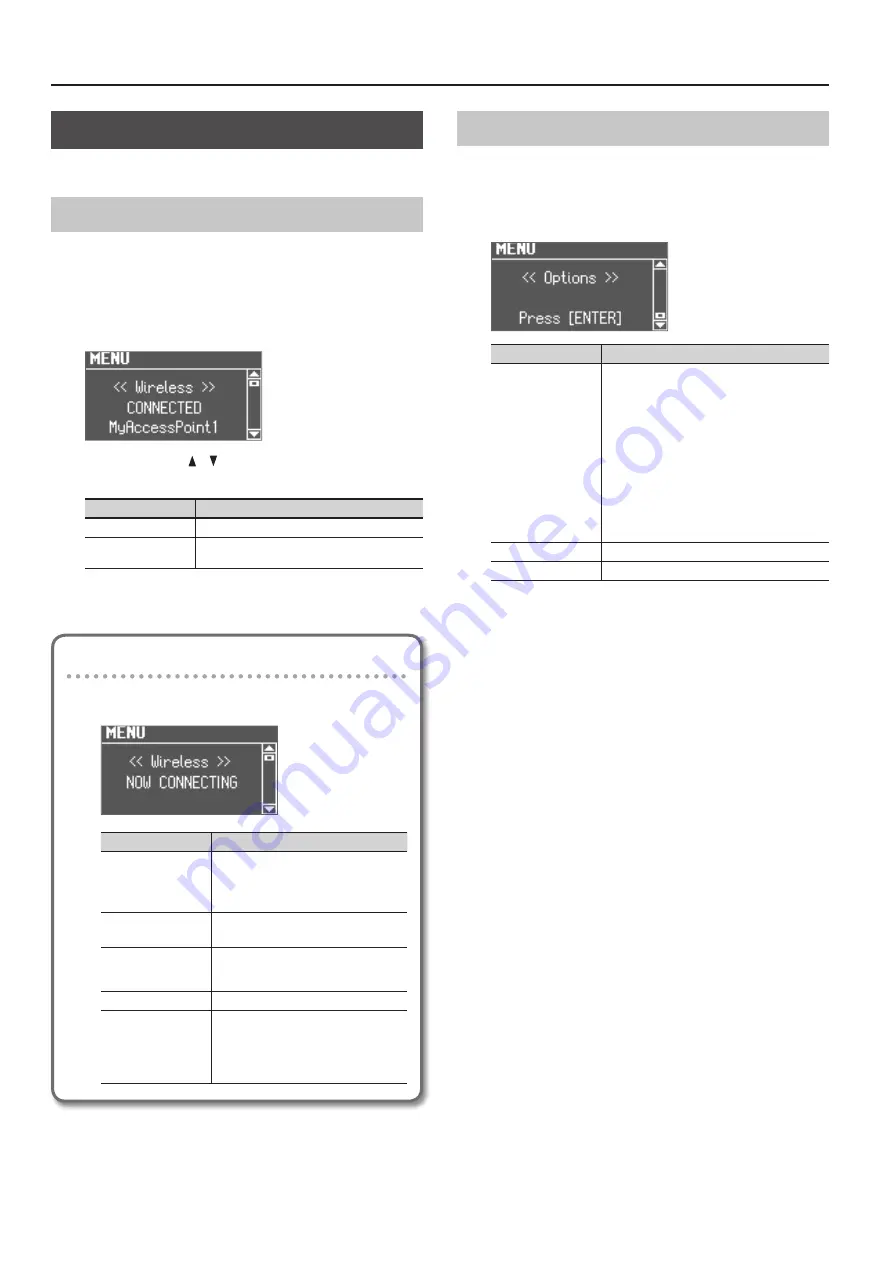
The wireless menu screen appears.
4.
Use the CURSOR [ ] [ ] buttons to select the menu that
you want to edit.
Menu
Explanation
WPS
Connect using WPS (p. 55).
Options
Make settings for Wireless ID or Ad-Hoc mode
(Ad-Hoc Mode) (p. 56).
5.
Press the [ENTER] button.
Status indication
The wireless LAN status is shown at the beginning of the
wireless menu screen.
Display
Explanation
CONNECTED
Currently connected to the wireless LAN
access point.
The identifier (name) of the connected
wireless LAN access point is shown.
NOW CONNECTING
A connection with the wireless LAN access
point is being established.
NOT CONNECTED
The wireless USB adapter is inserted, but
not connected to a wireless LAN access
point.
NOT AVAILABLE
The wireless USB adapter is not inserted.
AdHoc
Ad-Hoc mode (p. 57).
The Ad-Hoc SSID and Ad-Hoc Key are
shown.
For details, refer to “Connecting in Ad-Hoc
Other Settings (Options)
Make settings for Wireless ID or Ad-Hoc mode (Ad-Hoc Mode).
1.
Select the “Options” from the wireless menu, and press
the [ENTER] button (p. 56).
The Options screen appears.
Parameter
Explanation
Wireless ID
Specifies the final digits of this unit’s device name
and Ad-Hoc SSID (VR-09) that will be shown as the
instrument in the wirelessly connected app.
Normally, you should specify “0,” but if you have
more than one of the same instrument, you can set
the Wireless ID in the range of 1–99 to change the
device name and Ad-Hoc SSID for each instrument,
as follows.
If Wireless ID=0, “VR-09” (default value)
If Wireless ID=1, “VR-09_1”
:
If Wireless ID=99, “VR-09_99”
Ad-Hoc Mode
Turns Ad-Hoc mode on/off.
Ad-Hoc Channel
Specifies the channel (1–11) for Ad-Hoc mode.
* The Options settings are confirmed and saved when exiting
from the Options screen.
* If you change the Wireless ID or the Ad-Hoc Channel, it may take
one or two minutes for the connection to succeed.
Summary of Contents for V-Combo VR-09
Page 1: ...VR 09 VR 730 Copyright 2017 ROLAND CORPORATION Reference Manual...
Page 2: ......
Page 65: ...01...


