36
Compositing the Video
2.
Select the channel of the inset screen.
Use buttons 1 through 8 on the [PST/EFFECT] side to select the channel of the inset screen.
fig.select-inset.eps
3.
Preview the result of compositing.
Press any [PinP] position button to make it light up in green. The location where the inset screen is displayed varies depending on
the button you press. When any of the [PinP] buttons is lighted, a preview of the compositing result is displayed in [PVW] section
of the multi-view monitor. At this stage, the final output has not yet been changed.
fig.press-PinP-button.eps
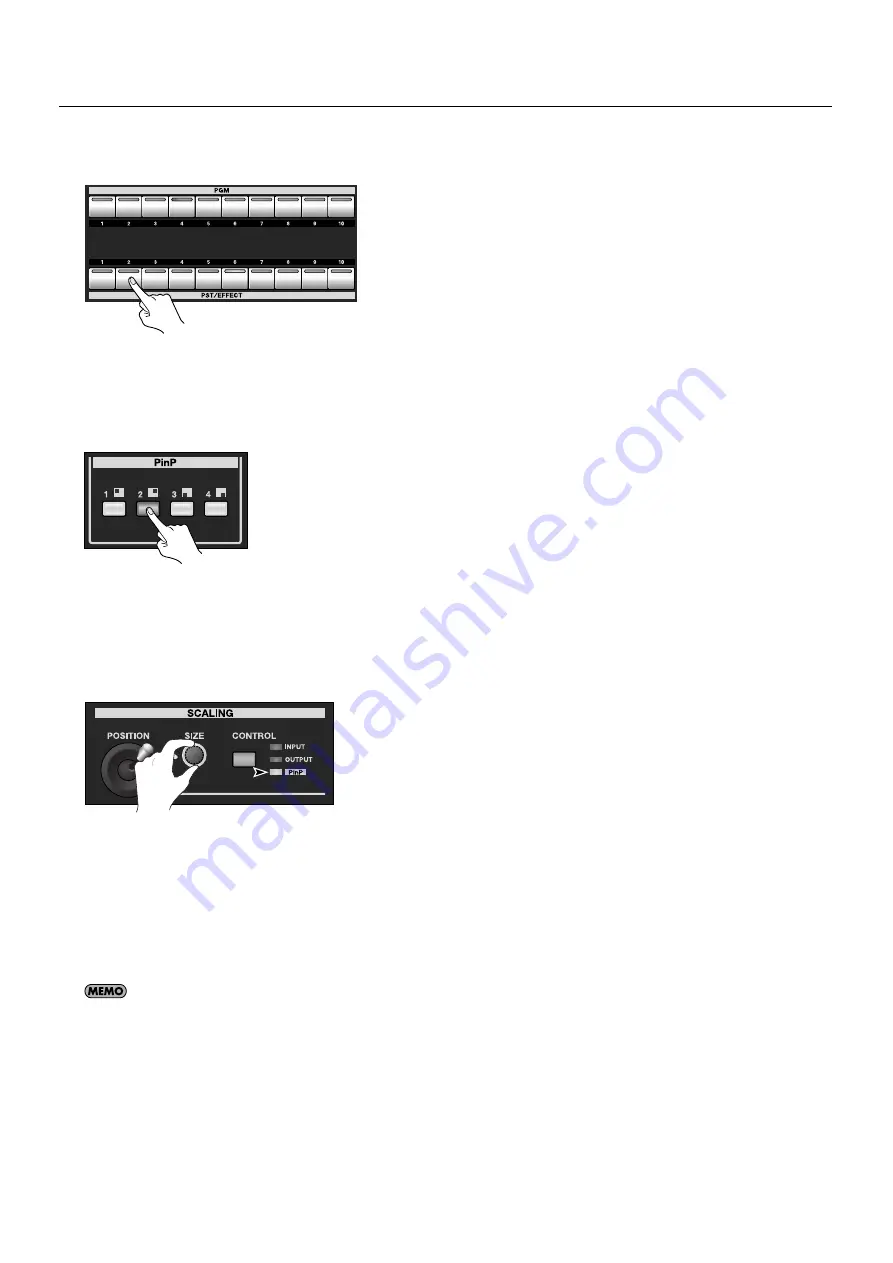
4.
Adjust the size and position.
Go to the SCALING section and use the [CONTROL] button to select [PinP]. Use the [SIZE] dial and the [POSITION] joystick to adjust
the size and positioning.
* You can use the menus to save the size and position as well as settings for border color, width, and other parameters to individual PinP
position buttons. You can also zoom the picture in the inset screen.
fig.adjust-size-position.eps
5.
Output the composited result.
Use the [AUTO] or [CUT] button or the video fader to output the result of compositing. The color of the PinP position button
changes to red at this time.
6.
Make the inset screen disappear.
Pressing the [AUTO] or [CUT] button again or moving the video fader in the opposite direction makes the inset screen disappear.
Making a second press of the [PinP] button you pressed in step 3 also makes the inset screen disappear.
You can use the menus to move the displayed position inside the inset screen. For information on the details of menus and their items, download
“Reference Manual” from the following Roland website.
http://www.rolandsystemsgroup.net/


