32
Basic Operations
4.
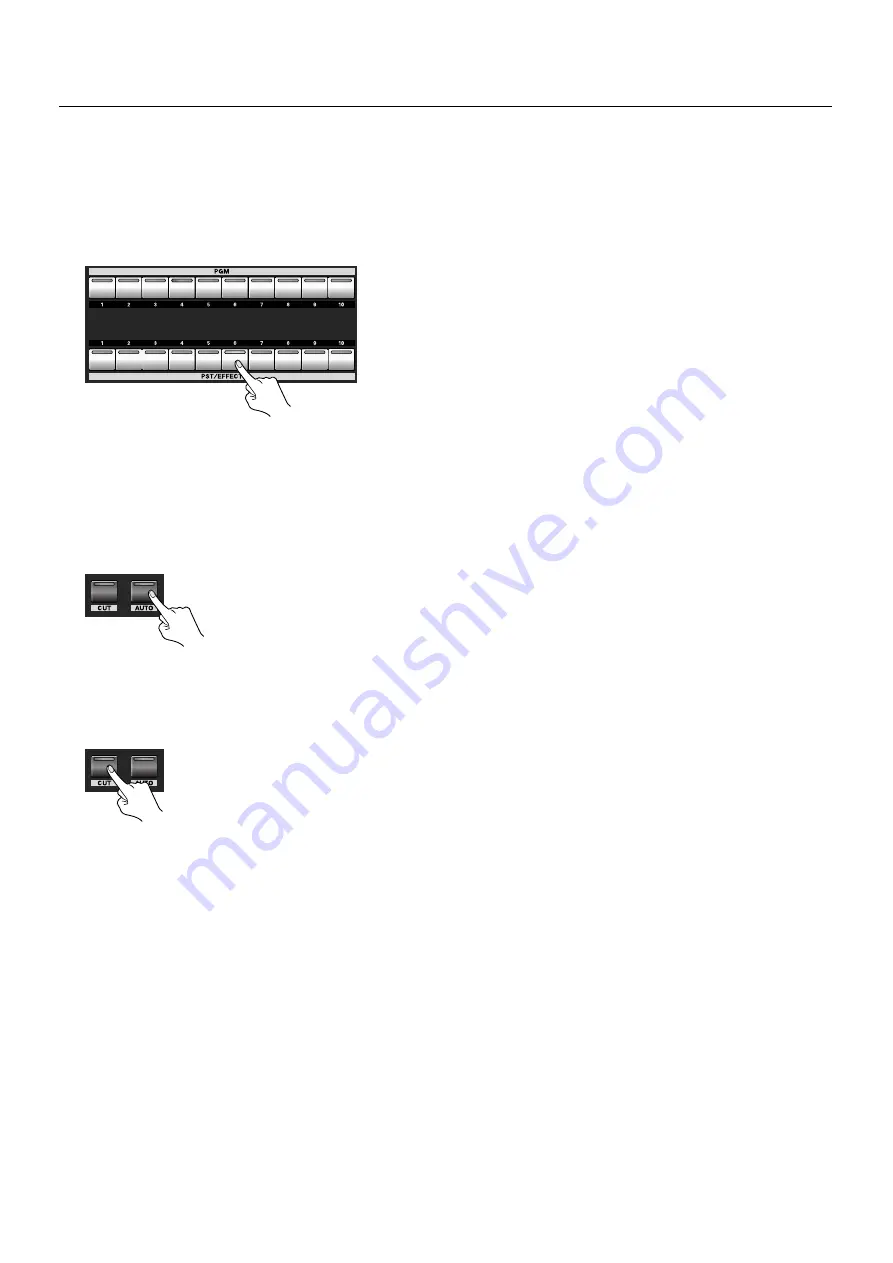
Select the channel you want to output next (standby).
Use the cross-points on the [PST/EFFECT] side to choose the channel you want to output next. Pressing the button makes it light
up in green. On the multi-view monitor, the selected channel is displayed with a green border around it. The video on the
selected channel is also displayed in the [PVW] section.
* The 9 and 10 buttons on the [PST/EFFECT] side are used when outputting a still image or a color background.
* You can change the source assignments to cross-points (p. 49).
fig.select-PST.eps
5.
Switch the video.
Preview the standby video, and press the [AUTO] button when you want to make the transition. The picture changes and the
[PGM] button for the selected channel lights up in red. On the multi-view monitor, a red border is displayed around the channel
being output. The output video is also displayed in the [PGM] section. The channel selected before transition on the [PGM] side
becomes the selected one on the [PST/EFFECT] side.
* The button flashes while the transition effect is applied. On the multi-view monitor, the border around the source video turns to red.
fig.AUTO-button.eps
Switching without Transitions Effects
Using the [CUT] button makes the video change instantly, with no transition effect applied. Use [PST/EFFECT] buttons 1 through 8
to select the channel you want to output next, then press the [CUT] button.
fig.CUT-button.eps


