Manual Version 3.21
Page. 35 of 73
SECTION 5 - MEMORY CARTRIDGE
The Memory Cartridge can be used to save additional Patch Memory or Tone data.
The Memory Cartridge is essential if you wish to store more Patch Memory or Tone data than can be
accommodated on the JX-10 Internal Memory store. The complete internal memory of the JX-10 can be transferred
to the Cartridge Memory and it is possible to reload it back to the Internal Memory. With multiple cartridges there is
no limit to the number of Tones and Patches that can stored.
As an alternative, thanks to the improved and updated MIDI implementation, the bulk/load procedure from/to the
instrument can be achieved with dedicated software such as
EMAGIC SoundDiver®
or
SoundQuest MidiQuest®
.
Note: Don’t forget to tell the software that you are dumping/loading from an MKS-70 – not a JX-10.
The new firmware also now supports
M1024C cartridges
(16 banks, equivalent of 16 M64C directly available).
Contact Fred Vecoven if you are interested in getting hold of one. (Note that they aren’t available as a “new”
purchase as such – he upgrades your old M64C).
a. Copying the Entire Data store from the JX-10 (All Patch Memories and 50 Tones)
All the 64 Patch Memories and the 50 Tones can be copied to the Memory Cartridge M-64C, and loaded back to
the JX-10’s internal memory at any time.
1) Saving
1. Set the Protect switch on the Memory Cartridge to the OFF position.
2. Whilst holding the WRITE button on the JX-10 down, press the INT
▼
CART Copy button.
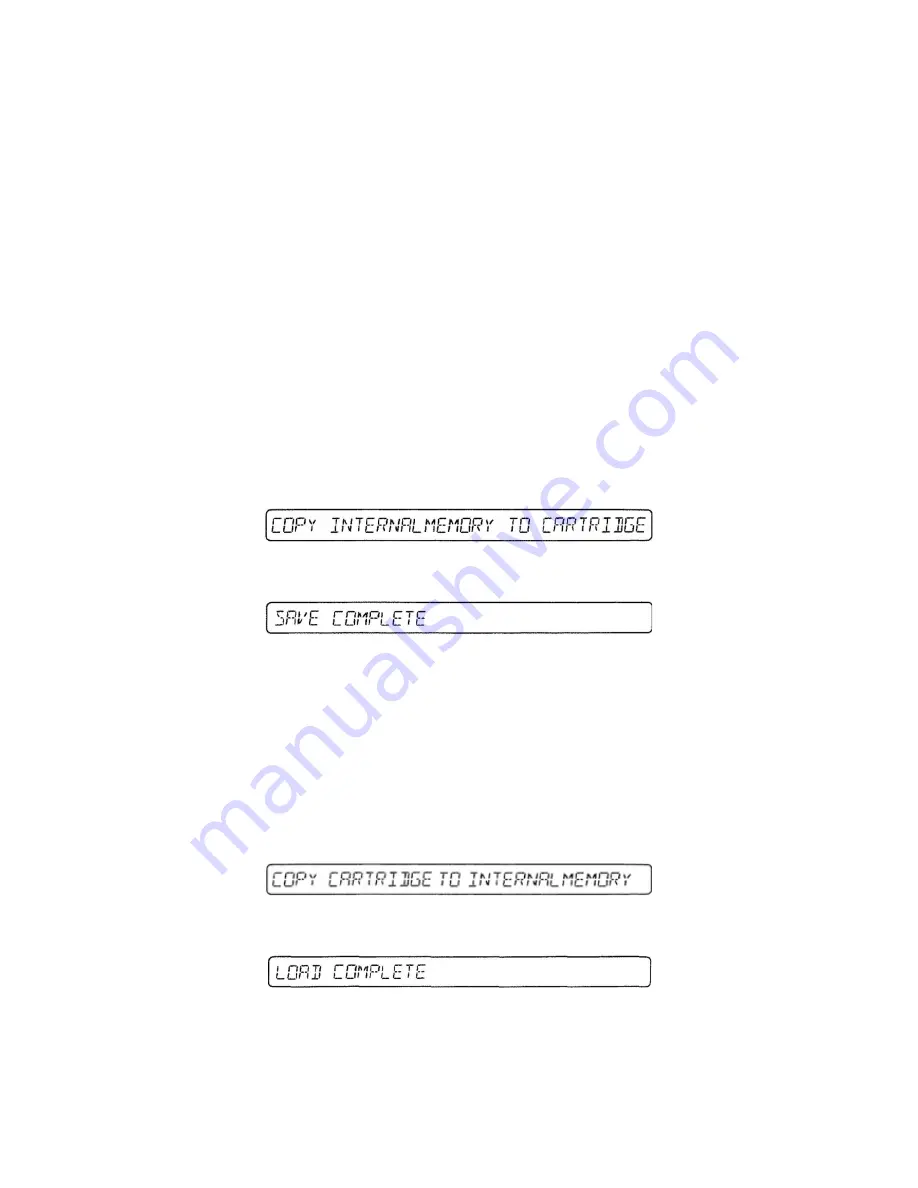
The Display will respond with:
3. Press the ENTER Key.
After a few moments, the Display will indicate as above. Saving is now complete. In a few seconds, the Display will
return to the normal Patch Memory indication.
4. Return the Protect switch on the Memory Cartridge to the ON position.
2) Loading
1. Set the Protect switch on the JX-10 to the OFF position.
2. Whilst holding the WRITE button on the JX-10 down, press the CART
▲
INT Copy button.
The Display will respond with:
3. Press the ENTER Key.
After a few moments, the Display will indicate as above. Loading is now complete. In a few seconds, the Display
will return to the normal Patch Memory indication.
4. Return the Protect switch on the JX-10 to the ON position.


