12
USING THE UNIT SAFELY
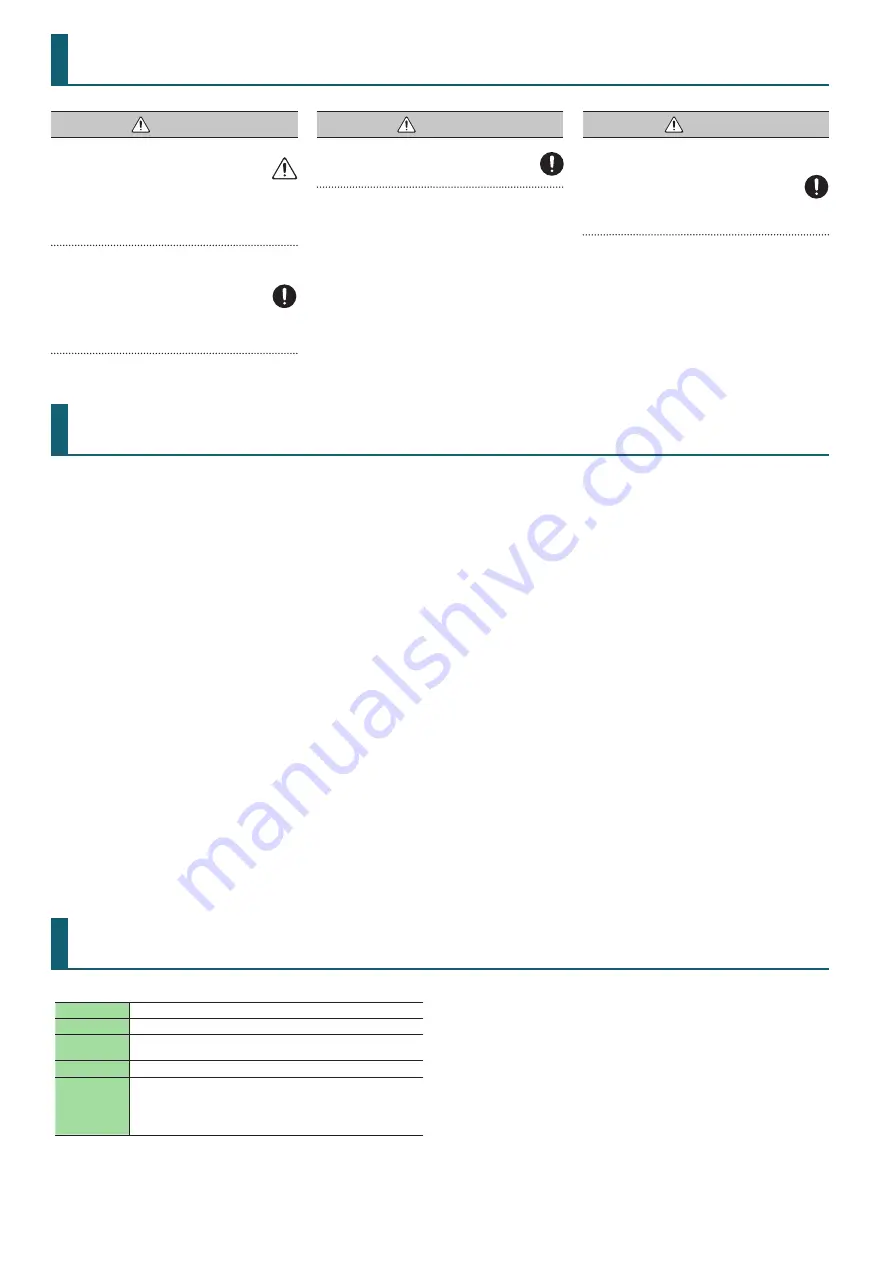
Roland DJ-707M: DJ Controller
Power Supply
AC adaptor
Current draw
2,000 mA
Dimensions
474 (W) x 331 (D) x 73 (H) mm
18-11/16 (W) x 13-1/16 (D) x 2-7/8 (H) inches
Weight
3.5 kg / 7 lbs 12 oz (excluding AC adaptor)
Accessories
Startup Guide
Leaflet “USING THE UNIT SAFELY”
AC adaptor
Power cord
USB cable
* This document explains the specifications of the product at the time
that the document was issued. For the latest information, refer to the
Roland website.
IMPORTANT NOTES
WARNING
Concerning the Auto Off function
The power to this unit will be turned off automatically
after a predetermined amount of time has passed since
it was last used for playing music, or its buttons or controls were
operated (Auto Off function). If you do not want the power to
be turned off automatically, disengage the Auto Off function.
For details on how to disable this function, refer to the owner’s
manual (PDF).
Use only the supplied AC adaptor and the
correct voltage
Be sure to use only the AC adaptor supplied with the
unit. Also, make sure the line voltage at the installation
matches the input voltage specified on the AC adaptor’s
body. Other AC adaptors may use a different polarity, or be
designed for a different voltage, so their use could result in
damage, malfunction, or electric shock.
WARNING
Use only the supplied power cord
Use only the attached power cord. Also, the supplied
power cord must not be used with any other device.
CAUTION
Handle the PHONO GROUND terminal
carefully
If you remove the screw from the ground terminal, be
sure to replace it; don’t leave it lying around where it
could accidentally be swallowed by small children. When
refastening the screw, make that it is firmly fastened, so it won’t
come loose.
Power Supply
5
Place the AC adaptor so the side with the indicator faces
upwards. The indicator will light when you plug the AC
adaptor into an AC outlet.
Placement
5
Depending on the material and temperature of the surface
on which you place the unit, its rubber feet may discolor or
mar the surface.
Repairs and Data
5
Before sending the unit away for repairs, be sure to make
a backup of the data stored within it; or you may prefer to
write down the needed information. Although we will do our
utmost to preserve the data stored in your unit when we carry
out repairs, in some cases, such as when the memory section
is physically damaged, restoration of the stored content may
be impossible. Roland assumes no liability concerning the
restoration of any stored content that has been lost.
Additional Precautions
5
Any data stored within the unit can be lost as the result
of equipment failure, incorrect operation, etc. To protect
yourself against the irretrievable loss of data, try to make a
habit of creating regular backups of the data you’ve stored in
the unit.
5
Roland assumes no liability concerning the restoration of any
stored content that has been lost.
5
Never strike or apply strong pressure to the display.
5
Continuous playing may cause dis-coloration of the pad, but
this will not affect the pad’s function.
5
Do not use connection cables that contain a built-in resistor.
Intellectual Property Right
5
It is forbidden by law to make an audio recording, video
recording, copy or revision of a third party’s copyrighted work
(musical work, video work, broadcast, live performance, or
other work), whether in whole or in part, and distribute, sell,
lease, perform, or broadcast it without the permission of the
copyright owner.
5
Do not use this product for purposes that could infringe on a
copyright held by a third party. We assume no responsibility
whatsoever with regard to any infringements of third-party
copyrights arising through your use of this product.
5
The copyright of content in this product (the sound waveform
data, style data, accompaniment patterns, phrase data, audio
loops and image data) is reserved by Roland Corporation.
5
Purchasers of this product are permitted to utilize said
content (except song data such as Demo Songs) for the
creating, performing, recording and distributing original
musical works.
5
Purchasers of this product are NOT permitted to extract
said content in original or modified form, for the purpose
of distributing recorded medium of said content or making
them available on a computer network.
5
ASIO is a trademark and software of Steinberg Media
Technologies GmbH.
5
This product contains eParts integrated software platform of
eSOL Co.,Ltd. eParts is a trademark of eSOL Co., Ltd. in Japan.
5
Roland is either a registered trademark or a trademark
of Roland Corporation in the United States and/or other
countries.
5
Company names and product names appearing in this
document are registered trademarks or trademarks of their
respective owners.
Main Specifications


