Controller Assignments
The Controller Assignment function allows for specific Xpression
™
adjustable parameters to be
mapped (or assigned)* to a MIDI controller for real-time control by an expression pedal.
The Controller Assignment option also lets you store an upper and lower parameter value limit
which the controller cannot exceed. For example, when using an expression pedal with a Rocktron All
Access
™
,MIDI Mate
™
, MIDI XChange
™
footcontroller to send continuous control changes to control
the "PITCH" parameter, an upper limit of +300 can be set and a lower limit of -200 can be set - even
though the actual parameter range is from +1200 to -2400. When the expression pedal is at its heel
position in this example, the "PITCH" parameter will be at -200, while at its toe position it will be at
+300. Up to ten controllers can be assigned for each individual preset.
Operating the Xpression
™
Step 1
Step 2
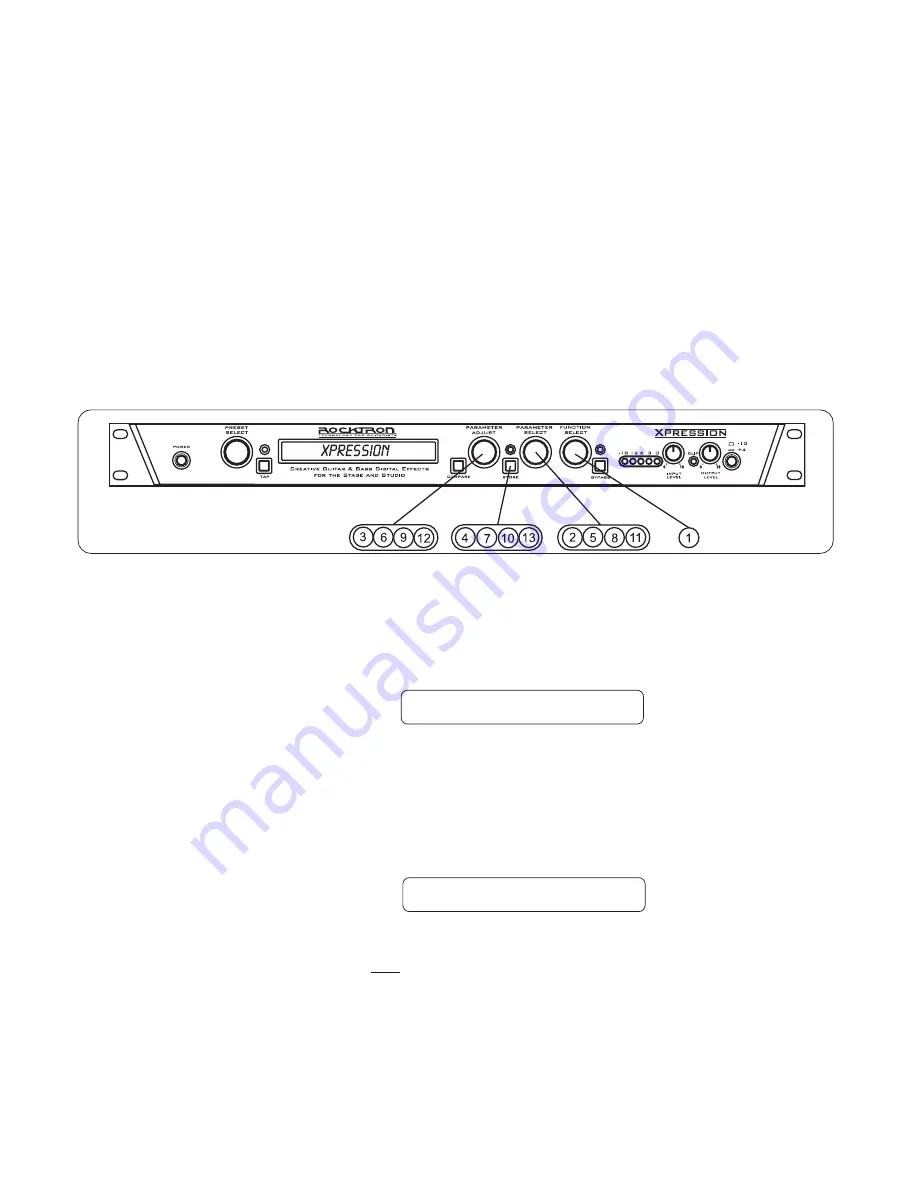
To access the Controller Assign function, turn the FUNCTION SELECT control clockwise to
"CONTROLLER ASSIG".
This parameter (CTR A only) also gives you the option of selecting "ADJ". When "ADJ" is
selected, the parameter assigned to the first controller (PA-A) can be instantly accessed by
turning the PARAMETER ADJUST control when the preset title is displayed. This allows you
to access a parameter that you adjust frequently without paging through function headings
and parameters.
Turn the PARAMETER SELECT control for the first parameter of the Controller Assign
function. This parameter allows you to select a controller number for the "CTR A" (Controller
A) parameter to respond to.
CONTROLLER ASSIG
CTR A
XXX
43
Summary of Contents for Xpression
Page 1: ......
Page 12: ...Using the Xpression in a preamp effects loop 9 ...
Page 13: ...Using the Xpression with a Guitar Amplifier Head 10 ...
Page 14: ...Using the Xpression with a Guitar Combo Amplifier 11 ...
Page 16: ...Using the Xpression with a Bass Amplifier Combo 13 ...
Page 17: ...Using the Xpression with a MIDI Footcontroller 14 ...
Page 18: ...Using the Xpression with a Phantom Powerable MIDI Footcontroller 15 ...
Page 20: ...Classic Configuration Block Diagram Block Diagrams 17 ...
Page 21: ...Rotary Configuration Block Diagram Block Diagrams 18 ...
Page 73: ...Notes ...
Page 74: ...Notes ...
Page 75: ...Notes ...


