Pg 18
Pg 19
CONNECTING THE REMOTE
CONTROLLER
To connect the remote controller to your R 58 or R 60V machine
follow the diagram and instructions below.
1. Ensure the machine is off (turn the on/off switch to position “0”).
2. Fit the mounting bracket (Fig C, page 18) to the back of the
remote controller.
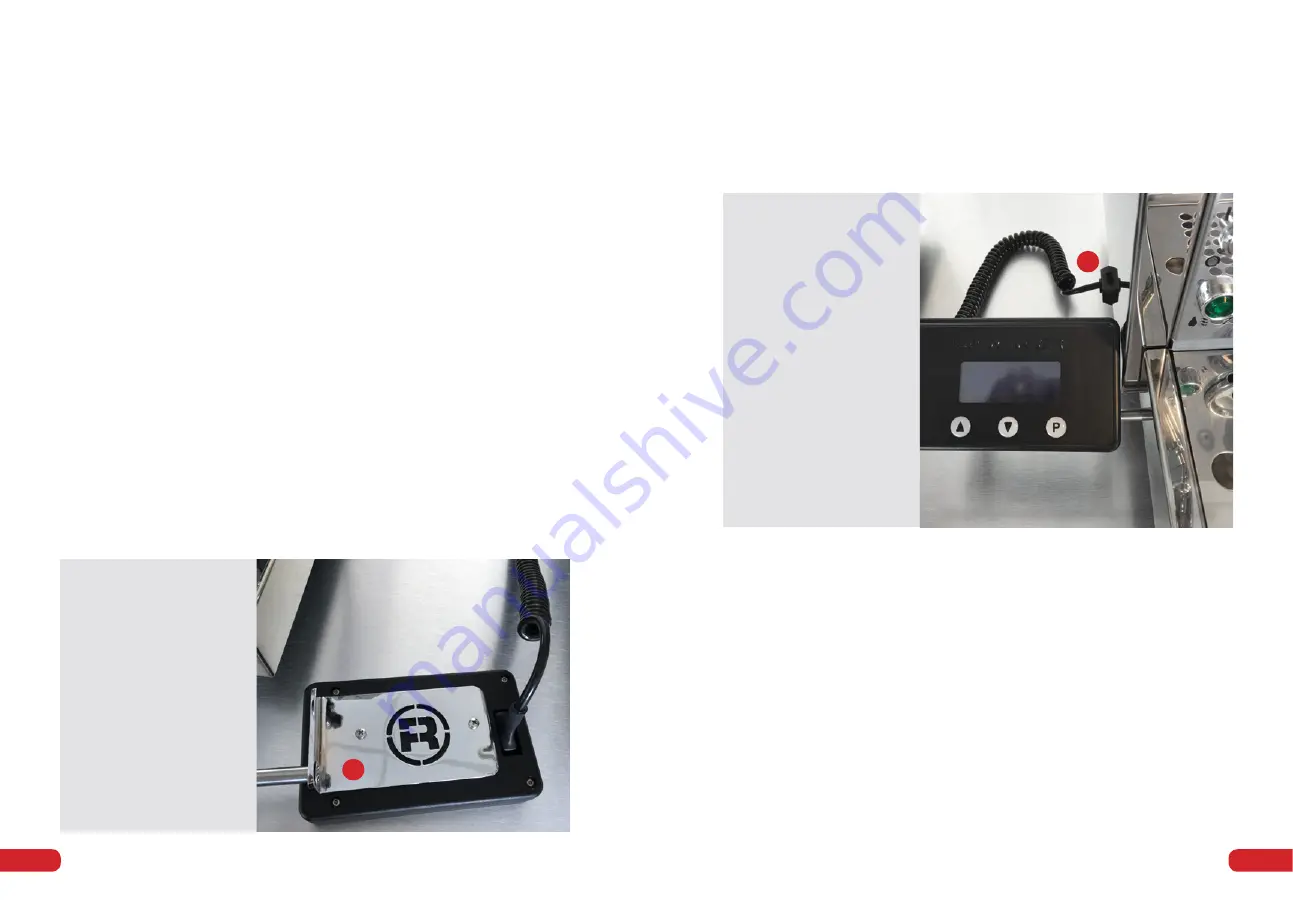
Connect the shaft to the machine under the drip tray. ENSURE
that the shaft is pushed in fully until it clicks into position.
3. Plug the cable into the socket at the base and side of the
machine (Fig D).
4. You can now turn the machine on (on/off switch to position “1”).
5. The machine is now ready to be programmed to your personal
parameters.
6. Do not connect and disconnect the remote controller unless the
machine is switched OFF.
Fig D. Plug the remote
controller into the
serial port on the side
of the R 58 / R 60V with
the machine off.
D
You can change the settings of the following parameters:
1. Language.
2. Hard plumbing to mains supply or machine water reservoir.
3. Service boiler on/off. The service boiler provides steam and hot
water. If you use your R 58 or R 60V for espresso only you can turn
the heating of this boiler off, so that only the coffee water boiler
will be heated.
4. Temperature unit - °C or °F.
5. The coffee water boiler’s temperature is factory set to 105° C
which reflects an extraction of around 92°C. You can set the
temperature anywhere between 95°C and 115°C.
6. The temperature of the service boiler is factory set to 123°C. You
can set the temperature to anywhere between 110°C and 126°C.
7. R 60V only – You are able to set 3 pressure profiles.
Fig C. Fit the mounting
bracket to the back of
the remote controller.
C
(mounting bracket supplied only with R 60 model)


