


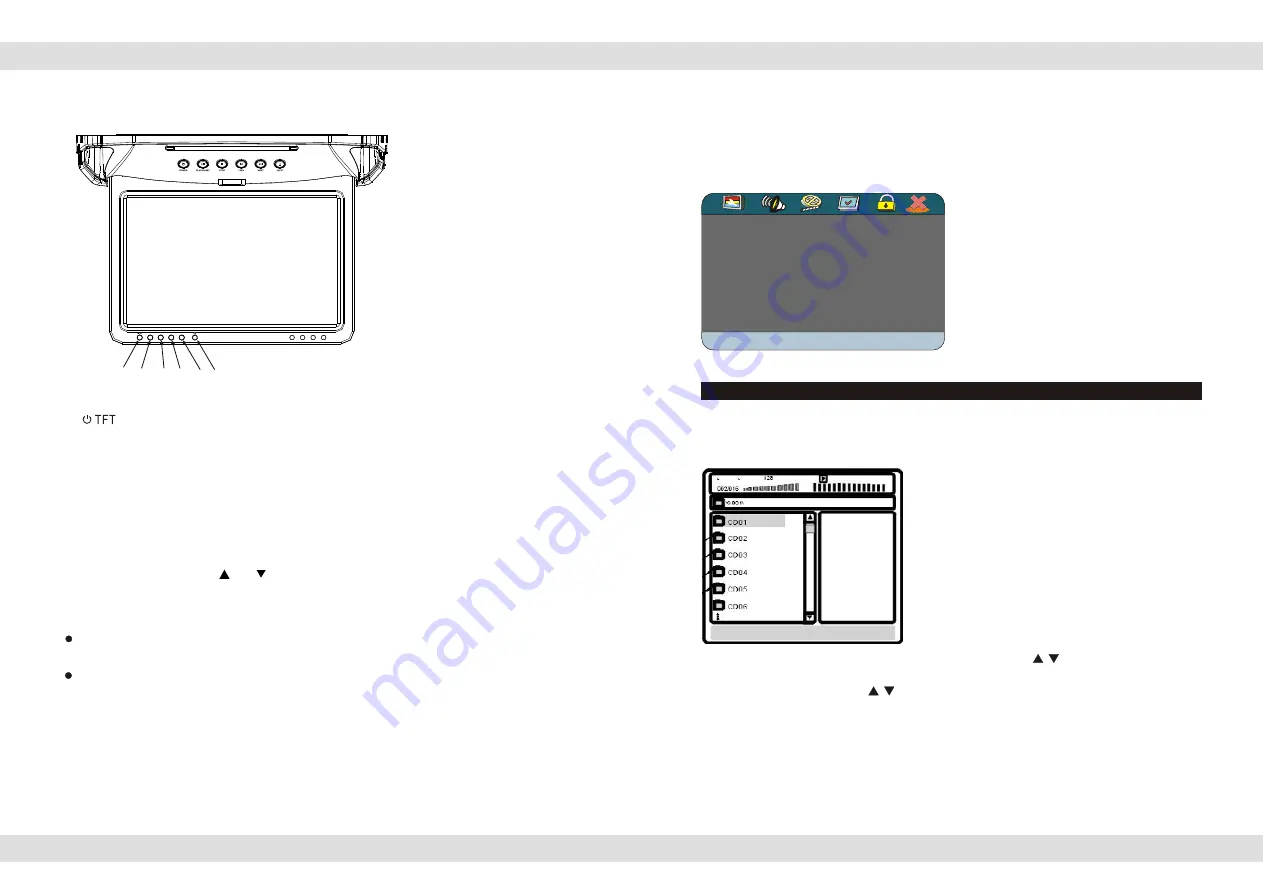
The 11 inch TFT color LCD Monitor
1-
2- SRC
3- Adjust decrease
4- Menu Selection: Brightness, Saturation, Sharpness, Contrast, Reset
5- Adjust increase
6-
Control Sensor Pick Up
1 Press the [POWER] button to power on or off the TFT color LCD Monitor.
2 Press the [MENU] button to toggle between Brightness, Color, Contrast, Tint , and
adjust the level with the [ ] or [ ] button.
Note:
The TFT color LCD is made of glass and liquid, do not apply pressure on the screen
to prevent breakage and poor image quality.
Do not scratch the screen surface with hard materials and only clean with a soft dry
cloth.
Page 4 of 25 pages
Enter the PIN numbers with the number buttons of the remote control and press
PLAY
,
enter the new password and press
PLAY
again, confirm your new password and press
PLAY
again.
Important:
Do not forget the newly entered password, there is no way to retrieve the
(newly) entered password.
EXIT SETUP MENU
EXIT SETUP MENU
With this selection
X
you exit the system
setup and return to normal viewing of the
video.
MP3/MPEG4 PLAYBACK
MP3/MPEG4 PLAYBACK
The Multimedia player is able to play discs (CD-R / CD-RW) recorded with MP3 /
MPEG4 audio and video files. When a disc with MP3 or MPEG4 files (including multiple
directories) is loaded in the system the following screen is displayed:
To go to the preferred music or video directory, press the arrows to scroll to your
selection and confirm your choice by pressing the
PLAY
button. To select your preferred
song or video title, press the arrows to scroll to your selection and confirm your
choice by pressing the
PLAY
button. Your selected song or video will now be played.
There are four kinds of play modes available when playing MP3 / MPEG4(.AV1) recorded discs:
Play mode
Page 21 of 25 pages
1 2
6
3 4 5
SOURCE
DOWN
MENU
UP


