12
KS3 ROOF
Note:
Condensation can form on the under side of shed roof. If building paper is required, fit now. Building paper will need to
be supported by netting or roofing twine.
Roof with Clear Panel:
Handle Clear Panel with care. The Clear Panel will crack if not fitted correctly.
Riveting: Pre
-
drill 3.5mm hole through Clear Panel and Steel. Enlarge hole in Clear Panel with drill to allow for expansion
and contraction.
Screwing: Pre
-
drill a 6mm hole through the Clear panel.
Step 1:
Check that the diagonal measurements of the shed are the same. If building on unlevel ground it may be necessary to
temporarily brace the shed with pieces of timber from the packaging.
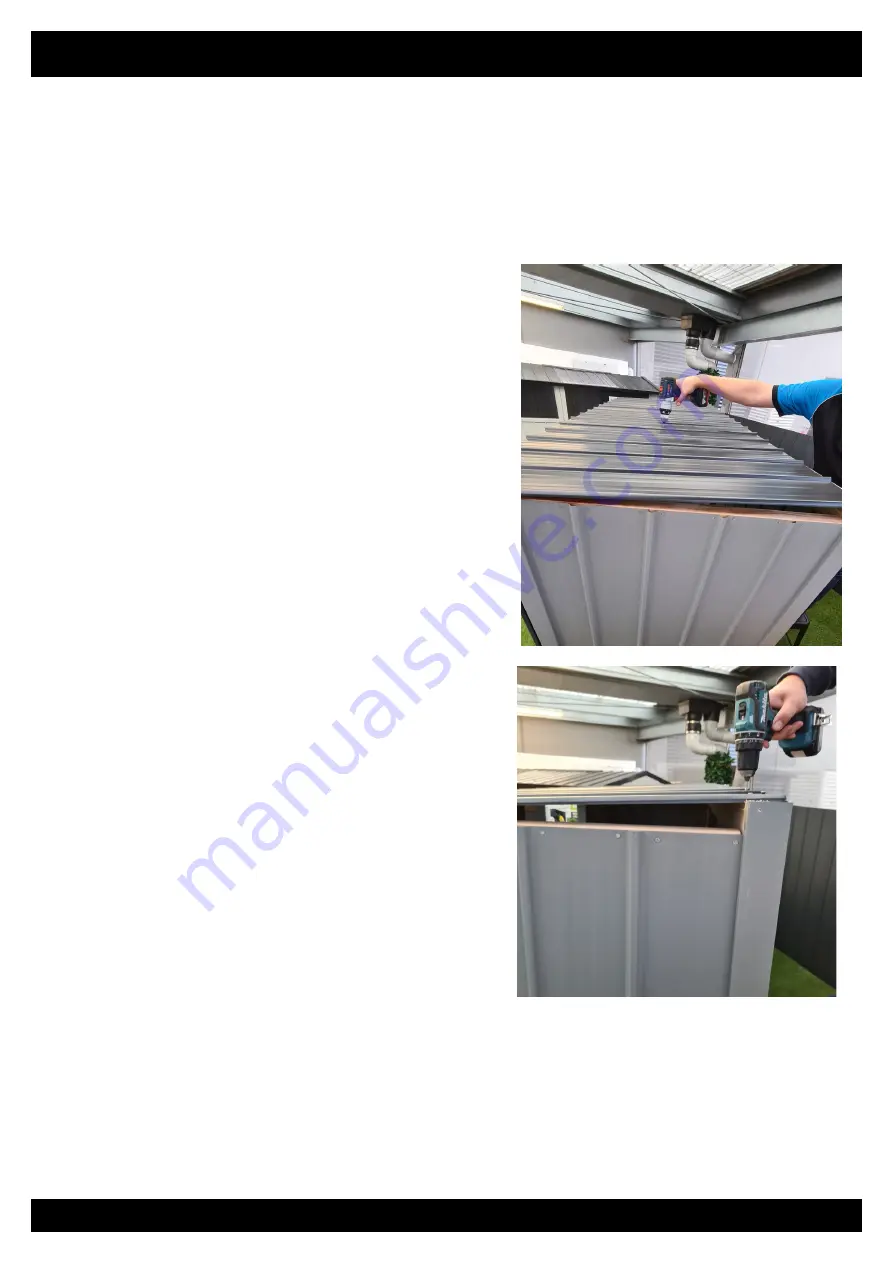
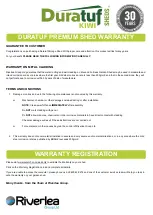
Step 3:
Position Roof Sheets. They should overhang
the back top plate by 20mm. Ensure timber
plates are straight then screw roof to Top
plates using one 50mm Roofing Screw on
each Rib at the front. Repeat along the back
wall using 50mm clouts, instead of Roofing
Screws to allow Ridge Cap Flashing to sit
correctly on roof sheets.
Step 2:
Position first Roof Sheet on the right hand
side of the shed with the LIP on the left hand
side. Position the next Roof Sheet. Ensure it
overlaps correctly (when fitting a Clear Roof
Panel, ensure it OVERLAPS Roof Sheet).
Rivet sheet joins 500mm from edge, front
and back. Position and rivet remaining
sheet.


