P
UB
. N
O
. GUARDRITE STRAP REV 3.1 - © JUNE 2013
9
GUARDRITE
®
STRAP SYSTEM BARRIER
STRAP ATTACHMENT CONTINUED
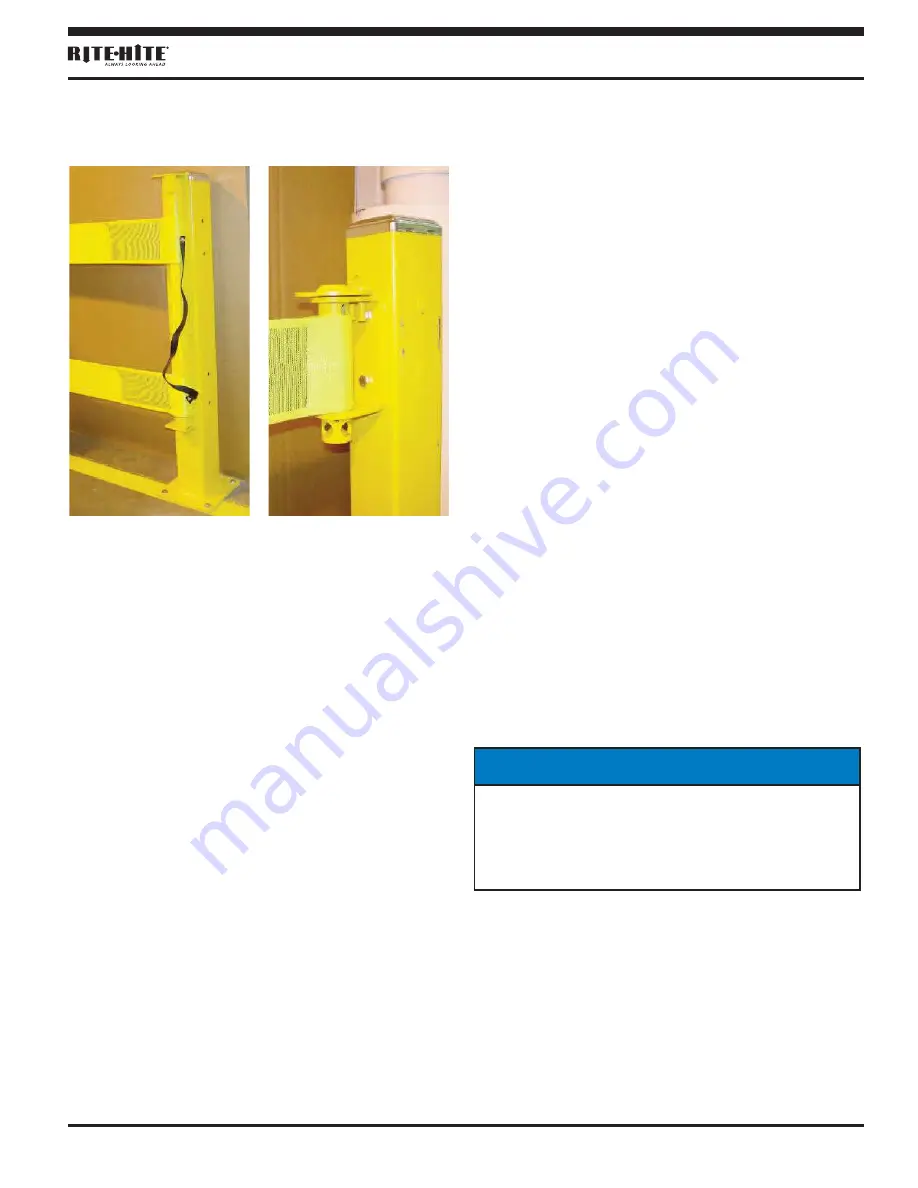
Attachment of the Straps and Strap Handle
to the Latch Bar
Insert the latch bar with the straps looped over
it into the latch bracket. The center of the top
strap should be attached to the latch bar at 40"
from the floor (39.5" from the top of the base
plate).
Insert the self drilling screw through one
of the grommets in the strap handle and drive
the tek screw into the strap and latch bar at this
level.
The center of the lower strap should be
attached to the latch bar at 18" from the floor
(17.5" from the top of the base bracket). Insert
the self drilling screw through the second
grommet in the strap handle and drive the self
drilling screw into the strap and latch bar at this
level.
Remove the latch bar with the straps attached
from the latch bracket and lay it on the floor.
Go to the opposite side of the opening and turn
the crank mechanism on the storage rod to roll
up the straps around the rod. Continue to roll
up the straps until the straps are completely
stored. If the straps do not store evenly, it may
be necessary to unroll the straps and pull one
of the straps further into the storage rod
pressure strap to get the straps to store evenly
on the roll.
Double Strap Restraining Kit
w/o Storage System
These units will install the same as above
except that excess material will hang loose
beyond the tensioner assembly. There will be
no final sizing required. If there is excess
strap, trim it with a sharp scissors and melt the
end of the strap to prevent fraying.
Single Strap Restraining Kit
Unroll the strap and drop the loop end of the
strap around one of the tensioners. Remove
any twists in the strap and insert the nonlooped
end of the strap through the slot in the
tensioner at the opposite end of the opening.
Strap Handle
on Latch Bar
Figure 10
Tensioner Going
Through Single
Strap Loop
Figure 11
NOTICE
SHORTENING OF STRAPS: If you need to
shorten the strap length, cut the strap using a
sharp scissors and melt the end to prevent
fraying.


