GUARDRITE
®
STRAP SYSTEM BARRIER
10
P
UB
. N
O
. GUARDRITE STRAP REV 3.1 - © JUNE 2013
OPERATION
Double Strap Restraining Kit with Storage
System Placement and Tensioning
Unroll the strap and drop the loop end over the
latch bar. The smooth side of the strap should
face the side expecting the most impacts. Do
not fasten the strap to the latch bar at this time.
Remove any twists in the strap and insert the
non-looped end of the strap through the slots in
the tensioner at the opposite end of the
opening.
Continue pulling and insert the end of
the strap behind the pressure strap on the
storage rod. These bolts will be tightened later
after the strap lengths are matched. Repeat
this process for the second strap.
Retraction
Insert the tensioner bar into the bottom of the
tensioner and pull on the bar to relieve
pressure on the lock pin.
Remove the lock pin and allow the strap to go
slack. Repeat this process for the second
strap. Store the tensioner bar. Go to the other
side of the system and remove the latch bar
from the latch bracket and lay it on the ground.
Return to the storage system and turn the
storage rod to wrap the straps around the
storage rod.
Double Strap Restraining Kit w/o Storage
System
The process is the same as for the kit with the
storage system except that when the latch bar
is removed from the latch bracket, you will
need to carry the latch bar out of the opening.
NOTICE
The storage system is not intended to be
used when tensioning the straps. This will
make the tensioning of the straps more
difficult. Please refer to the operational video.
NOTICE
To be properly positioned, the straps must be
fully horizontal with all slack removed. The
lock pin must be fully inserted through the
tensioner into the tensioner bracket, and there
must be a minimum of 1-1/2 full rotations of
strap wrapped around the tensioner. If any
one of the above conditions is not met, you
must re-tension the safety barrier.
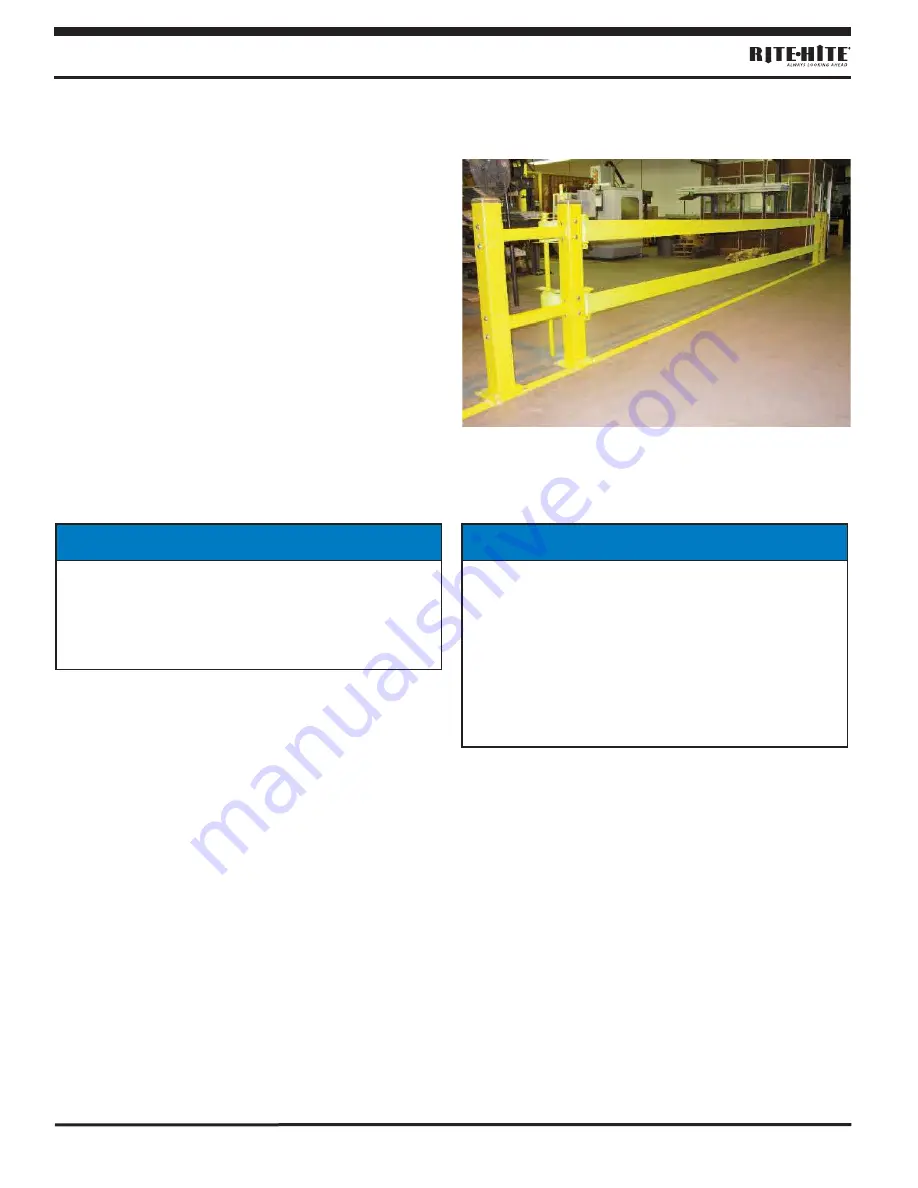
Properly Tensioned Strap Barrier System
Figure 12


