


43
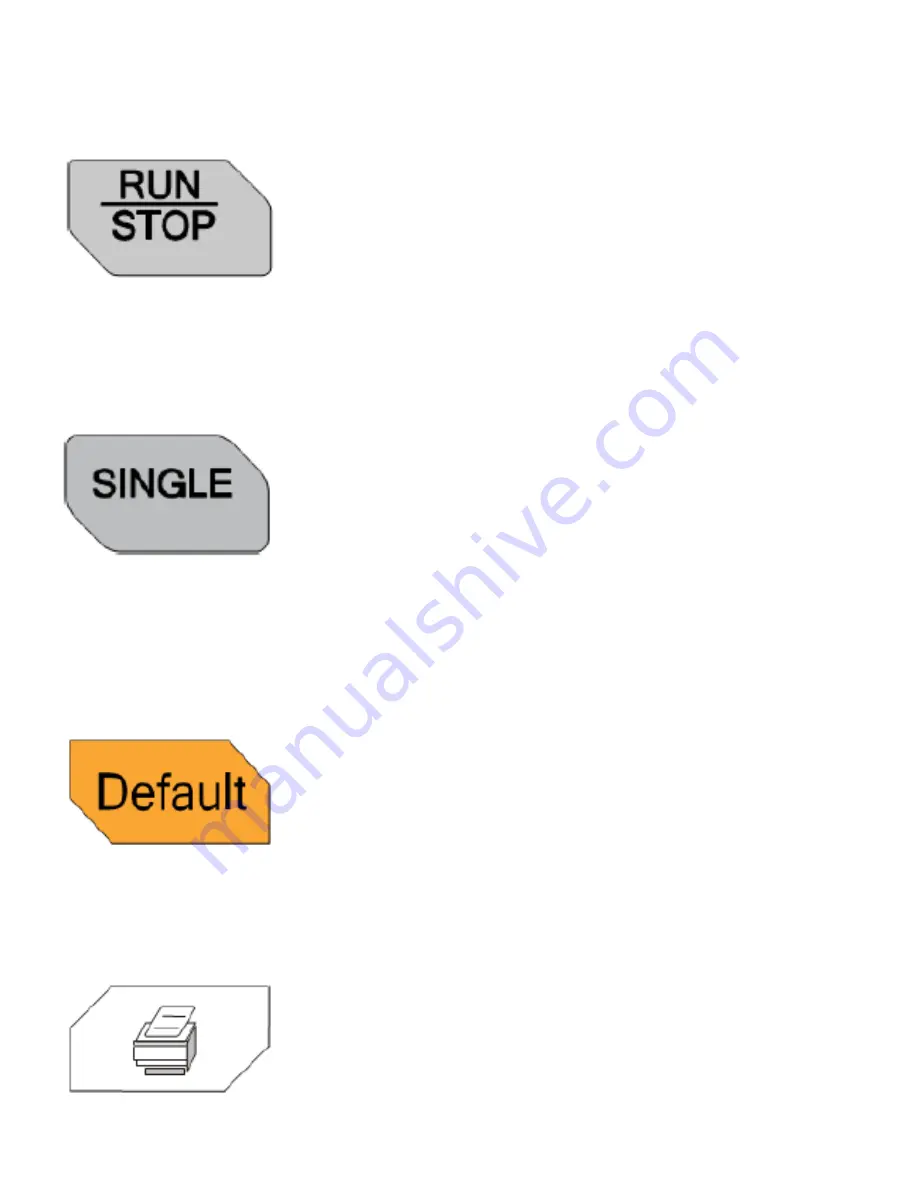
Press this key to set the state of the oscilloscope to
“RUN” or “STOP”. In “RUN” state, the key is illumi-
nated in yellow and red in “STOP” state.
RUN/STOP
SINGLE
Press this key to set the trigger mode to “Single”.
In single trigger mode, the oscilloscope gener-
ates a trigger when the trigger conditions are met
and then stops. When the oscilloscope is in wait-
for-trigger state (the key is illuminated in orange),
pressing FORCE will generate a trigger signal im-
mediately.
DEFAULT
Press this key and then press OK to restore the os-
cilloscope to its factory setting
Press this key to execute the print function or save
the screen content in a USB storage device as a
picture file.
Summary of Contents for DS4024
Page 10: ...08 1 Turn on the power to the oscilloscope and wait for it to ini tialize...
Page 11: ...09 2 Attach the probe to the BNC terminal of the oscilloscope...
Page 12: ...10 3 Connect the probe s ground clip to ground in the circuit...
Page 13: ...11 4 Connect the probe s measuring clip to the point within your circuit you wish to measure...
Page 15: ...13 6 You should see your waveform on the screen...
Page 19: ...17 10 You can zoom into the horizontal view by pressing the dial...
Page 20: ...18 11 To return to the default view press the scale button again...
Page 22: ...20 13 To return to the original position press the horizontal posi tion button...
Page 25: ...23 16 To return to the default vertical position press the vertical position button...
Page 29: ...27 20 Press the Display All soft key...
Page 31: ...29 22 Return to the original trigger level by pressing the trigger dial button...
Page 32: ...30 253 To store a screen shot insert a USB drive into the port on the front panel...
Page 33: ...31 24 Press the Storage button on the front panel...
Page 34: ...32 25 Rotate the Multi Function Knob to highlight DiskD and press to select the USB drive...
Page 35: ...33 26 Press the New File soft key...
Page 36: ...34 27 Name the file if needed...
Page 37: ...35 28 Press the OK soft key...
Page 38: ...36 29 Press the Menu button on the right of the screen to exit...


