


42
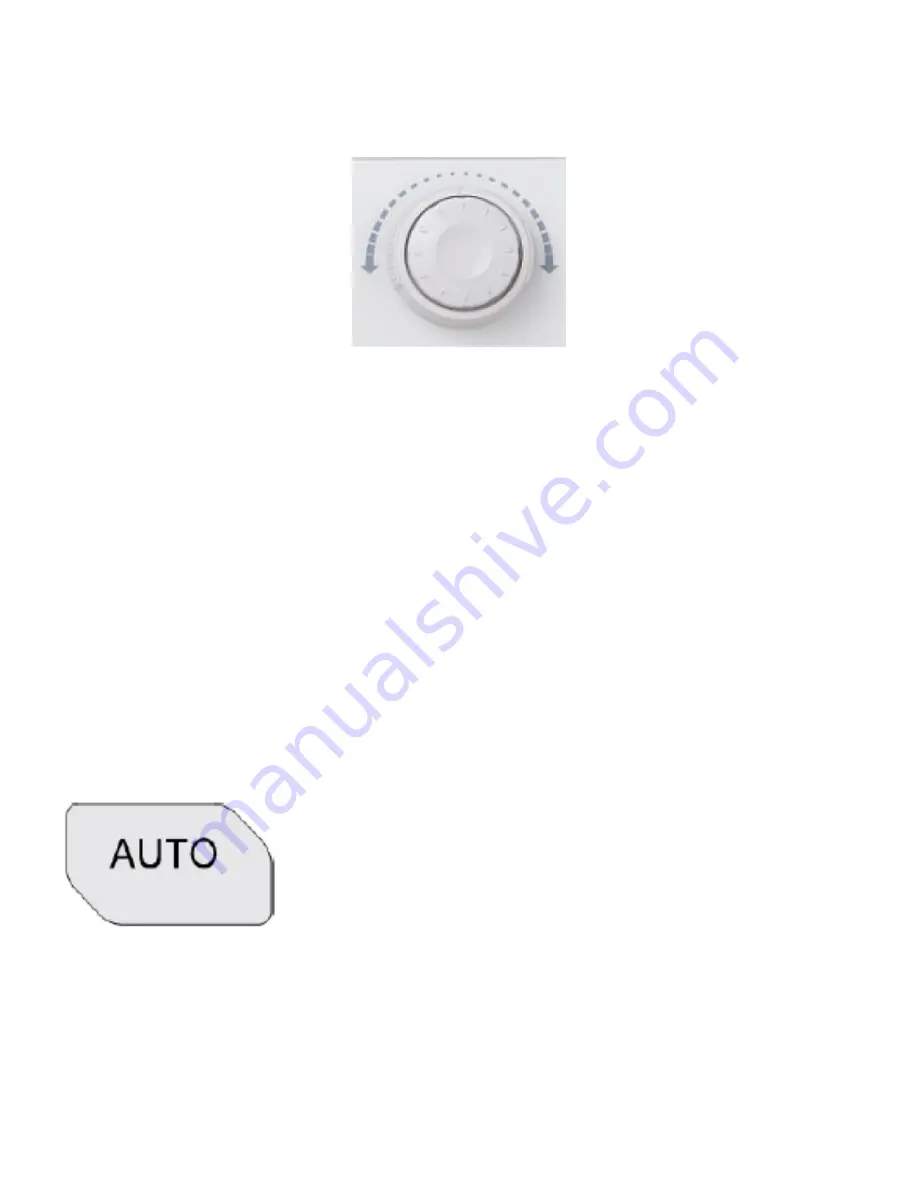
This knob provides quick adjust/locate function for numerical parameters
with relatively larger settable ranges. Turn the knob clockwise to increase
the value and counterclockwise to decrease the value. The inner knob is
used for fine adjustment and the outer knob for coarse adjustment (the
larger the rotation amplitude of the outer knob is, the faster the change
speed of the value will be).
For example, this knob can be used to quickly locate the waveform
frame to be played back in waveform playback. Similar parameters in-
clude trigger holdoff, pulse width setting, slope time and etc.
NAVIGATION KNOB
AUTO
Press this key to enable the waveform auto setting
function. The oscilloscope will automatically ad-
just the vertical scale, horizontal time base, trigger
mode and so on according to the input signal to
realize optimum waveform display. Besides, the
quick parameter measurement function is also
provided.
Note: The waveform auto setting function requires
that the frequency of sine should be no lower
than 20 Hz. If the parameter exceeds this limit, the
waveform auto setting function might be invalid.
Summary of Contents for DS4024
Page 10: ...08 1 Turn on the power to the oscilloscope and wait for it to ini tialize...
Page 11: ...09 2 Attach the probe to the BNC terminal of the oscilloscope...
Page 12: ...10 3 Connect the probe s ground clip to ground in the circuit...
Page 13: ...11 4 Connect the probe s measuring clip to the point within your circuit you wish to measure...
Page 15: ...13 6 You should see your waveform on the screen...
Page 19: ...17 10 You can zoom into the horizontal view by pressing the dial...
Page 20: ...18 11 To return to the default view press the scale button again...
Page 22: ...20 13 To return to the original position press the horizontal posi tion button...
Page 25: ...23 16 To return to the default vertical position press the vertical position button...
Page 29: ...27 20 Press the Display All soft key...
Page 31: ...29 22 Return to the original trigger level by pressing the trigger dial button...
Page 32: ...30 253 To store a screen shot insert a USB drive into the port on the front panel...
Page 33: ...31 24 Press the Storage button on the front panel...
Page 34: ...32 25 Rotate the Multi Function Knob to highlight DiskD and press to select the USB drive...
Page 35: ...33 26 Press the New File soft key...
Page 36: ...34 27 Name the file if needed...
Page 37: ...35 28 Press the OK soft key...
Page 38: ...36 29 Press the Menu button on the right of the screen to exit...


