background image


Wheel diameter measuring gauge, IDK 


IDK  [Revision 2.2]  4th September  2017 

10 

RF510.11.000


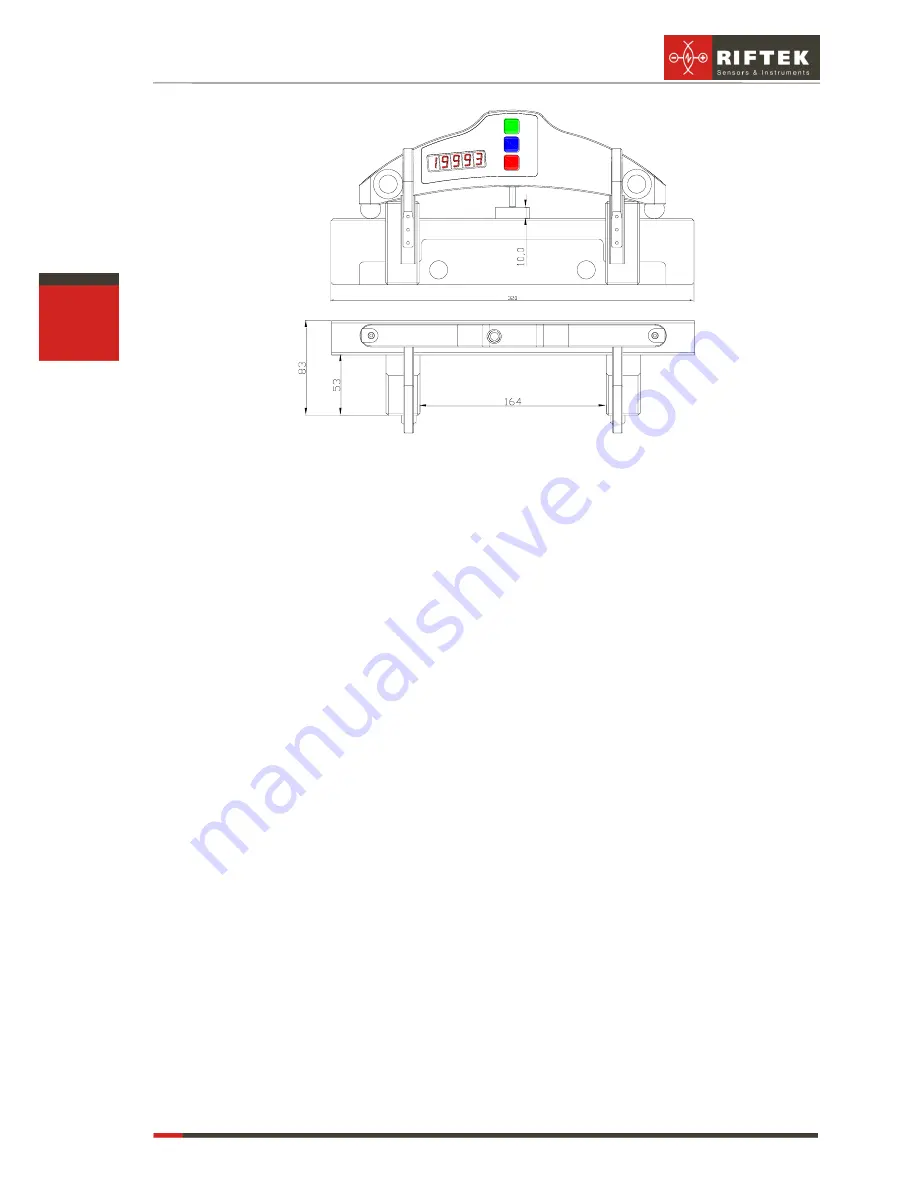
Figure 2 

  If readings of the sensor are sufficiently stable, press the 

Blue

 button. Sensor 

zero  position  is  calculated  in  the  device  coordinate  system,  and  prompt  ap-
pears to save calibration results. Press the 

Green

 or 

Red

 button to confirm or 

cancel saving of the results, respectively. 

11.4.  Calibration of the device base 

  Device base calibration mode being enabled, the display shows the value of refer-

ence diameter used for calibration.  

  If editing of the diameter value is not required, go to the next step. To edit the di-

ameter  value,  press  the 

Blue

  button,  and  the  digit  to  be  edited  starts  blinking. 

Changing  over  between  the  digits  is  made  by  pressing  the 

Blue

  button  while 

changing  of  values  is  made  by  pressing  the 

Green

  button.  When  editing  is  fin-

ished,  press  the 

Red

  button  and  confirm  or  cancel  saving  of  the  parameter  by 

pressing the 

Green

 button or 

Red

 button, respectively. 

  Press  the 

Green

  button,  and  the  reference  diameter  value  starts  blinking,  which 

means that the device must be placed onto a gage with the diameter value set at 
the previous step. The device supports must be firmly forced against the reference 
block. 

  Press  the 

Green

  button,  and  the  display  shows  current  reading  of  the  sensor  in 

the  device  coordinate  system.  By  moving  the  device,  assure  that  repeatability  of 
measurement results is obtained. 

  If readings of the instrument are sufficiently stable, press the 

Blue

 button. Device 

base value is calculated, and prompt appears to save calibration results. Press the 

Green

 or 

Red 

button to confirm or cancel saving of the results, respectively.  

Summary of Contents for IDK Series

Page 1: ......

Page 2: ...he gauge 5 9 1 Gauge turn on 5 9 2 Single measurement 6 9 3 Measurement with averaging 6 9 4 Gauge turn out 7 10 Indication parameters setup 7 10 1 Image rotation 7 10 2 Image brightness set up 8 10 3...

Page 3: ...in any other way in this case 2 Electromagnetic compatibility The gauge has been developed for use in industry and meets the requirements of the following standards EN 55022 2006 Information Technolog...

Page 4: ...6 Complete set to be supplied Name Quantity Weight kg Wheel diameter measuring gauge IDK series 1 piece 0 5 Charger 1 piece 0 2 Manual 1 piece Case 1 piece Calibration tools option on request Flat bl...

Page 5: ...of the segment chord the distance be tween the ball bearings centers which is obtained at placing the gauge onto the wheel The suggita of the segment is measured by means of the displacement converte...

Page 6: ...ition 9 3 Measurement with averaging The program of the wheel diameter calculation contains an averaging algorithm that allows eliminating the surface defects influence on the diameter measuring resul...

Page 7: ...utton pressings for 4 more minutes the gauge is turned out completely You can turn the gauge off by long pressing Red button more then 3 sec 10 Indication parameters setup 10 1 Image rotation To rotat...

Page 8: ...ing and Red to cancel saving of the changed parameters At brightness choosing one should take into account that increased brightness enhances power consumption and decreases the period till battery re...

Page 9: ...t mode it is necessary to press Blue button Display shows CLbr b message the mode of device base calibration To get into this mode press Green button see p 11 3 To get out the mode of calibration pres...

Page 10: ...ade by pressing the Blue button while changing of values is made by pressing the Green button When editing is fin ished press the Red button and confirm or cancel saving of the parameter by pressing t...

Page 11: ...assurance for the Wheel diameter gauge 24 months from the date of putting in operation warranty shelf life 12 months 14 Distributors AUSTRALIA Applied Measurement Australia Pty Ltd RAILWAY INSTRUMENTS...

Page 12: ...Y RAILWAY INSTRUMENTS ONLY Juvan teollisuuskatu 28 FI 02920 ESPOO Finland Tel 358 400 422 900 Fax 358 9 2511 5510 steelwheel steelwheel fi www teraspyora fi FRANCE DB Innovation ALTHERIS France 26 ave...

Page 13: ...20 PYSKOWICE Poland Tel 48 32 230 45 70 Fax 48 32 332 70 14 biuro ascorail pl www ascorail pl PORTUGAL UltraSens Qt da Portela Lt 22 1 Ap 152 3030 502 Coimbra Portugal Phone 351 239 796 277 Fax 351 23...

Page 14: ...39 railway_marketing iem net www iem net USA CANADA MEXICO Acuity Products of Schmitt Industries Inc 2765 NW Nicolai Street Portland OR 97210 USA Tel 1 503 227 7908 Fax 1 503 223 1258 sales acuitylase...

Page 15: ...y metro and tram wheels in the course of checkup examination repair and formation of wheel sets Measurements are made directly on rolling stock without wheel set roll out Disc brakes profile gauge IKD...

Reviews: