


M0B1IC8003
If the print defect notification keeps appearing even after you have carried out the procedure given
below, contact your service representative.
1. In [Threshold Settings] [Detection Level Settings], reduce the detection level.
2. Print a copy again.
• If you change [Detection Level Settings], the changed setting is applied to all the jobs to which
the preset is applied.
3. If the print defect notification keeps appearing on the Image Quality Monitor console, check the
area of the print defect.
11
22
33
44
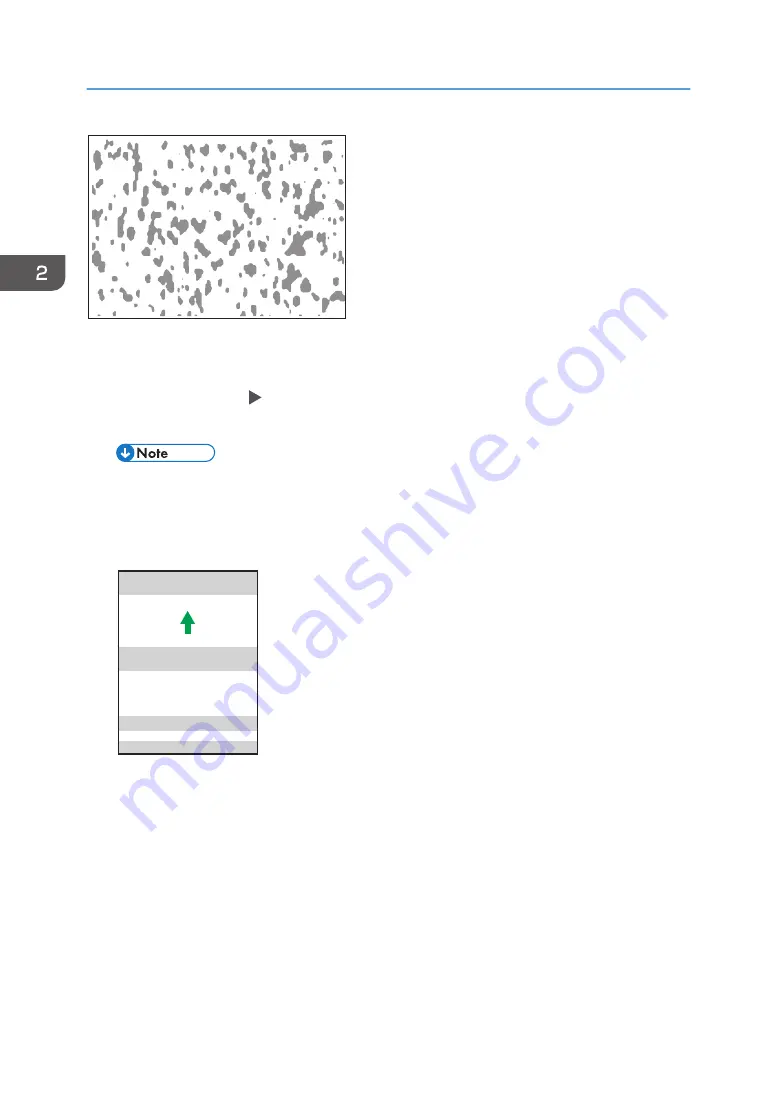
M0B1IC0009
1. Area within 50 mm (2.0 inches) of the top edge of the paper
2. Area 150 to 200 mm (5.9 to 7.9 inches) from the bottom edge of the paper
3. Area 30 to 60 mm (1.2 to 2.4 inches) from the bottom edge of the paper
4. Area within 25 mm (1.0 inch) of the bottom edge of the paper
If defect is in area 1
1. If the paper length is greater than 488 mm (19.2 inches), adjust the value in [Motor Speed:
Fusing Belt] in "Custom Paper Settings" in steps of 0.5% (max: 3.0%; min: -3.0%). Start by
increasing the value.
For details about custom paper settings, ask the machine administrator.
2. Troubleshooting
40
Summary of Contents for Pro C9200
Page 2: ......
Page 40: ...1 Operating and Settings 38...
Page 52: ...MEMO 50...
Page 53: ...MEMO 51...
Page 54: ...MEMO 52 EN GB EN US EN AU M0B2 1334C...
Page 55: ...2019 2020 2021...
Page 56: ...M0B2 1334C AU EN US EN GB EN...