


• [AB], [CD], [EF], [GH], [IJK], [LMN], [OPQ], [RST], [UVW], [XYZ], [1] to [10]: Added to the
list of items in the selected title.
You can select [Frequent] and one more key for each title.
9.
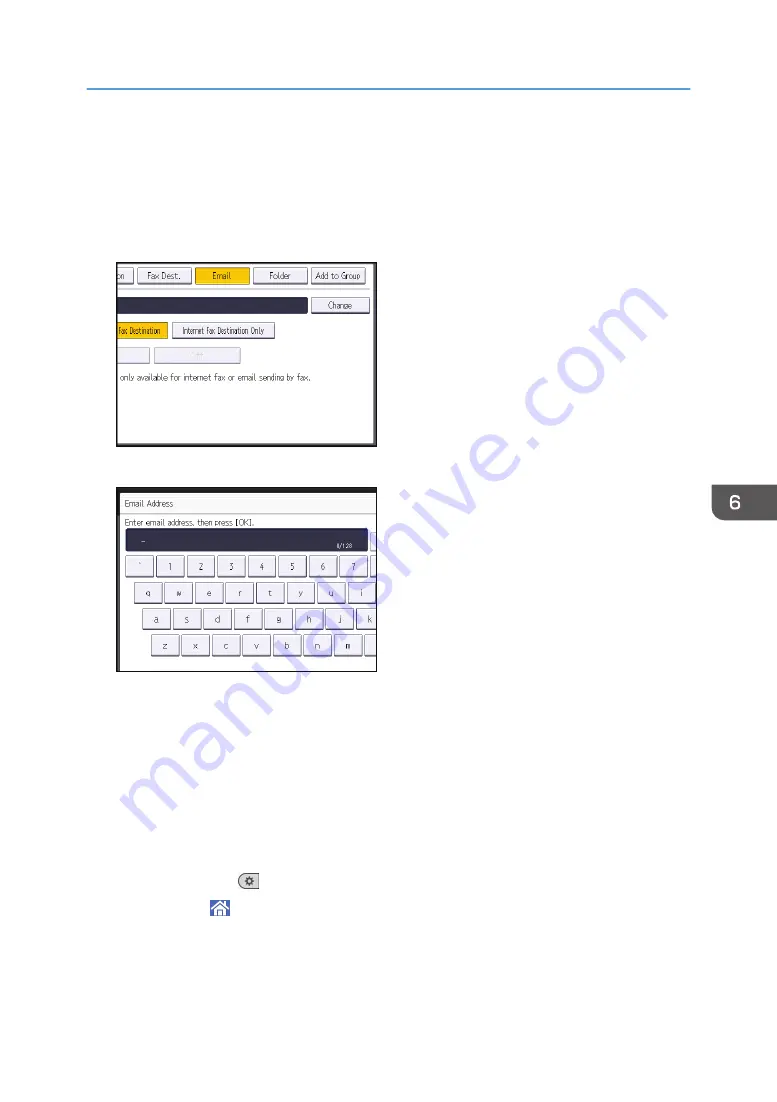
Press [Email].
10.
Press [Change] under "Email Address".
11.
Enter the e-mail address, and then press [OK].
12.
Select [Email / Internet Fax Destination] or [Internet Fax Destination Only].
If [Email / Internet Fax Destination] is specified, registered e-mail addresses appear in both Internet
fax address display and e-mail address display on the fax function screen, and in the address
display on the scanner function screen.
If [Internet Fax Destination Only] is specified, registered e-mail addresses only appear in Internet
fax display on the fax function screen.
13.
If you want to use Internet fax, specify whether or not to use "Send via SMTP Server".
14.
Press [OK].
15.
Press [User Tools] (
) on the top right of the screen.
16.
Press [Home] ( ) at the bottom of the screen in the center.
Basic Procedure for Sending Scan Files by E-mail
127
Summary of Contents for Aficio MP C6503SP
Page 2: ......
Page 12: ...10 ...
Page 77: ...2 Press OK Logging In the Machine 75 ...
Page 80: ...2 Getting Started 78 ...
Page 120: ...5 Print 118 ...
Page 138: ...7 Document Server 136 ...
Page 186: ...9 Adding Paper and Toner 184 ...
Page 252: ...10 Troubleshooting 250 ...
Page 262: ...MEMO 260 EN GB EN US EN AU D257 7012B ...
Page 263: ... 2016 2017 ...
Page 264: ...D257 7012B AU EN US EN GB EN ...


