Using a Printer Server
245
❒
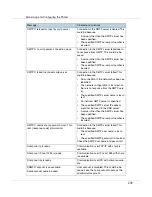
If the printer works as configured, the name of the print server appears as
a connected user.
❒
If you cannot identify the printer you want to configure, check the printer
name with the configuration page printed from the printer. For details about
printing a configuration page, see
p.141 “Printing a Configuration Page”
❒
If no printer names appear in the list, match the frame types of IPX/SPXs
for the computer and printer. Use the
[
Network
]
dialog box of Windows to
change the frame type of the computer.
For details about changing the printer's frame type (“NW Frame Type”),
see “Configuring the Printer”, Printer Reference.
Setting Up as a Print Server (NetWare 4.x, 5/5.1, 6/6.5)
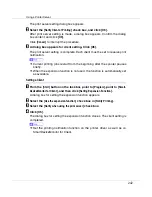
Follow the procedure below to connect the printer as a print server using Net-
Ware 4.x, NetWare 5/5.1, or NetWare 6.0.
❒
When using the printer as a print server in NetWare 4.x, NetWare 5/5.1, or
NetWare 6.0, set it to the NDS mode.
❒
When using NetWare 5/5.1 or NetWare 6.0, set the printer as a print server.
A
Log on to the file server as a supervisor or supervisor equivalent.
B
Start NIB Setup Tool on the [
Start
] menu.
C
Click [
Wizard
], and then click [
OK
].
D
Select a printer you want to configure.
E
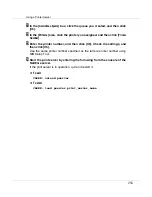
Enter the printer name in the [
Device Name
] box and a comment in the
[
Comment
] box, and then click [
Next
].
F
Select the [
NetWare
] check box, and then click [
Next
].
G
Click [
NDS mode
], enter the file server name in the [
File Server Name:
] box,
the NDS tree name in the [
NDS Tree:
] box, and the context in the [
NDS Con-
text
] box, and then click [
Next
].
In the
[
File Server Name:
]
box, enter the name of the file server in which a print
server is created. You can also click
[
Browse
]
to browse through available file
servers and NDS context names.
In the
[
NDS Tree:
]
box, enter the name of the NDS tree in which a print server
is created using up to 32 alphanumeric characters. Hyphens and underscores
can also be used. You can also click
[
Browse
]
to browse through available
NDS trees.


