WAKE ALARM CLOCK DIGIAL RADIO
14
15
MODEL: RR40
c) To adjust loudness, turn the rotary dial to select ‘Yes’
or ‘No’, press the <SCROLL/SELECT> dial to lock in
your setting.
3. Once you are finished, press the <BACK> button several
times to exit settings mode.
TIME
In is section you can set the time and date manually.
Press the power button to turn your radio ON.
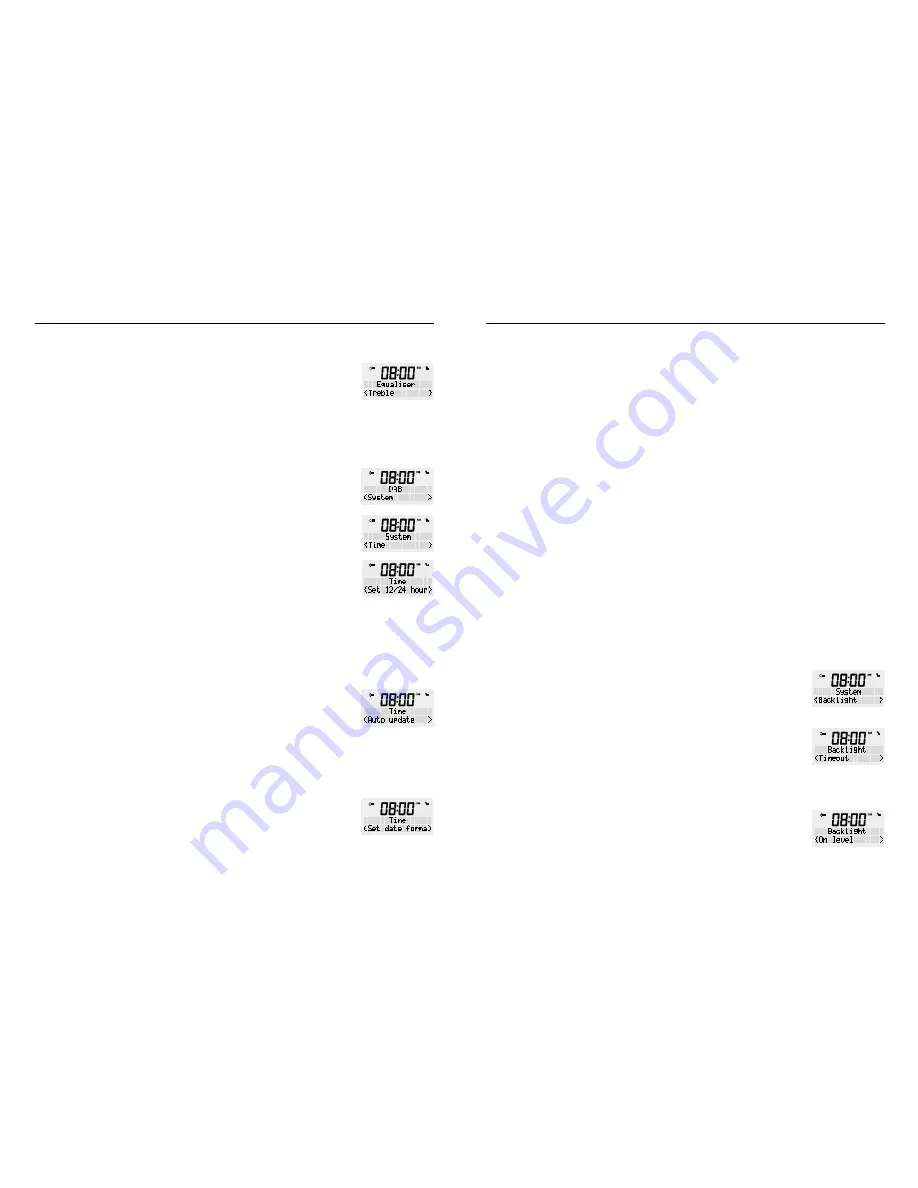
1. Press and hold the <MENU / INFO> button, release once
an option is available on the display. Using the rotary
button switch to ‘System’ in the display and confirm by
pressing the <SCROLL/SELECT> button.
2. Using the rotary dial, scroll rough the ‘System’ menu
until you reach ‘Time’ and confirm by pressing the
<SCROLL/SELECT> button.
3. Choose the required sub-menu and confirm by pressing
the <SCROLL/SELECT> button.
-
Set 12/24 h our mode
: Use is menu to change the
clock from 12 to 24 hours display.
Select ‘Set 12/24 hours’ and press the <SCROLL/
SELECT> dial to open the menu. Use the <SCROLL/
SELECT> dial to select from ‘Set 12 hour’ or ‘Set 24
hour’ [using the rotary dial, press the dial in to confirm]
-
Auto update
: Use is menu to select the source the time
will automatically be updated from.
Select ‘Auto update’ and press the <SCROLL/SELECT>
dial to open the menu. Use the <SCROLL/SELECT> dial
to select from
Update from any
/
Update from DAB+
/
Update from FM
/
No update
. Use the rotary dial to
select the setting you want to use then press the dial in
to confirm.
-
Set date format
: Use is menu to change the layout of
the date format.
Select date format and press the <SCROLL/SELECT>
dial to open the menu. Use the <SCROLL/SELECT> dial
to select from
DD-MM YYYY
or
MM-DD-YYYY
using
the rotary dial, press the dial in to confirm.
-
Set Time/Date
: Select ‘Set Time/Date’ and press
the <SCROLL/SELECT> dial to open the menu. Use
the rotary dial to set the hour en press the dial in to
confirm. Repeat the process for the minutes, day, mon
and finally the year. Once “year” has been entered,
press the <SCROLL/SELECT> dial. The radio will display
the time and date you have entered on the front
display.
4. Press the <BACK> button multiple times to exit settings
mode.
BACKLIGHT
Set the brightness at the screen in ‘Standby’ mode or ‘ON’
mode.
NOTE
: While using the buttons and the dial on your radio
the screen brightness will be on maximum. Once no buttons
are pressed and after the set “Timeout” the radio will revert
to your preferred backlight level.
Press the power button to turn your radio ON.
1. Press and hold the <MENU / INFO> button, release once
an option is available on the display. Turn the rotary
dial until ‘System’ appears in the display and confirm by
pressing <SCROLL/SELECT>.
2. Scroll rough the ‘System’ menu and turn the rotary
button until you reach ‘Backlight’ and confirm by
pressing the <SCROLL/SELECT> button.
3. You can set settings for ‘Timeout’, ‘On level’, ‘Dim level’
Timeout
: This is the time after which your screen will
change brightness.
Turn the rotary dial, choose from below options and confirm
by pressing the <SCROLL/SELECT> button.
Timeout
options: On, 10, 20, 30, 45, 60, 90, 120, 180 sec
On level
: This is the brightness level at will be displayed
when the radio is “ON”.
There are five brightness options to the display, from ‘1’
(lowest) to ‘5’ (strongest). Using rotary dial, choose between ‘1’
to ‘5’ and confirm by pressing the <SCROLL/SELECT> button.


