


1
About This Document
This document contains instructions for DVR configuration and operation.
Package Contents
The package contains the following:
Digital Video Recorder
Power Cord
Quick User Guide (This Document)
Software CD (User’s Manual included)
Rack-mount Kit
Assembly Screws for Adding Hard Disk Drives
SATA Cables
Infrared Remote Control
USB Mouse
Notice
Specifications are subject to change without prior notice.
The information contained herein is to be considered for reference only.
The software included in this product contains some Open Sources. You may obtain the complete corresponding
source code from us. See the Open Source Guide on the software CD (
OpenSourceGuide\OpenSourceGuide.pdf
).
Warning
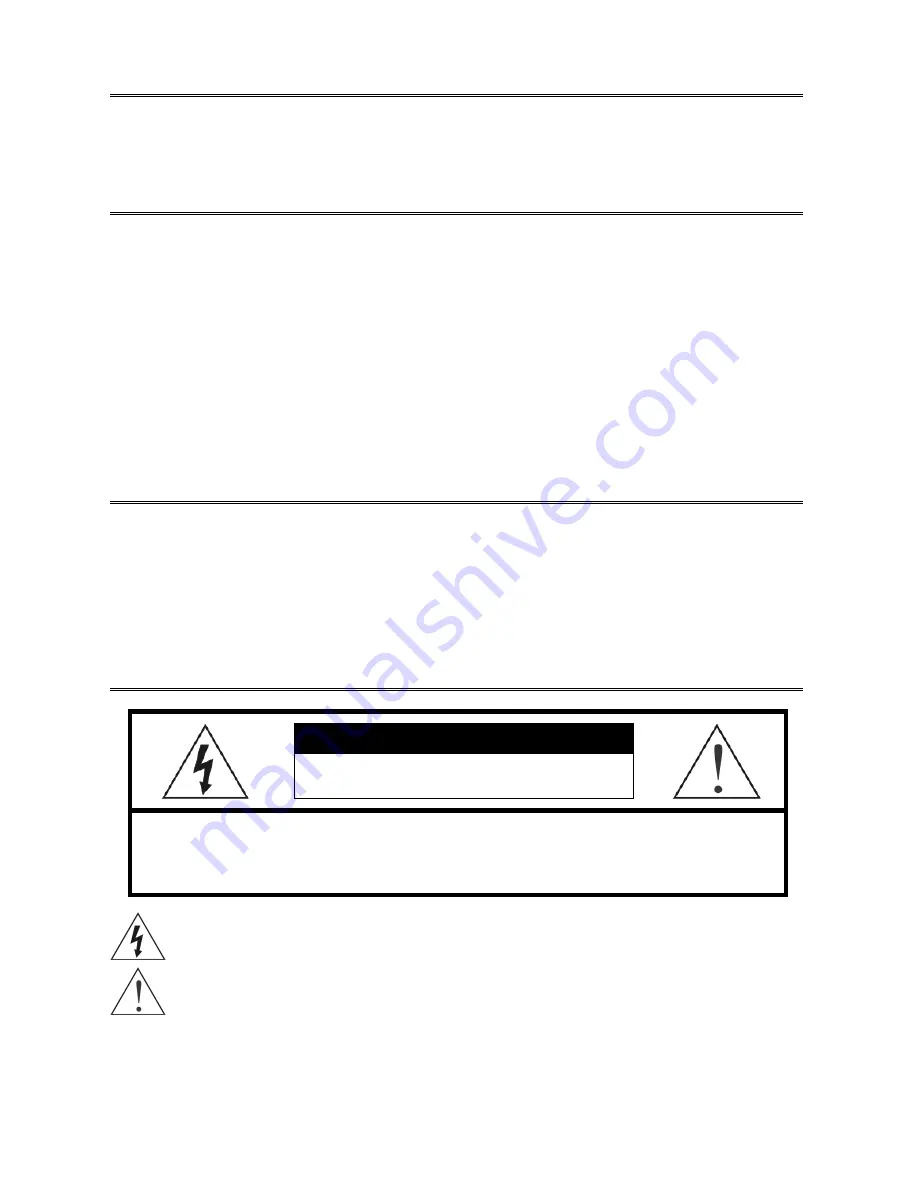
WARNING
RISK OF ELECTRIC SHOCK
DO NOT OPEN
WARNING:
TO REDUCE THE RISK OF ELECTRIC SHOCK,
DO NOT REMOVE COVER (OR BACK).
NO USER-SERVICEABLE PARTS INSIDE.
REFER SERVICING TO QUALIFIED SERVICE PERSONNEL.
The lightning flash with arrowhead symbol, within an equilateral triangle, is intended to alert the user
to the presence of uninsulated "dangerous voltage" within the product
’
s enclosure that may be of
sufficient magnitude to constitute a risk of electric shock.
The exclamation point within an equilateral triangle is intended to alert the user to the presence of
important operating and maintenance (servicing) instructions in the literature accompanying the appliance.


