


63
Intera 3.2
Training and Managing Tasks
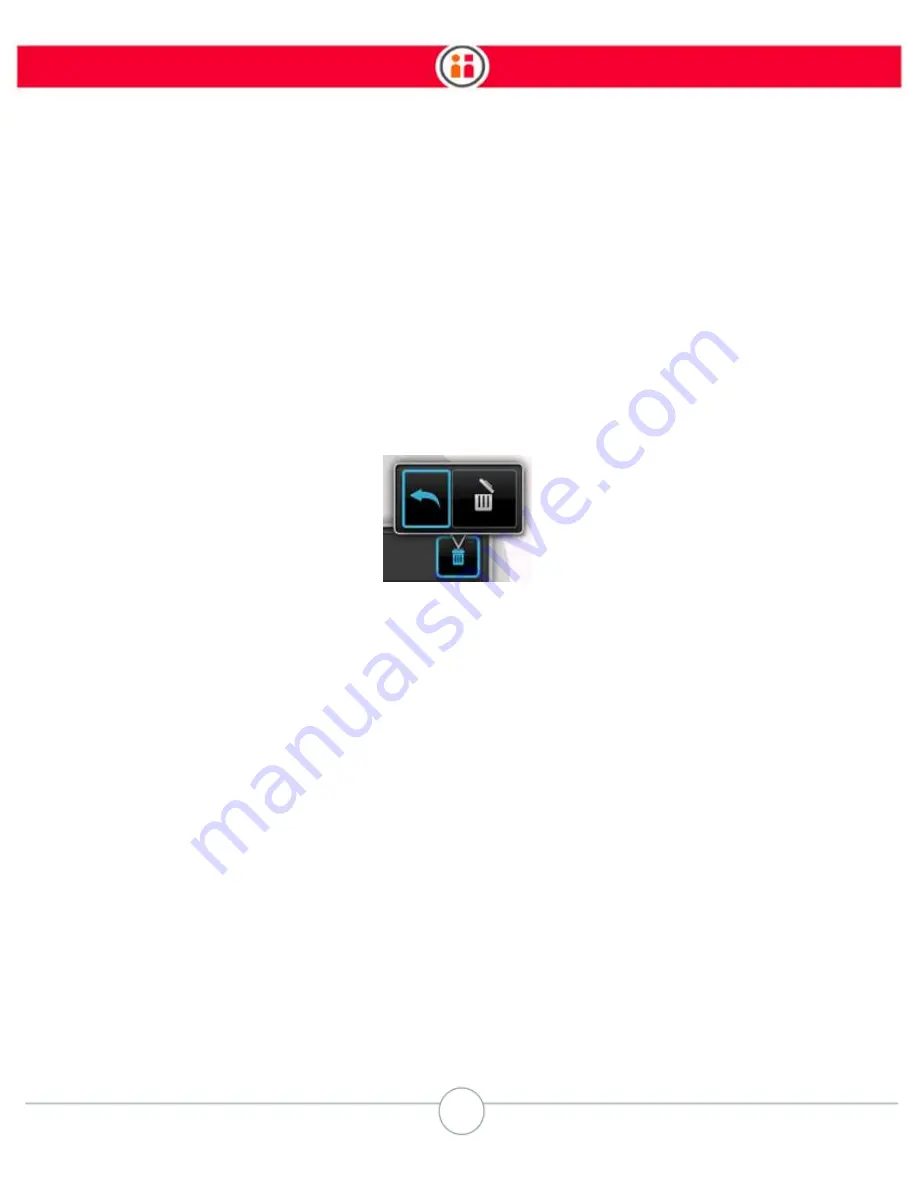
3. Copy – Copy the current action (and all its modified details). Creates an action
group.
4. Add - Similar to Copy, but this icon enables you to add additional locations to the
original, making an action group. (See “Training a Group of Pick or Place Actions”
on page 49.) To add to an existing action group, choose any single action in the
group, then select Add.
5. Move – Move the location where the action takes place. (Note that this will delete
the path to the Action, so you may want to use and Modify to preserve the path.)
6. Paths - Select from the Task Map a path you want to modify.
7. Delete – Delete the action. You’ll be prompted to confirm the deletion:
Note:
Once deleted, an action cannot be restored.
8. Visual pick training – Preview only. If a Pick on the arm includes a trained object,
a small preview image of the object is displayed. Teach Baxter to recognize an
object (see “Training a Pick Using Vision” on page 36).
9. Add Features – Adjust more details:
•
Add Count – Specify the number of times an action should be completed.
•
Add Signal – Specify which defined signal(s) you want to attach.
•
Add Weight - Specify a weight for the object Baxter will hold for a task.
•
Add Landmark - Create a landmark used by the Robot Positioning System.
(See “Robot Positioning System” on page 109.)
10. Area Search - Define the area to search for the Pick.
11. Work surface type (vision only) – Toggle between a moving surface (conveyor)
and a static one (table).
12. – Practice or modify the approach, retract, or action poses. You can also change
the distance Baxter’s arm travels as it approaches or retracts, and determine how


