Getting started
Prior to connecting to ReSound Aventa 3:
1. ReSound devices require a battery when fitting. Make sure the
battery is fresh and that it is inserted correctly.
a. For wireless fittings, insert Airlink
TM
/Airlink II in a USB slot on
the fitting PC and wait for the message that new hardware
has been found. Then open ReSound Aventa 3.
b. For wired fittings, ensure that the programming interface
(Speedlink, Hi-PRO or NOAHlink) is connected to the PC
before launching ReSound Aventa 3.
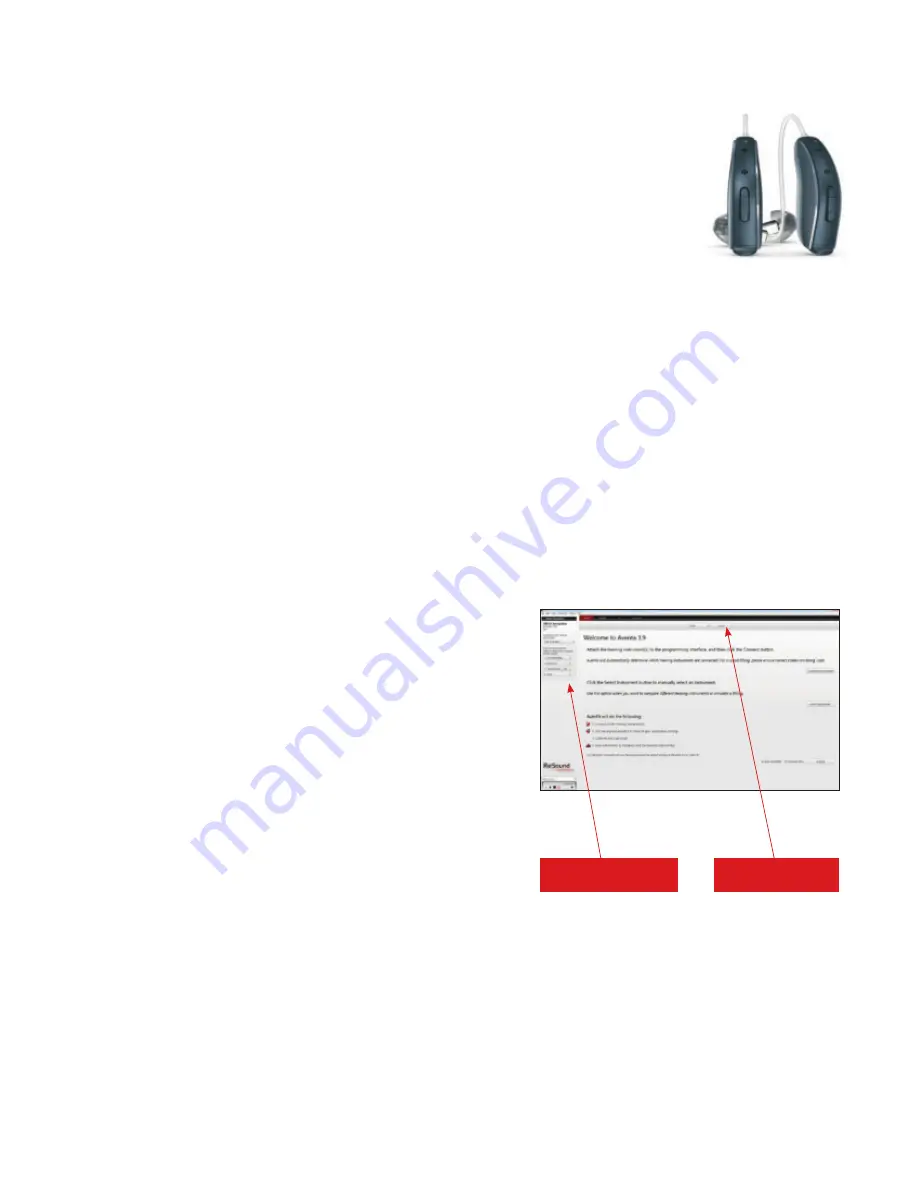
2. Launch ReSound Aventa 3. For new fittings, ReSound Aventa 3
begins in the Start screen, where the patient’s experience with
amplification can be selected. Selection of fitting interface and
connection to the hearing aids is done in the upper part of the
Start screen.
Remove the stickers from the size 13 batteries to activate them.
Wait for 2 minutes for best results. Click “Connect” in the center of
the top ribbon of the ReSound Aventa 3 Start screen.
Insert the battery and close the battery door of each hearing
instrument to be programmed, and then click “Connect.”
Choose patient’s
experience level
Click “Connect”
This fitting guide gives an overview of how to fit ReSound LiNX
2
wireless
hearing instruments with ReSound Aventa
®
3.9. A ReSound LiNX
2
962
wireless binaural fitting is depicted. Not all features described in this fitting
guide are applicable for LiNX
2
7 and 5 fittings.
ReSound Aventa 3.9 fitting software supports all ReSound instruments built
on the ReSound Range
TM
, ReSound Range II and SmartRange
TM
chips.
1510_LN2_FittingGuide_MK604304_rB_8.5x11.indd 3
10/16/15 9:55 AM
Summary of Contents for AVENTA 3.9
Page 1: ...ReSound Aventa 3 9 fitting guide resoundpro com SMART HEARING...
Page 14: ...NOTES...
Page 15: ...NOTES...


