background image

4

Your device will ramp to the mask-fit pressure and will remain at this pressure 
for three minutes. 
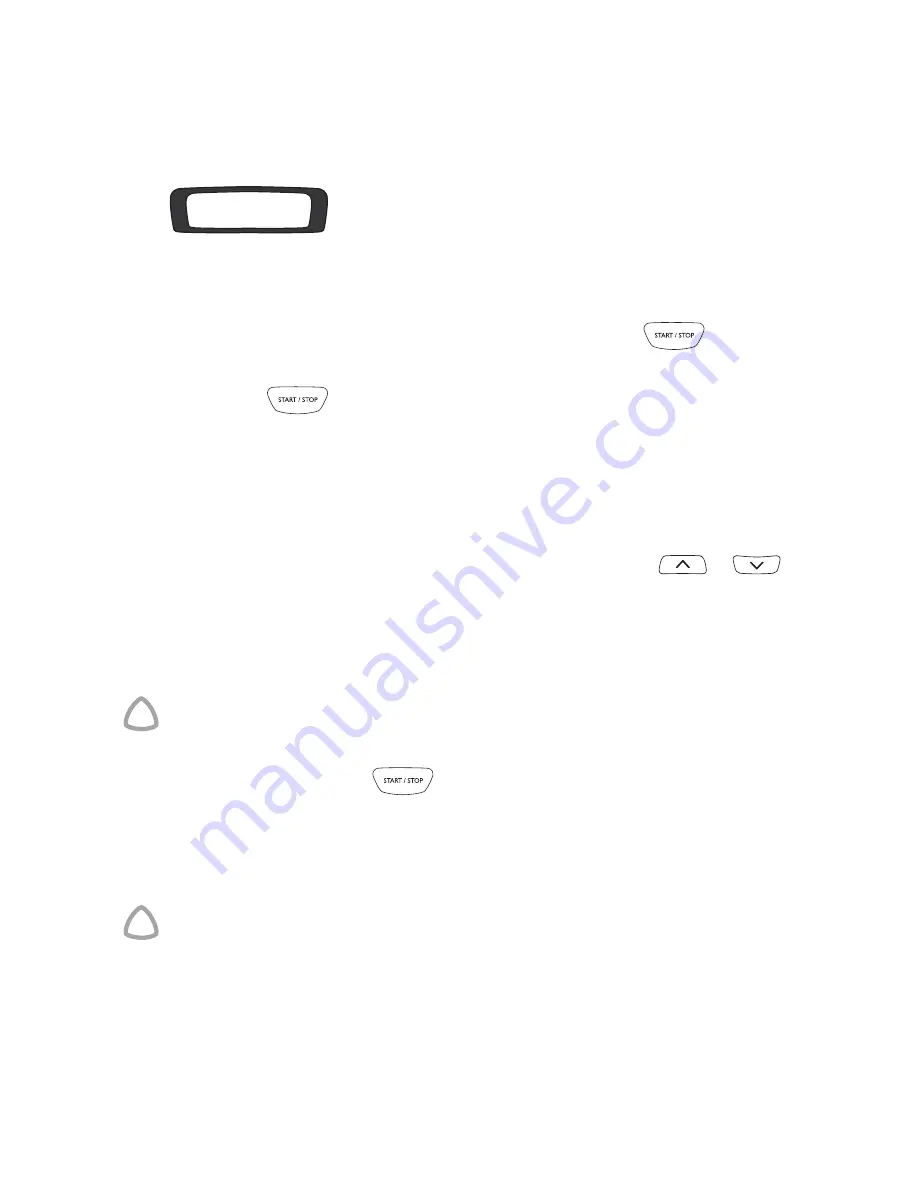
The following displays on the LCD screen indicating that the mask-fitting feature 
is operating, where: ***** is an excellent fit;****- is a very good fit; ***-- is a 
good fit; while **---, *---- and ----- each require you to adjust your mask.

3

Adjust your mask, mask cushion and headgear until you have a secure and 
comfortable fit. 
After three minutes, the pressure reverts to the set pressure and treatment will 

begin. If you do not wish to wait three minutes, hold down 

 for at least 

three seconds to start treatment immediately. 

If you press 

 for less than three seconds, the unit will return to standby 

mode (the RAMP or SETTLING screen).

Starting Treatment

1

Make sure the power is on. The product name is displayed briefly on the screen, 

then the standby screen displays RAMP (or SETTLING). Press 

 or 

 to 

increase or decrease the ramping (or settling) period. 

2

Fit mask, lie down and arrange the air tubing so that it is free to move if you turn 
in your sleep.

!

CAUTION

Do not leave long lengths of air tubing around the top of your bed. They could 
twist around your head or neck while you are sleeping.

3

To start treatment, press 

 . 

If your clinician has set up the device to start delivering therapy automatically 
using SmartStart™, your device will start when you breathe into your mask.

4

Fit your mask as described in the mask user instructions.

!

WARNING

A mask should not be used unless the S8 Series II device is powered and 
operating properly. 

When treatment begins, if ramp is set, the pressure increases from a low 
pressure to the prescribed treatment pressure over the set period. Ramping is 
designed to help you adjust to an increase in pressure gradually, and enhance 
your comfort. 

 MASK FIT:        *****       

 excelnt

Summary of Contents for S8 AutoSet II

Page 1: ...English S8 Series II S8 AutoSet II S8 Elite II POSITIVE AIRWAY PRESSURE DEVICES User Guide English Rx Only 2008 ResMed Ltd 338523 Eng 1 08 01 ...

Page 2: ...Mask fitting Feature 3 Starting Treatment 4 Stopping Treatment 5 Changing the Settings on your S8 II Device 5 The Standard Menu 5 The Detailed Menu 7 Messages on the S8 Series II LCD 9 Using the Data Card to Collect Data 9 Copy Data onto the Data Card 9 Cleaning and Maintenance 10 Daily 10 Weekly 10 Monthly 11 Replacing the Air Filter 11 Servicing 11 Frequently Asked Questions 12 Troubleshooting 1...

Page 3: ...certain fault conditions It should not be used by patients who are dependent on continuous therapy Positive airway pressure therapy may be contraindicated in some patients with the following pre existing conditions severe bullous lung disease pneumothorax pathologically low blood pressure dehydration cerebrospinal fluid leak recent cranial surgery or trauma Adverse Effects Patients should report u...

Page 4: ... and the equipment is not damaged Only ResMed air tubing should be used with the device A different type of air tubing may alter the pressure you actually receive and reduce the effectiveness of your treatment Blocking the hose and or air inlet of the device while in operation could lead to overheating of the device CAUTION Be careful to place the device where it cannot be bumped and where no one ...

Page 5: ... Press or until you see the setting that you require 5 Press to apply Using the Mask fitting Feature You can use the S8 Series II mask fitting feature to help you fit your mask properly This feature delivers air pressure for a three minute period prior to starting treatment during which you can check and adjust your mask fit to minimize leaks Note Make sure that the mask setting on the MASK screen...

Page 6: ...briefly on the screen then the standby screen displays RAMP or SETTLING Press or to increase or decrease the ramping or settling period 2 Fit mask lie down and arrange the air tubing so that it is free to move if you turn in your sleep CAUTION Do not leave long lengths of air tubing around the top of your bed They could twist around your head or neck while you are sleeping 3 To start treatment pre...

Page 7: ...ge the settings for a particular function The Standard Menu Your clinician will have enabled the menu on your S8 Series II device The picture shows the standard menu in each mode Note The AutoSet menu is available on the S8 AutoSet II only To enter the standard menu from the standby RAMP or SETTLING screen press S8 CLASSIC RAMP 10min menu S8 CLASSIC WELCOME S8 CLASSIC SETTLING 10min menu S8 CLASSI...

Page 8: ...are four settings OFF no EPR 1 lowest EPR 2 and 3 highest EPR The EPR LEVEL screen only appears if your clinician has enabled access to the EPR settings To change the EPR level select Press or until you see the setting that you require Mask type see page 3 You can also view the total number of hours of treatment USED HRS the number of sessions that the S8 Series II device was used in a usage perio...

Page 9: ...LCOME EPR LEVEL 1 change exit MASK ULTRA change exit TUBE LENGTH 2m change exit HUMID NONE change exit SMARTSTART ON change exit LEAK ALERT OFF change exit CPAP AUTOSET MASK ULTRA change exit TUBE LENGTH 2m change exit HUMID NONE change exit SMARTSTART ON change exit LEAK ALERT OFF change exit AUTOSET CPAP USED HRS 08000 exit USAGE 1000 1068 exit RESULTS enter exit SERVICING enter exit OPTIONS ent...

Page 10: ...dicates when a high mask leak is present Scroll to LEAK ALERT and select Press or to change the option to ON or OFF Results Menu Select on the Results menu to access the options in this menu You can use the Results menu to view the total number of hours of treatment USED HRS and the number of sessions that the S8 AutoSet II was used in a usage period USAGE Note Your clinician may have customized y...

Page 11: ...rt it into the Data Card slot until it stops Data copying starts automatically The Card Inserted Please Wait message is displayed on the S8 Series II LCD while data is being copied Copying takes approximately five seconds The Copy Complete Remove Card message is displayed on the LCD when copying has finished Message Description Action INSERT CARD May appear if your device is Data Card enabled Inse...

Page 12: ...gs this message is not displayed 2 Remove the Data Card from the S8 Series II 3 Store the Data Card in its protective folder when not in use WARNING If your clinician has told you to use this Data Card to update the settings on your device and the Settings Success message does not appear contact your clinician immediately Cleaning and Maintenance WARNING Beware of electric shock Do not immerse the...

Page 13: ...he back of the device 2 Remove and discard the old air filter 3 Insert a new filter with the blue tinted side facing out from the device 4 Replace the air filter cover Servicing This product S8 AutoSet II S8 Elite II should be inspected by an authorized ResMed service centre five years from the date of manufacture Prior to this the device is intended to provide safe and reliable operation provided...

Page 14: ...e mask on Before wearing your mask wash your face to remove excess facial oils This will allow a better fit and prolong the life of the mask cushion Do not use moisturizer when wearing a mask My mouth feels dry during treatment what can I do You may experience dryness of the nose mouth and or throat during the course of treatment especially during winter In many cases a humidifier may resolve this...

Page 15: ...air tubing Mask and headgear not positioned correctly Adjust position of mask and headgear Cap s missing from access port on mask Replace cap s Pressure required for treatment may have changed See your clinician to adjust the pressure Power cord not connected properly Connect power cord firmly at both ends Power outlet may be faulty Try another power outlet Leak Alert has been enabled by your clin...

Page 16: ... to the front of the S8 Series II When you have checked the air tubing press the Start Stop key to restart the device If this does not clear the message disconnect the power cord and then reconnect it to restart the device Data Card is not inserted correctly Check that the patient is inserting the Data Card into the Data Card module with the arrow facing up while the S8 Escape II is switched on an...

Page 17: ... condensing Storage and Transport Temperature 5 F to 140 F 20 C to 60 C Storage and Transport Humidity 10 95 non condensing Operating Altitude Sea level to 8500 2591 m Electromagnetic Compatibility Product complies with all applicable electromagnetic compatibility requirements EMC according to IEC60601 1 2 for residential commercial and light industry environments The electromagnetic compatibility...

Page 18: ...ead to suffocation This applies to most models of CPAP devices In the event of power failure or machine malfunction remove the mask The S8 Series II device can be set to deliver pressures up to 20 cm H2O In the unlikely event of certain fault conditions pressures up to 30 cm H2O are possible If oxygen is used with this device the oxygen flow must be turned off when the device is not operating If o...

Page 19: ...s much as 11ºF 6ºC higher than the temperature of the room Caution should be exercised if the room temperature is warmer than 90ºF 32ºC When using DC power always use a ResMed DC 12 converter The DC 12 converter is available as an optional accessory It is not supplied with all models The device should not be connected to both AC and DC power sources simultaneously Note The above are general warnin...

Page 20: ...defective product must be made by the initial consumer at the point of purchase This warranty is in lieu of all other express or implied warranties including any implied warranty of merchantability or fitness for a particular purpose Some regions or states do not allow limitations on how long an implied warranty lasts so the above limitation may not apply to you ResMed shall not be responsible for...

Reviews: