INSTALLATION and SET-UP
The Oracle Gate Access System has been designed
specifically for easy installation. After determining
where you want the Gate Access Panel (GAP) to be
mounted, just fasten the back panel to a post or
solid surface that is within easy reach of a user.
Place four ‘C’ batteries in the GAP’s battery pack.
You will hear a periodic low-volume beep,
indicating that the unit is operational and ready to
be programmed with your secure master PIN
number.
Clip the Panel onto the already installed back
plate, by placing the grooved bottom under the
mounting plate and push the Gate Access Panel up,
on to the mounting plate.
Initializing a New Master PIN code
While the GAP is prompting you to enter a new Master
PIN code, on the keypad, press
#
#
#
, and your four
digit Master PIN Code. A tone indicates that the unit
has accepted your Master PIN code.
∗
Is a ‘Cancel’
button to cancel any call or key sequence. Up to 50
additional PIN numbers can be added later, for other
users.
Example:
Enter
#
#
#
M M M M
(
###
enters
‘Initialize Master PIN’ mode, MMMM is the
sample Master PIN).
ACTIVATING ORACLE ACCESSORIES
The Gate Access Panel has the Master Code that
other Oracle accessory units (like Intercoms) learn
when they form a Wirefree Oracle system Network.
Activating a new Gate Control Unit (GCU)
Open the GCU by pulling the plastic shell off and
insert 4 ‘AA’ batteries into the battery holder.
When you are ready to activate the gate Control
unit, press the LEARN button on the GCU, for one
second. Within 20 seconds, enter your
Master PIN
on the Gate Access Panel, followed by the Gate
Controller’s ID (1-2, as set by dipswitch in the
GCU). The Gate Access panel will give a double-
beep. If you only have one Gate Controller, enter
an ID of
1
.
Repeat the process for any additional
Gate Controllers, setting their ID as above.
Example:
Enter
M M M M 1
(MMMM is the
sample Master PIN, 1 selects the
#
1 Gate
Controller).
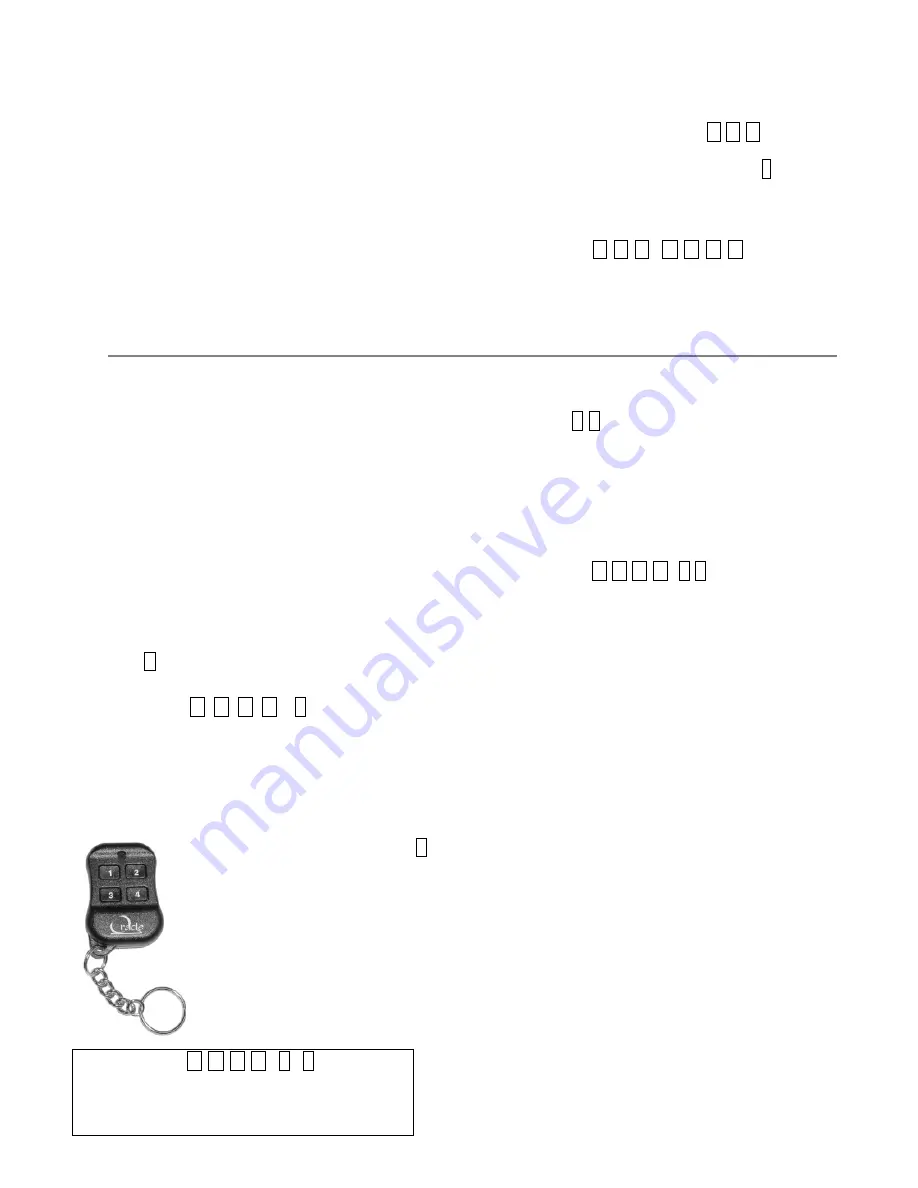
Activating Key-Fob Remotes
Each numbered button on a remote must be
activated separately, to control one of four Gate
Controllers. Enter your master PIN number on the
Gate Access Panel, followed by
8
,
then the gate controller ID (1-4).
After the Gate Access Panel
beeps, press and hold the remote
button you wish to use for that
Gate Controller. The Gate Access
Unit will respond with a double-
beep.
The GAP can retain a maximum of
two separate remote buttons in
its memory.
Example:
Enter
M M M M 8 1
(
1)
(MMMM is
the Master PIN, 8 enters ‘Activate
Remote’ mode, and 1 selects the #1 Gate
Controller, the last digit is the #1 button
on the remote).
Activating Intercoms and other Accessory Units
r
On the Gate Access Panel, enter the Master PIN numbe
followed by
0 5
to place the panel in Learn mode for
one minute. After you hear the double-beep, press the
CALL button on the Gate Access Panel. Within 20
seconds, place an Intercom or other accessory in Learn
Mode (usually by pressing and releasing the LEARN
button on the accessory). You should hear a beep
within ten seconds, as the accessory mates with Gate
System Network.
Enter
M M M M
0 5
[LEARN]
(MMMM
Example:
is the Master PIN,
05
places the panel in
‘Learn Mode’,
is the CALL button,
[LEARN]
is the LEARN button.
NOTE:
For a Wall Flush mount Intercom, enter Learn
After teaching an Intercom to the Gate Access Panel,
mode by holding down both buttons of the
Intercom for 3 seconds then release them.
to add more Intercoms to the system network, they
may either be taught directly to the GAP or to the
networked Intercom by pressing and releasing the
LEARN buttons on the new and an already networked
Intercom at the same time.
1


