5
chen könnten, was nicht durch die Garantie abgedeckt wird.
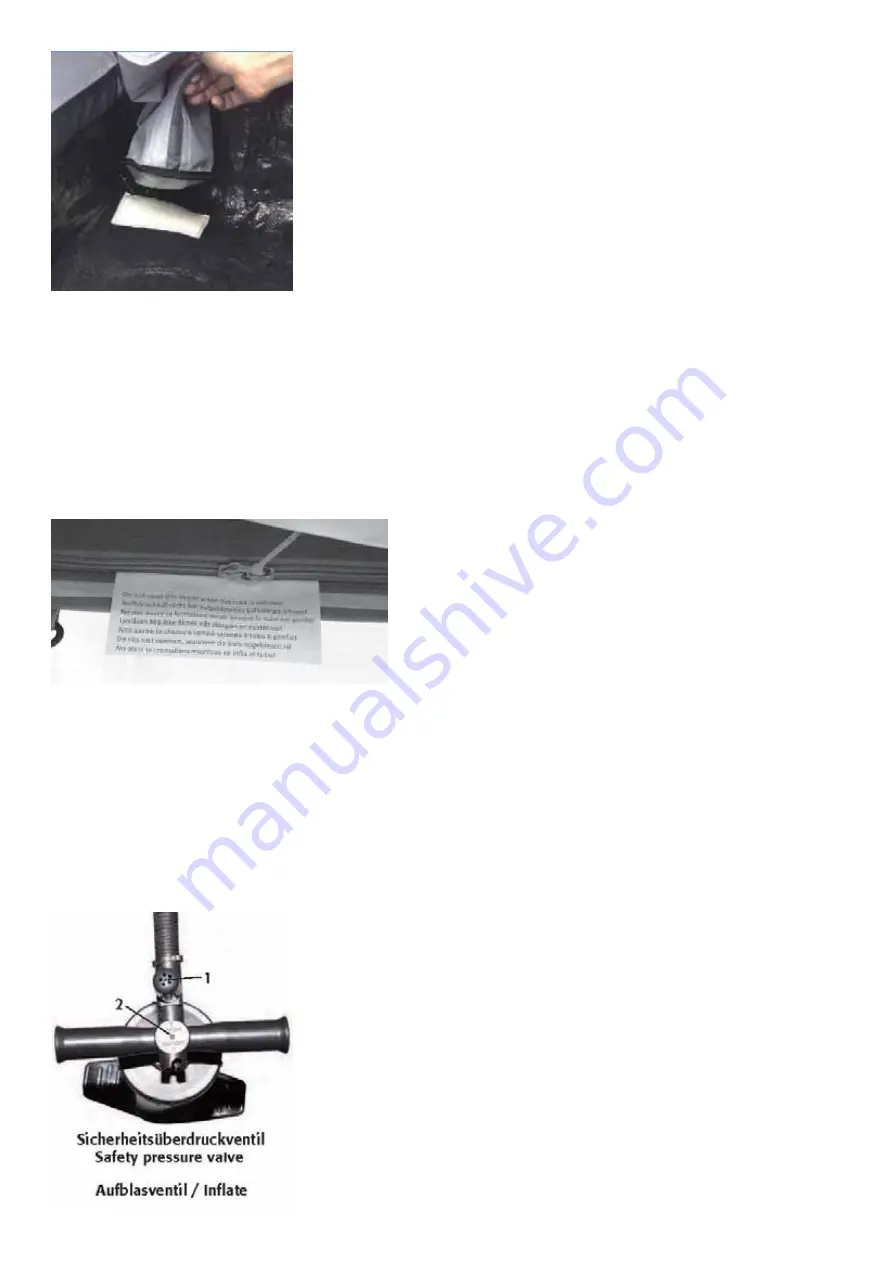
• Um sicherzustellen, dass sich das aufblasbare Gestänge in der richtigen Po-
sition befindet, achten Sie bitte darauf, dass der Klettverschluss der Kammer
mit dem Klettverschluss am Zeltboden verbunden ist.
ABOUT THE INFLATABLE FRAME
• The frame is made up of air tubes which are placed inside zipped protective
covers making them secure, protected and easy to replace if required.
• The air tubes themselves are made of very strong TPU material which is
strong, resistant to weather and will last for years.
• The protective covers are made from a strong, puncture resistant PE material. The protective cover is zipped inside
the sleeve on the awning.
•
The zips on the sleeve and protective cover are locked together with ties. These ties should never be remo-
ved under normal use. They are only to be removed,if you need to remove, replace or repair your air tube.
If you do remove the ties then you must replace them before inflating your awning otherwise you could
cause damage to the air tube, even puncturing it which is not covered under your warrranty.
• To ensure the air tube frame is in the correct position, please check that the protective cover is located on the
velcro pads at all times.
!!ACHTUNG!!
Die Reißverschlüsse von Schutzhülle und Hülse müssen
mit Verbindern (z.B. Kabelbindern) verriegelt werden.
Diese Verbinder sollten bei normaler Nutzung niemals
entfernt werden. Die Reißverschlüsse dürfen sich nicht
öffnen können. Wenn dieser Verbinder entfernen wurde,
können die Luftschläuche und auch ihr Zelt beschädigt
oder durchstochen werden, was nicht durch die Garantie
abgedeckt wird.
Pumpen Sie die Luftschläuche niemals auf, wenn einer der beiden Reißverschlüsse geöffnet ist.
!!ATTENTION!
The zips on the air tube sleeve and protective cover are locked together by a plastic tie.
Never remove this plastic tie under normal use. If this tie is removed then it could cause damage to your air
tubes or awning and is not covered by the warranty.
Never inflate the air tube if either of the zips are undone.
AUFPUMPEN
LUFTPUMPE
Verbinden Sie das Sicherheitsventil mit der Inflate Seite der Luftpumpe und
befestigen Sie den Schlauch am Sicherheitsventil, wie in der Abbildung links dar-
gestellt. Verwenden Sie die Luftpumpe niemals ohne das Sicherheitsdruckventil
mit Ihrem Vorzelt. Das Sicherheitsdruckventil stellt sicher, dass Sie nicht zu viel
Luft in das Gestänge pumpen können.
Eine Nichtverwendung des Sicherheitsdruckventils beim Aufblasen ihres Zeltes
kann dazu führen, dass Sie die Luftschläuche zu stark aufpumpen, was zu einem
Verlust der Garantie führt.
Wichtig:
Der Ideale Luftdruck für dieses Vorzelt beträgt 0,48 bar ( 7 PSI).
Bitte achten Sie darauf, dass Sie diesen Druck nicht überschreiten. Wenn Sie
ihre eigene Luftpumpe nutzen, stellen Sie sicher, dass diese über ein Sicherheits-
druckventil, welches auf 0,48 bar voreingestellt ist, bzw. über ein Manometer
Summary of Contents for 900015
Page 1: ...1 Casa Air 900015 Aufbauanleitung Assembly Instructions www reimo com...
Page 15: ...15...
Page 16: ...16 www reimo com...


