background image

Menu Options Overview

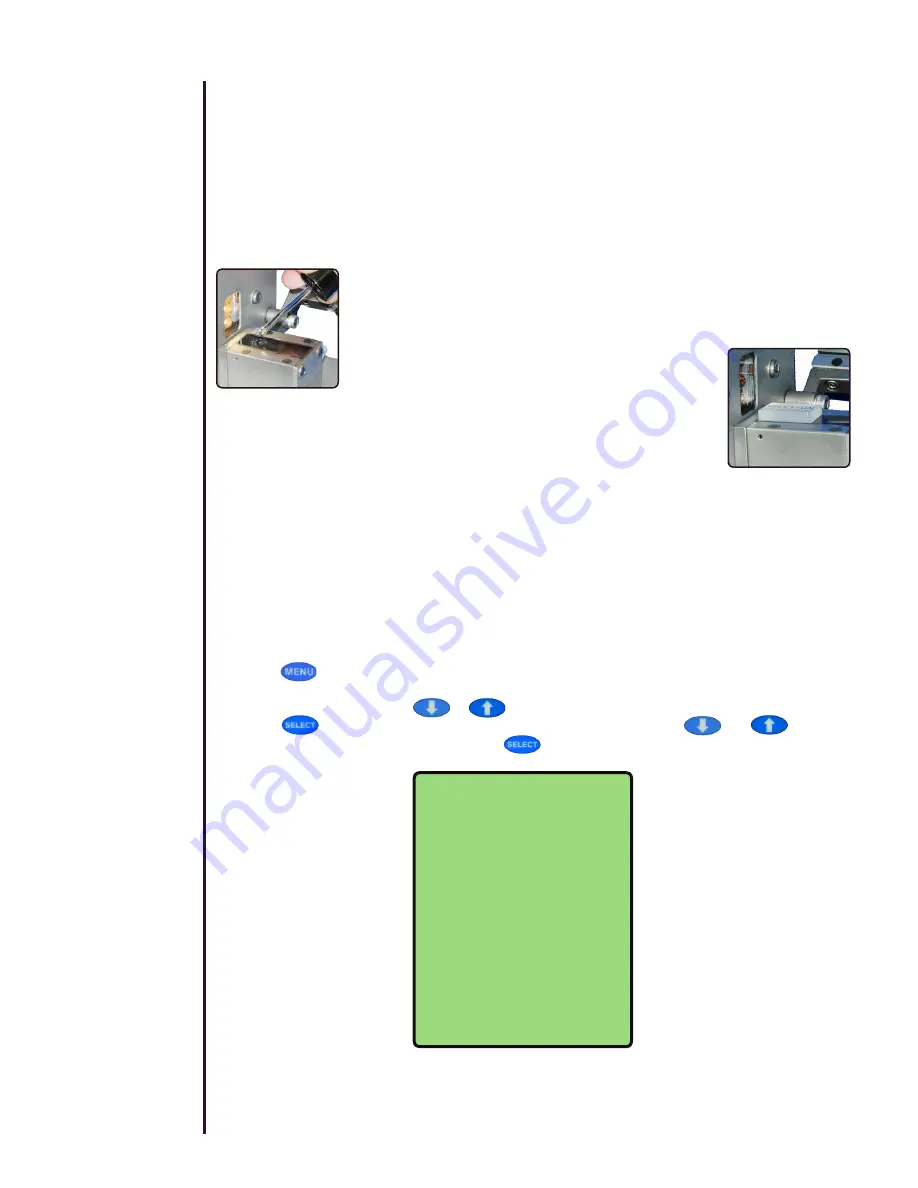
Shown below are the menu options as they appear on the instruments display. While many of 

these options are not required to operate the instrument, they have been made available to 

enhance the functionality of the Mark III refractometer. To access the menu options screen, 

press the          key. 

To select an option, press the          or          keys to advance to and highlight the desired option. 

Press the          key to enter and view the sub menu options. Using the          and          keys, 

scroll through the option choices and press          when the desired selection is highlighted. 

Menu Options

- Calibrate

- Channel 1

  - Sucrose

- Mode

  - Index-TC

- Language

- Auto Temp. Equil.

  - +/-0.04

o

 C

- Password

- RS232 Baud

- Time

- Date

- Contrast

- ID

Measuring Solid Samples

The Mark III is capable of measuring transparent or translucent plastic or glass solid samples with 

the upper prism raised. The instrument can also be used to measure very thin pliable solids, such 

as contact lens material, that can fit between the prisms when closed.  

Solid samples must be shaped and polished correctly in order to be read. The size of solid samples 

should be no larger than 35mm Long x 12mm Wide x and a minimum of 2mm High. Also one side 

of the sample and one of the perpendicular surfaces that will face the illumination source, must 

be polished. All other sides should be frosted for best results. 

To measure a solid sample, apply a drop of a suitable contact fluid that has 

a higher refractive index value than the sample being read (Fig 9). Reichert 

recommends Bromonapthalene for any solid that will not be adversely affected 

by this liquid.

Place the polished side of the solid sample down on the 

contact fluid avoiding air bubbles from being trapped in 

the process. Also place the polished perpendicular side 

toward the light source of the Mark III (Fig 10).

To complete the measurement process, follow the procedure outlined in the 

section “

Sample Analysis

”.

Note: Do not lower the upper illumination prism onto a solid sample as it may cause damage to 

the instrument.

Fig 9

Fig 10

6

Summary of Contents for ABBE MARK III

Page 1: ...ABBE MARK III REFRACTOMETER USER GUIDE...

Page 2: ...instrument with the prism surfaces and instrument clean and dry to prevent premature failure of the prisms and seals due to any harmful effects from sample residue The instrument is programmed to rea...

Page 3: ...Overview 6 Calibration 7 Set Point Calibration 7 Span Point Calibration 7 Editing Calibration Points 8 Operational Parameters Sample Temperature Effects on Readings 8 Automatic Temperature Correction...

Page 4: ...III power input connector or the unit s power cord Damage to the Mark III instrument and or injury to the op erator may occur Warning The Mark III should be used in strict accordance with the instruc...

Page 5: ...47 mm x 47 mm Illumination Six high intensity LED s Prism Assembly Stainless steel assembly with glass prisms Range Channel 1 1 3000 1 7000 nD 0 95 Brix per ICUMSA Readability 0 0001 nD 0 1 Brix Preci...

Page 6: ...Focusing Eyepiece rotate to attain sharp focus of the X pattern and the shadowline Menu Key LCD Display Up Down Keys Select Key Read Key Illumination and Sample Prisms Shadowline Adjustment Knob rota...

Page 7: ...p shadowline In these cases applying the sample with a rubber spatula to squeeze out trapped bubbles or lifting the upper prism sev eral times to remove the trapped air is required The following are t...

Page 8: ...ch as contact lens material that can fit between the prisms when closed Solid samples must be shaped and polished correctly in order to be read The size of solid samples should be no larger than 35mm...

Page 9: ...tion points These points can be chosen to either calibrate across the entire reading range of the instrument or to closely match a specific range where samples are typically read The instrument does n...

Page 10: ...y lower ing the sample temperature will raise the refractive index This change in refractive index due to a change in temperature will cause an appar ent change in concentration unless the reading is...

Page 11: ...me Computer Interface The Mark III includes two serial communications ports Fig 11 Both are DB9 position female connectors that are located on the left side of the instrument Data may be downloaded to...

Page 12: ...products using custom channels These channels represent scales that have been developed to measure a specific product Optional channels can be selected only after they have been uploaded from a PC to...

Page 13: ...ids Percent concentration Brix Solids TC Percent concentration temperature corrected Brix An alternate method of changing modes exists in the reading screen once a sample has been measured All that is...

Page 14: ...s using the keys Time The time may be set in either AM PM or 24 00 00 format Use the or keys to change the displayed value To advance to the next time seqment use the key and the key to exit Date The...

Page 15: ...ider flexibility Any tubing that is highly rigid may apply excessive force on the prism preventing it from closing completely This condition can adversely affect reading accuracy Note If a water bath...

Page 16: ...ff with a suitable solvent to avoid possibly scratching the prism Use caution when removing samples or drying the prism Care and Cleaning Preparing the prism surfaces for samples is essential if consi...

Page 17: ...8152 993530 Accessories Catalog No 13981000 Printer 110 VAC Catalog No 13982000 Printer 220 VAC Catalog No 13107040 901 Null Modem Cable Catalog No 13981000 103 Paper 5 Rolls Catalog No WFAG20047 FUS...

Page 18: ...SA Toll Free 888 849 8955 Phone 716 686 4500 Fax 716 686 4555 email ai reichert com www reichert com Reichert Instruments GmbH Hubertusstrasse 2 D 82229 Seefeld Germany Tel 49 8152 993530 Fax 49 8152...

Reviews: