42
b) Setting the Alignment
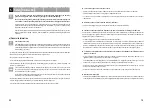
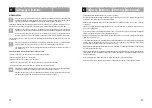
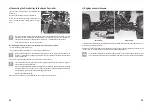
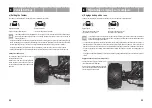
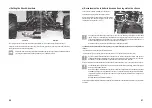
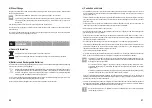
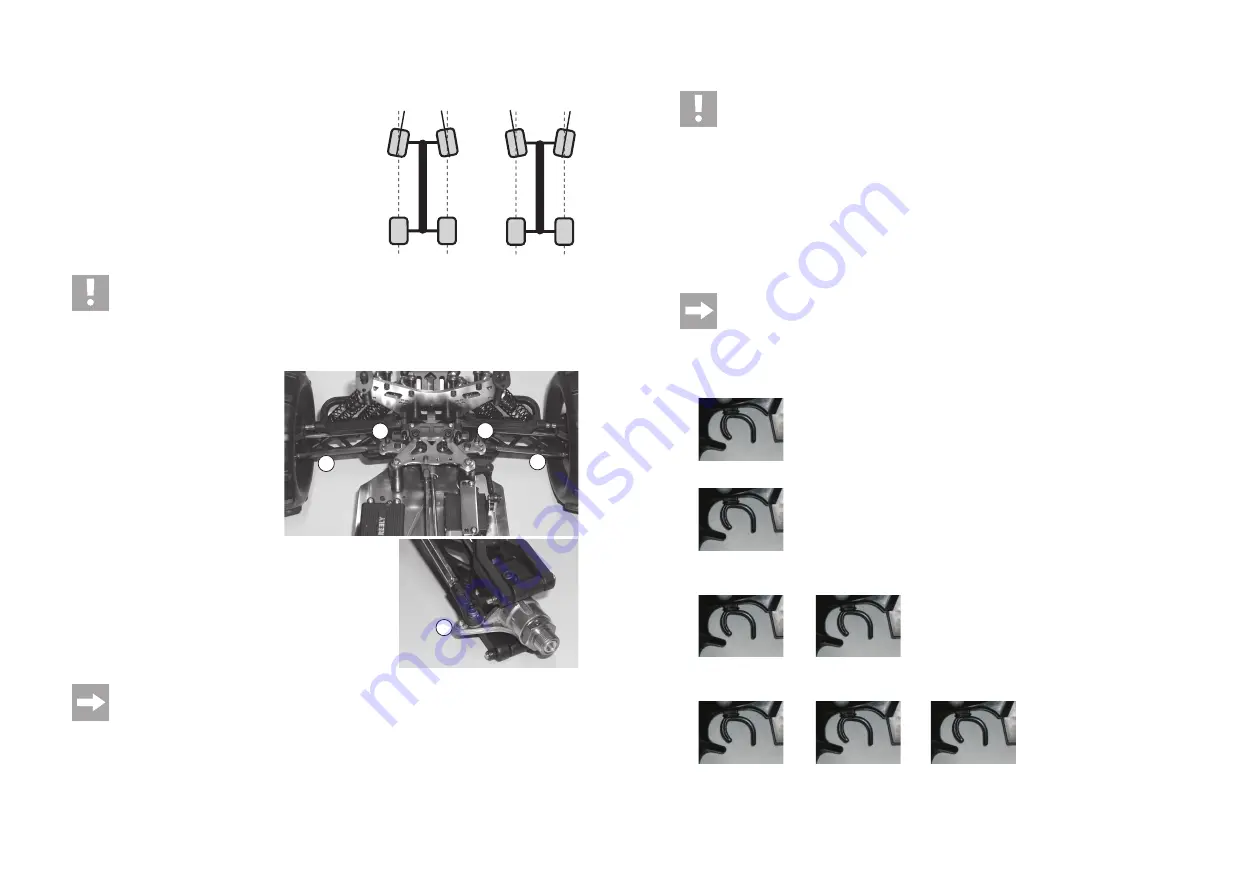
Wheel alignment (toe-in = figure “a”, toe-out = figure “b”) describes the
relation of the wheel level to the driving direction.
The tyres are pushed apart in the front by rolling friction when driving.
Therefore, they are no longer precisely parallel to the driving direction.
To compensate, the tyres of the stationary vehicle can be adjusted so
that they point slightly inwards. This toe-in improves lateral cornering of
the tyres and leads to a more direct response to steering.
If a milder response to steering is desired, this can be achieved
accordingly by adjusting a toe-out, i.e. the wheels of the stationary
vehicle point outward. An alignment angle of 0° on the front axle ensures
the best driveability on almost any ground.
An alignment angle of more than 3° toe-in (a) or toe-out (b) will lead to handling problems and decreased
speed. It will also increase tyre wear.
The figure above shows a strongly over-emphasised setting. It is only used for showing the difference
between toe-in and toe-out. If such a setting is used for the vehicle, it will be very difficult to control!
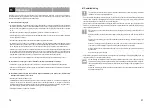
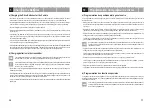
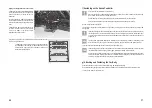
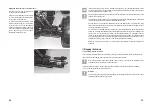
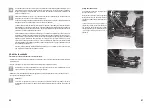
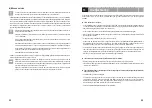
Set alignment for the front wheels:
For the front axle, alignment can be set by
turning the adjustment screw (A).
Because the adjustment screw has a left and
right hand thread at either end, it does not need
to be dismantled to be adjusted.
The so-called Ackermann angle can be set
using the mounting points (B) at the steering
plate and at the axle stub (C) (the wheel on the
inside of a bend must be turned further than
the one on the outside of a bend).
This setting was already made in the factory
and should not be changed.
Turn both adjustment screws (A) evenly (left and right front wheel). Otherwise, you need to adjust the trim
of the transmitter or even correct the steering servo control (e.g. adjust servo rod or attach servo arm to the
servo differently).
A
¦ ¦
a
b
B
A
B
C
63
h) Pilotage du véhicule
Utilisez avec beaucoup de précaution le levier d’accélération / de freinage de l’émetteur pour le pilotage et
ne conduisez pas trop vite au début jusqu’à ce que vous vous soyez familiarisé avec les réactions du
véhicule.
Ne déplacez pas les éléments de commande de l’émetteur avec des mouvements rapides et saccadés.
Si le véhicule tendait à tirer vers la gauche ou vers la droite, réglez la compensation de direction sur l’émetteur
conformément.
Si vous commutez entre la marche avant et la marche arrière, le levier d’accélération / de freinage doit brièvement
(env. 2 secondes) se trouver en position neutre (position centrale = relâcher le levier, ne pas le déplacer). Si le levier
d’accélération / de freinage passe directement sans faire de pause de la marche avant à la marche arrière, la fonction
de freinage de l’entraînement s’active (le véhicule NE roule PAS en marche arrière).
À ce propos, observez également le mode d’emploi fourni avec la télécommande.
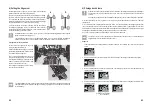
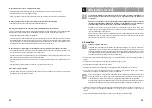
Les figures ci-après ne sont destinées qu’à l’illustration des fonctions, elles ne correspondent pas
obligatoirement à la conception de l’émetteur fourni !
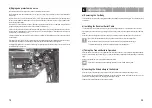
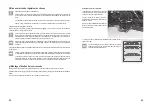
Exemples :
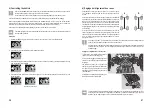
1. Levier d’accélération / de freinage relâché, le véhicule ralentit (ou ne se déplace plus), le levier est en position
neutre
2. Rouler en marche avant, pousser lentement le levier d’accélération / de freinage en direction de la poignée
3. Rouler en marche avant puis freiner (le véhicule freine, il ne ralentit pas), repousser le levier d’accélération / de
freinage de la poignée sans pause
4. Piloter en marche avant puis en marche arrière (attendre env. 2 secondes entre le changement et laisser le levier
en position neutre !)
Attendre un court instant,
env. 2 secondes
¨
¨
¨
¨
¨

