Effective from 29-Jul-21
Page | 5
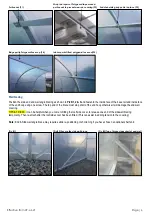
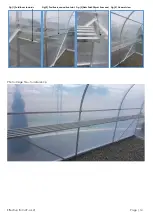
(Secure the internal hoop screws after the cover installed) (Pic POL1) Polyguard on internal hoops, Purlins & end dwangs
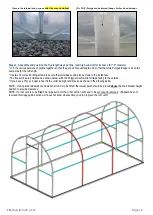
Stage 3: Assemble and position the five lengthways purlins. (and high wind collar tie brace for “X” models)
* Join the various sections of purlins together so that they are all of equal length and so that the white Polyguard tape is all on the
same side for the full length.
* Use two 16mm self-drilling screws to secure the joints/sleeve and place screws to the inside face
* The five purlins are positioned as shown below, with the Polyguard soft white felt tape facing to the outside.
* If you have a 15m or longer tunnel, fit the collar tie high wind braces as shown in the drawing below
NOTE: If an optional sidewall or end wall shelf unit is to be fitted, the lowest purlin should be placed above the shelf bracket height
position to provide clearance.
NOTE: If a roof vent is to be fitted The ridge purlin for that 1.5m section will need to be cut out and removed . (Redpath has not
removed this ridge purlin section as it does not know what section you plan to place the roof vent)


