red lighting Classe BS 2 User Manual Download Page 13


                                                                                                                                                                            Classe  BS2  v1.0 

12 

5

Remove the receivers from transmitter (T1) and to log in to another transmitter (T2) 

    Case 1: Remove a receiver: 

a)


On the control board of the fixture, enter menu to activated the function of REST; 

b)


The LED for wireless on the fixture should turn to Solid red; the receiver can log out from 
the transmitter (T1); 

c)


press the configuration button on transmitter(T2) for less than 3 second, then the fixture will 
start to connect with the transmitter(T2) 


    Case 2: Remove all receivers from a transmitter (T1) to log in to T2; 

a)


Press  and  hold  the  configuration  button  on  the  T1  as  least  5  seconds,  can  clear  the 
connection with all the fixtures. 

b)


All  the  red/green  LEDs  on  the  receiver  fixtures  will  turn  to  Solid  red  to  indicate  that  the 
receivers are unassigned and removed from the transmitter ( T1); 

c)


Press and hold the configuration button on the T2 less then less than 3 second , the fixtures 
will connect with the T2 

 
PS: 1. Please log the receivers out from the transmitter after every job, so that the receivers are in 
free un assigned state and ready to be assigned to a transmitter. 

2. Do not connect the fixture which is under the communication of wireless system to the DMX 

controller, otherwise it will cause interference from the DMX controller. 


9. Control Board 


The  Control  Board  offers  several  features:  you  can  simply  set  the  starting  address  ,  run  the 
pre-programmed program or make a reset. 

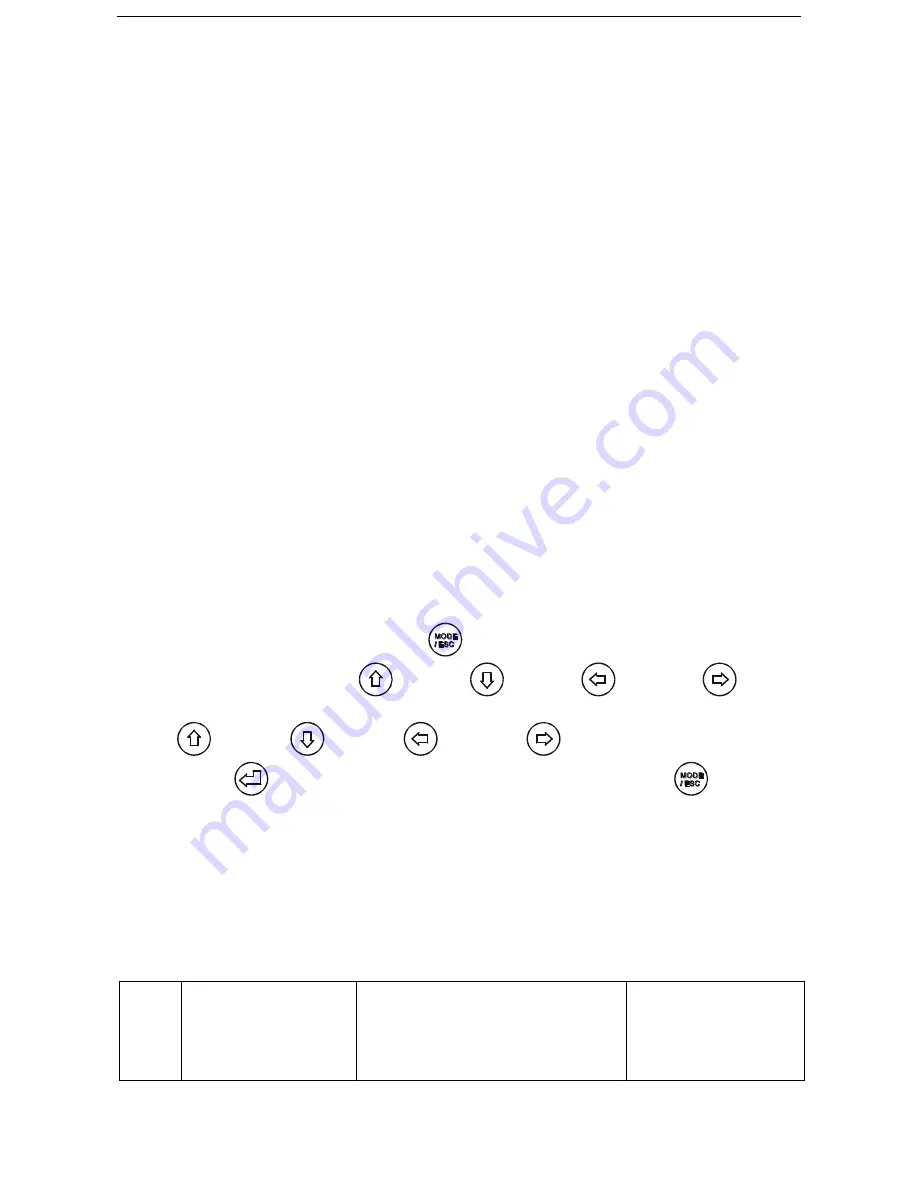
The main menu is accessed by pressing the


  -button until the display starts flashing. Browse 

through the menu by pressing the 

  -button , 

  -button , 

  -button or 

  -button. 

Press the Enter-button in order to select the desired menu. You can change the selection by pressing 

the  the 

  -button  , 

  -button  , 

  -button  or 

  -button.  Confirm  every  selection 

by  pressing  the

  -button.  You  can  leave  every  mode  by  pressing  the 

-button.  The 

functions provided are described in the following sections. it will exit from flash  10 seconds after 
the  last  keypress.  Press  this  key  under  edit  mode,  .  The  functions  provided  are  described  in  the 
following sections. 


To access the display menu via the internal battery, press the DC switch button for 2seconds; To shut off the 

display  immediately, choose  the  commend  "  Reset  All" menu  and  press  "Enter"  button, otherwise,  the 

display will automatically switch off about 1 minute from last button press. 


Funct

ion 


Set Dmx Address 
Dmx Value   
Slave Mode 
Auto Program 
Sound Control 

A001~AXXX 
PAN…… 
Slave1,Slave2,Slave3 
Master / Alone 
Master / Alone 

DMX address setting 
DMX value display 
Slave setting 
Auto program 
Music control 

Summary of Contents for Classe BS 2

Page 1: ......

Page 2: ...17 9 2 3 Software version 18 9 3 LAMP CONTROL 18 9 3 1 Lamp on off 18 9 3 2 Automatic on 18 9 3 3 Lamp on via external controller 19 9 3 4 Lamp off via external controller 19 9 3 5 Max on at temp 19 9...

Page 3: ...Manual Please check carefully that there is no damage caused by transportation Should there be any consult your dealer and don t install this device 1 FEATURES Lamp Philips PLATINUM 5R 3 DMX Channels...

Page 4: ...on In order to maintain this condition and to ensure a safe operation it is absolutely necessary for the user to follow the safety instructions and warning notes written in this user manual Important...

Page 5: ...out the plug by tugging the power cord During initial start up some smoke or smell may arise This is a normal process and does not necessarily mean that the device is defective it should decrease gra...

Page 6: ...NS 4 1 Installing or replacing the lamp Only install the lamp with the device unplugged from the mains The lamp has to be replaced when it is damaged or deformed Because of the nature of the extreme h...

Page 7: ...crews A B on the bottom of the housing holding the plate where the lamp is underneath Carefully remove the metal plate 2 Insert the lamp counter clockwise 35 degree into the lampholder then turn clock...

Page 8: ...ion for the first time These installations have to be approved by a skilled person once a year Overhead mounting requires extensive experience including amongst others calculating working load limits...

Page 9: ...s on the bottom of the device Tighten the quick lock fasteners fully clockwise c Install the second Omega holder d Pull the safety rope through the holes on the bottom of the base and over the trussin...

Page 10: ...f the installation material being used and periodic safety inspection of all installation material and the fixture If you lack these qualifications do not attempt the installation yourself Improper in...

Page 11: ...ection All fixtures should be given a DMX starting address when using a DMX signal so that the correct fixture responds to the correct control signals This digital starting address is the channel numb...

Page 12: ...or the DMX signal source If the fixture is connected to the DMX controller it can be controlled by DMX controller if it is log in to the wireless transmitter it can be controlled by the Transmitter 2...

Page 13: ...on of wireless system to the DMX controller otherwise it will cause interference from the DMX controller 9 Control Board The Control Board offers several features you can simply set the starting addre...

Page 14: ...Tilt Reverse Pan Degree Feedback Movement Speed Mic Sensitivity Hibernation ON OFF Close Hold Auto Music ON OFF ON OFF 630 540 ON OFF Speed 1 4 0 99 OFF 01M 99M 15M Add via DMX Auto run if no DMX Pan...

Page 15: ...001 Edit Scene 250 Pan Tilt Fade Time Secne Time Input By Exterior Save and automatically return manual scenes edit Rec Controller XX XX Automat scenes rec Default settings shaded 9 1 FUNCTION 9 1 1 S...

Page 16: ...il Sound Control is displayed 3 Press ENTER the display will show Sound Control 4 Tap the Up Down button the display will show Master Alone 5 Press ENTER to confirm or press MODE ESC to return to the...

Page 17: ...splay will show Information Tap the Up Down button until the display will show Time Info Press ENTER the display will show Time Information 2 Press Up Down the display will show Lamp Hours 3 Press ENT...

Page 18: ...the main menu Tap the Up Down button until Information is displayed Press ENTER the display will show Information Tap the Up Down button until the display will show Time Information Press ENTER the di...

Page 19: ...the preset value so even the lamp can not be striked even the menu Lamp is turned to ON as the lamp switch is compelled to turned off When the temperature unit after the temperature value come to low...

Page 20: ...button until Lamp Control is displayed Press ENTER the display will show Lamp Control Tap the Up Down button until the display will show Lamp Off Via DMX Press ENTER the display will show Lamp Off Vi...

Page 21: ...n until Personality is displayed Press ENTER the display will show Personality Tap the Up Down button until the display will show Status setting Press ENTER the display will show Status setting 2 Pres...

Page 22: ...tting Press ENTER the display will show Status setting 2 Press Up Down the display will show Feedback 3 Press ENTER the display will show Feedback 4 The display show ON Press Up Down the display will...

Page 23: ...Password The Password for this function is 50 RDM PID With this function you can call up various submenus via RDM This device is RDM ready RDM stands for remote device management and makes remote con...

Page 24: ...s Up Down the display will show ON 5 Press ENTER to confirm or press MODE ESC to return to the main menu 9 4 5 Temperature C F With this function Display the temperature for Celsius or Fahrenheit 1 Ta...

Page 25: ...All Press Up Down the display will show Reset Pan Tilt Reset Colors Reset Gobos Reset Shutter Reset Other 3 Press ENTER to confirm or press MODE ESC to return to the main menu 9 6 Effect Adjust 9 6 1...

Page 26: ...nel orders 9 7 2 Edit User mode With this function you can adjust the rest user defined channel order 1 Tap MODE ESC button access the main menu Tap the Up Down button until Users mode set is displaye...

Page 27: ...e 3 Press the Enter button to confirm Press the MODE ESC button in order to return to the main menu 2 Automatic Program Run Select Function Mode by turning the encoder Press the Enter button to confir...

Page 28: ...g the encoder Press the Enter button to confirm Select Edit scenes by turning the encoder Turn the encoder to select the desired scene numbers You can program a maximum number of 250 Turn the encoder...

Page 29: ...ast to slow 190 193 No rotation 194 255 Backwards rainbow effect from slow to fast 2 Color Wheel Fine 0 255 Color Wheel colour change to any position Fine 2 2 3 Rotating gobos cont rotation 0 9 Open 1...

Page 30: ...30 540 6 6 8 TILT Movement 8bit 0 255 Tilt Movement By 270 7 7 9 Rotating prism Prism Gobo macros 0 3 open 4 63 Forwards rotation from fast to slow 64 67 No rotation 68 127 Backwards rotation from slo...

Page 31: ...to any position 30 39 colour gobo change to any position 40 59 Lamp on 60 79 Lamp switch off 80 84 All motor reset 85 87 Scan motor reset 88 90 Colors motor reset 91 93 Gobo motor reset 94 96 Shutter...

Page 32: ...ement is not located in the default position after the reset Color wheel Er Color wheel error This message will appear after the reset of the fixture if the magnetic indexing circuit malfunction senso...

Page 33: ...f the lights due to accumulation of dust 2 Clean the fan each week 3 To make sure the smooth gobo rotation we suggest adding proper lube to the wheel each three month avoiding the excessive lube splas...

Reviews: