Chapter 4
67
Using the TV’s Menu System
Menu Language
6
Power Indicator
7
Lamp Power
8
Translucency
5
Color Scheme
4
Time Menu
3
Screen Format
2
Closed Captioning
1
Go Back
0
Main Menu
Preferences
Press
or
to move the indicator to the desired
translucency level for the on-screen menus.
The translucency level you set is applied to the on-screen
menu system and channel banner for all inputs.
Menu Language
6
Power Indicator
7
Lamp Power
8
Translucency
5
Record Output
Color Scheme
4
Time Menu
3
Screen Format
2
Closed Captioning
1
Go Back
0
Main Menu
Preferences
Press
or
to point to an option, then press OK to
select it. Press
to return to the menu.
You can select from one of four colors for the menu system
and the channel banner.
Plum
Raspberry
Emerald
Sky Blue
Color Scheme
Select from among four colors (
Sky Blue, Emerald, Raspberry, and Plum
) to
change the color of the menu system and banner.
Note:
The browser colors are unaffected.
Translucency
Menu Language
6
Translucency
5
Power Indicator
7
Lamp Power
8
Color Scheme
4
Time Menu
3
Screen Format
2
Closed Captioning
1
Go Back
0
Main Menu
Preferences
Press
or
to point to an option, then press OK to
select it. Press
to return to the menu.
Highlight with the
and
arrows. Select with the OK button.
Resalte con las flechas
y
. Seleccione con el botón OK.
Mise en surbrillance avec
et
. Sélection avec OK.
Français
Español
English
Lamp Power
8
Power Indicator
7
Menu Language
6
Translucency
5
Color Scheme
4
Time Menu
3
Screen Format
2
Closed Captioning
1
Go Back
0
Main Menu
Preferences
Press
or
to set a brightness level of th power indicator
on the front of the TV. "Off" is at the very left.
You can change the brightness of the lighted power
indicator on the front of the TV by pressing
and
on the
remote. The setting at the extreme left turns off the light.
The setting at the extreme right is the maximum brightness
setting.
Power Indicator
7
Lamp Power
8
Menu Language
6
Translucency
5
Color Scheme
4
Time Menu
3
Screen Format
2
Closed Captioning
1
Go Back
0
Main Menu
Preferences
The lamp that lights the TV picture can be set for a brighter
picture or a longer life (less bright). Press OK to continue.
The TV's lamp can be set to have either:
You can choose the lamp's power setting. The "Longer Life"
setting produces a picture that is less bright, however, it
should extend the life of the lamp as compared to the
"Brighter Picture" setting. Choose a selection that best fits
your viewing environment and intended usage of the TV.
This TV uses Lamp Type __. Please make a note of it for
future reference.
Longer life
Brighter Picture
Translucency
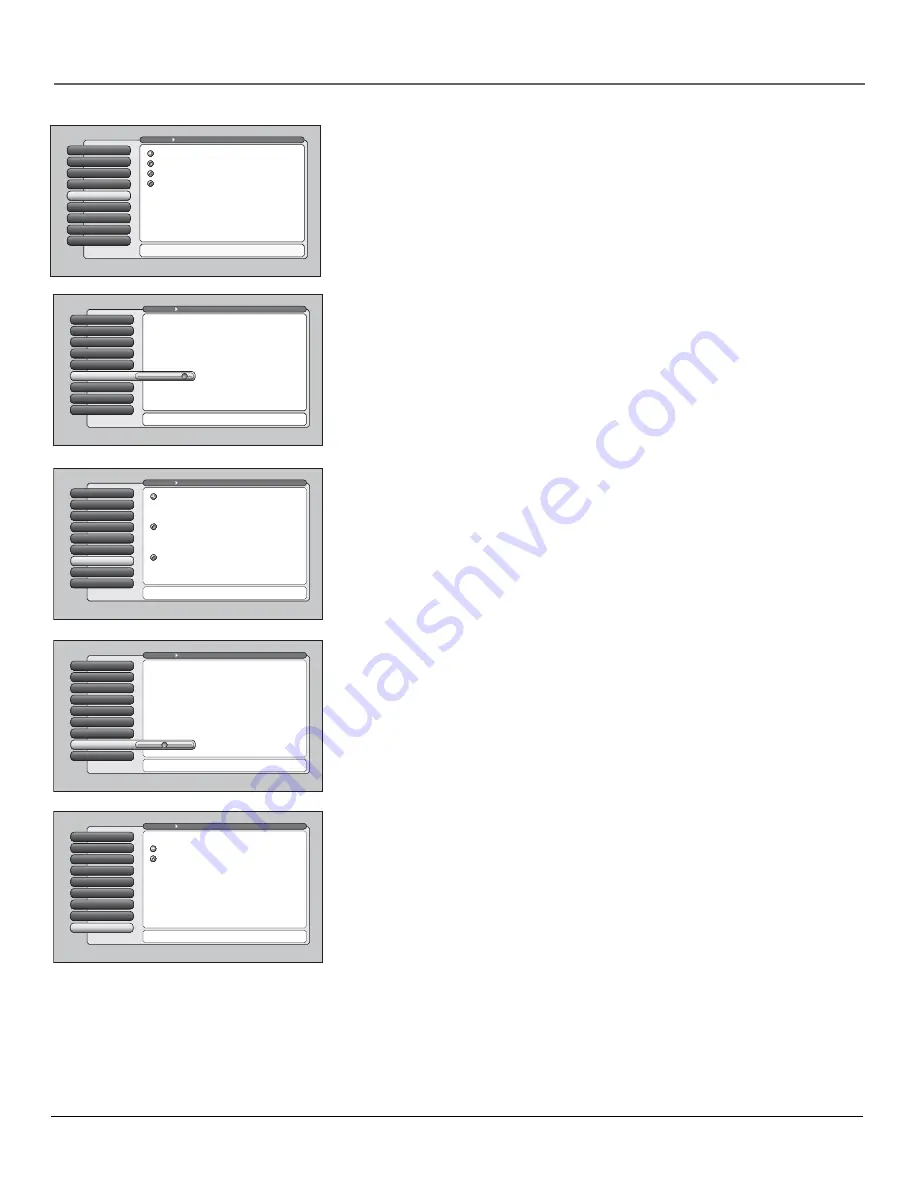
You can change the translucency (see-through) level of the menu screens.
Adjust the slider by using the left and right arrow buttons.
Note:
This does not apply to the browser.
Menu Language
The menu language can be changed to one of three languages:
English, Spanish
or
French
. The menu language can also be selected when using the
Assisted
Setup
menu.
Note:
Spanish and French are not available in the browser.
Power Indicator
You can adjust the brightness of the power indicator that illuminates on the
front of the TV when the TV is on. Press the left arrow on the remote to dim the
light or turn it off completely by moving the slider all the way to the left. Press
the right arrow button on the remote to brighten the light.
Lamp Power
Your HDTV is equipped with a special lamp system. Eventually, the lamp (like a
light bulb) will need to be replaced and you’ll need to know your lamp type.
Check the menu for your lamp type and write it down on page 1 for future
reference. The
Lamp Power
menu enables you to extend the life of the lamp
(choose
Longer Life
), or provide the brightest possible picture (choose
Brighter
Picture
).
Summary of Contents for Scenium
Page 1: ...HDTV with DLP technology High Definition Television User s Guide ...
Page 70: ...This page intentionally left blank ...
Page 88: ...This page intentionally left blank ...
Page 89: ...This page intentionally left blank ...
Page 90: ...This page intentionally left blank ...
Page 91: ...This page intentionally left blank ...
Page 92: ...This page intentionally left blank ...
Page 93: ...This page intentionally left blank ...
Page 94: ...This page intentionally left blank ...


