26
4. Press and release the
SETUP
key or LCD
UP ARROW
key
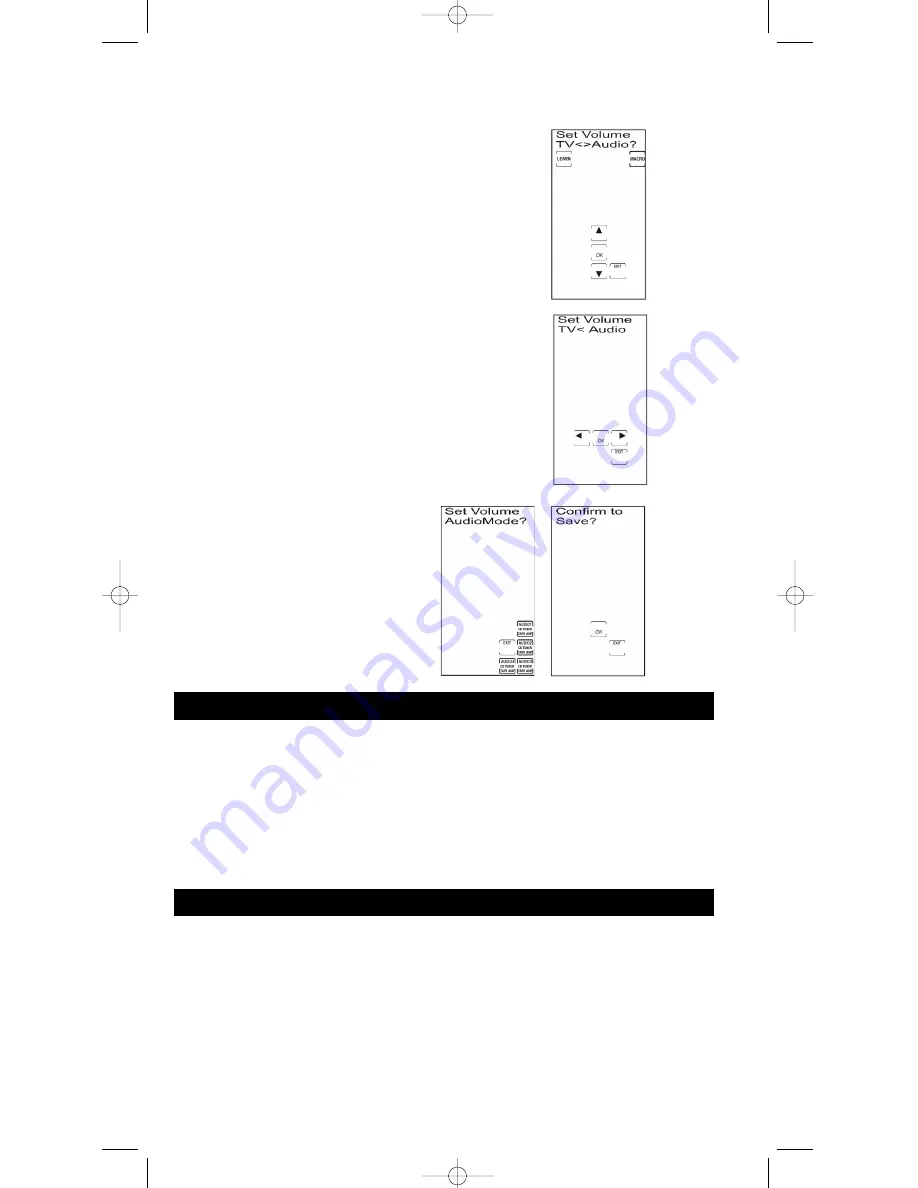
repeatedly until the Set Volume TV<>Audio Screen appears.
Press and release the LCD
OK
key.
5. The Set Volume TV<>Audio Screen remains in the
display with a solid arrow indicating the current setting.
Press and release the LCD
LEFT
or
RIGHT ARROW
key
to select TV or AUDIO. Press and release the LCD
OK
key
to save the selection.
• If AUDIO is selected, the display shows the Set Volume
AudioMode? Screen for Audio Mode to be used for
VOLUME/MUTE control. Press and release the desired
Audio Mode and press and release the LCD
OK
key
on the Confirm to Save? Screen to confirm and save.
• If TV is selected, press and release the LCD
OK
key
on the Confirm to Save? Screen to confirm and save.
6. The LCD displays the Set More Options? Screen. To exit the
Setup Mode, press and release the LCD
EXIT
key, followed
by the LCD
OK
key on the Exit Setup Screen.
Your RCU1010RF punches through the five transport keys (
REVERSE
,
PLAY
,
FORWARD
,
STOP
and
PAUSE
) to VCR or DVD Mode, whichever was used most recently. Punch-through to
VCR
or
DVD
transport keys on the rubber keypad is only allowed for TV, VCR, DVD and Cable Modes. The
AUX
,
SAT
and
CD
/
AUDIO
transport keys are dedicated to their programmed modes. (
Note:
Use VCR
Mode for PVR/DVR.)
Note:
The LCD shows component changes for the
VCR
or
DVD
Punch-through keys if they are
pressed in other modes (e.g., if you are in Cable Mode and you press and release
PLAY
, either
VCR or DVD is displayed in the LCD).
VCR/DVD Punch-through
Record Key
In the VCR and AUDIO/CD Modes (including Punch-through), the LCD
RECORD
key must be
pressed twice before the command is sent. This is also true if a VCR component is programmed
under any other mode. The exceptions are for DVD and SAT codes, where the LCD
RECORD
key transmits the command after only a single
RECORD
keypress. (
Note:
A PVR/DVR operates
under the VCR Mode.)
TV or CD/AUDIO Volume Punch-through (continued)
RCU_1010_RF_IB_RevA.qxd 9/24/03 10:31 AM Page 26


