25
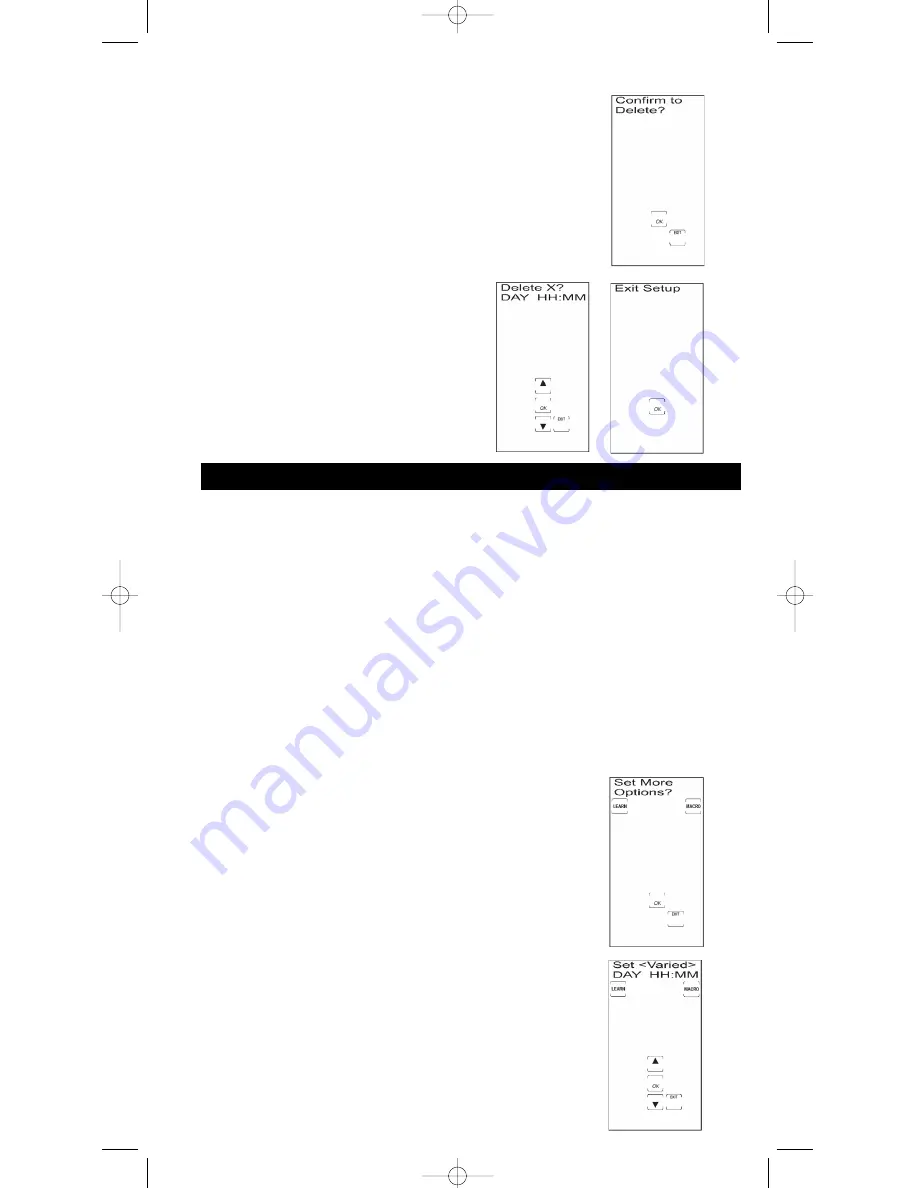
6. The Confirm to Delete? Screen is displayed. Press and release
the LCD
OK
key. This display returns to either the Delete a
Timer Screen or, if no more Event Timers have been
programmed, to the Exit Setup Screen.
7. Deleting an Event Timer is now complete. To exit
Setup Mode, press and release the LCD
OK
key at the
Exit Setup Screen.
TV or CD/AUDIO Volume Punch-through
Your RCU1010RF’s Volume Punch-through feature allows you to choose which component mode
(either TV or AUDIO 1, 2, 3 or 4) controls the
VOL+
,
VOL-
and
MUTE
keys on the rubber keypad.
With this feature, your TV volume can work even when you are in VCR Mode, because it “punches
through” from one component to another.
The component you select for Volume Punch-through control must be either the TV or the AUDIO
1, 2, 3 or 4 component programmed with a CD/AUDIO component. The power-on default for
volume control is TV Volume Punch-through.
Once the Volume Punch-through feature is programmed, your TV or AUDIO component
VOL+
,
VOL-
and
MUTE
keys work even when you are in CABLE, DVD, SAT and VCR Modes.
(
Note:
Use VCR Mode for PVR/DVR.)
Note:
All CD/AUDIO Modes take any Volume/Mute keypress commands from the CD/AUDIO code,
even when the TV is programmed as the Punch-through component. All other components punch
through to the TV Volume/Mute control. When the CD/AUDIO option is chosen as the Punch-through
component, all modes take any Volume/Mute keypress commands from the CD/AUDIO code.
To change the component that controls the
VOL+
,
VOL-
and
MUTE
keys Punch-through, follow these steps:
1. Press and hold the
SETUP
key on the rubber keypad for
2-3 seconds until the LED indicator light remains on and the
touchscreen shows the Code Setup Mode? Screen.
2. Release the
SETUP
key.
3. Press and release the
SETUP
key repeatedly until the Set
More Options? Screen appears. Press and release the LCD
OK
key. The Set Time? Screen appears.
TV or CD/AUDIO Volume Punch-through (continued on next page)
RCU_1010_RF_IB_RevA.qxd 9/24/03 10:31 AM Page 25


