


17
18
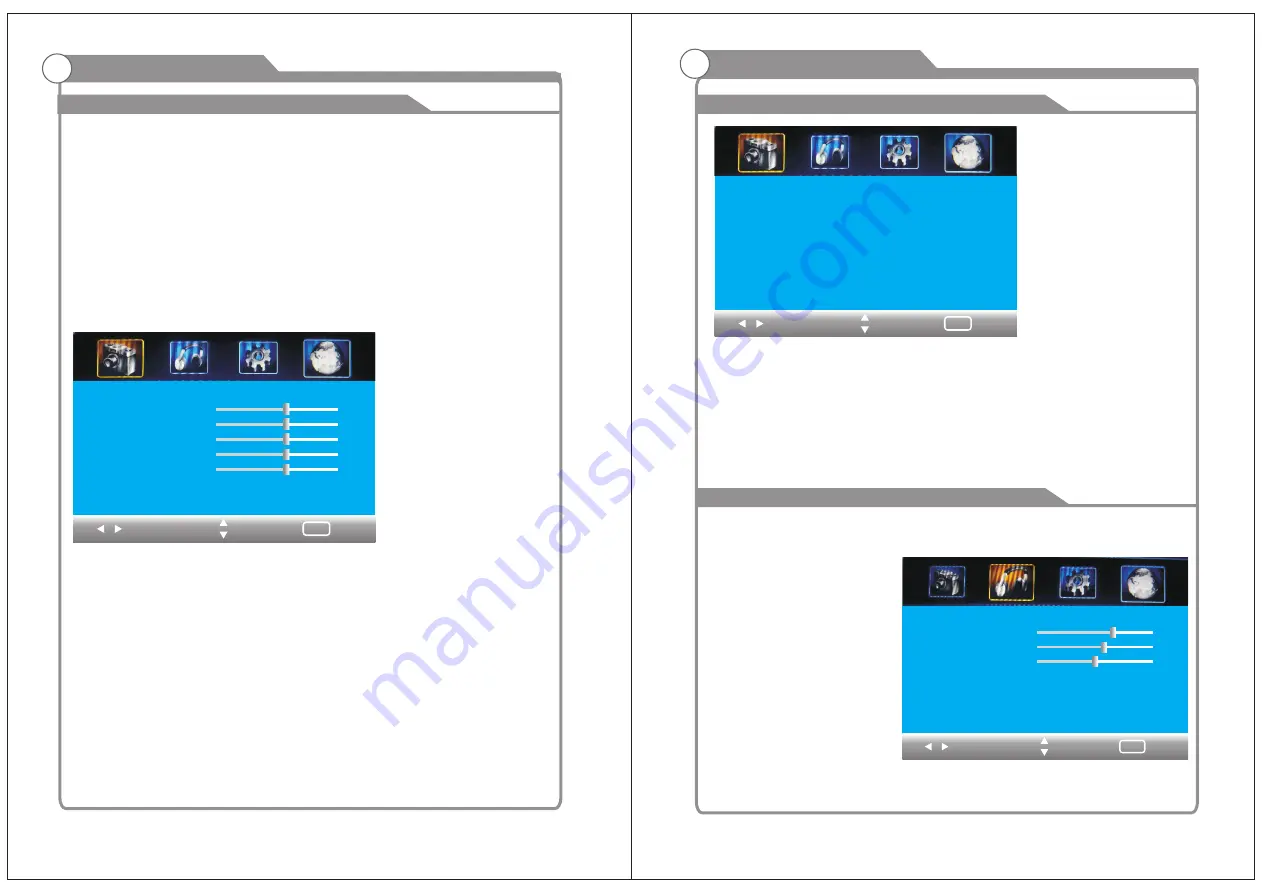
Adjust the OSD Screen
OSD Menu Operations
PICTURE
The
PICTURE
menu
offers
options
to
enhance
and
refine
the
picture
displayed
on
your
TV
based
on
ambient
room
light
and
personal
prefer
-
ences
.
Adjustment
options
include
PICTURE
MODE
,
CONTRAST
,
BRIGHTNESS
,
COLOR
,
TINT
,
SHARPNESS
,
How
to
Navigate
:
Press
the
MENU
button
on
the
remote
control
.
then
press
◀/▶
buttons
to
select
PICTURE
.
Press the
down
▼
button
to
highlight
PICTURE
MODE
,
then
press
the
◀/▶
button
to
select
your
viewing
preference
from
4
factory
options
:
Custom
>
Soft
>
Vivid
>
Standard
.
The
Standard
setting
is
recommended
for
most
viewing
environments
.
Depending
on
the
ambient
light level
in
the
room
,
you
may
select
one
of
the
other
options
more
pleasing
.
To
make
more
critical
adjustments
based
on
your
own
preferences
in
Custom
:
Press
▼
button to highlight
Constrast/brigthness/Color/Tint/Sharpness.
then
press
◀/▶
buttons
to
increase
or
decrease
the
option
.
button
to
highlight
Constrast
/
Brigthness
/
Color
/
Tint
/
Sharpness
.
then
press
Press
▼
button to highlight
Advanced Video.
then
press
the
◀/▶
button
to
select
Color
Temp
,
Aspect
Ratio
,
Noise
Reduction
,
Adaptive
Contrast
,
Auto
Zoom
,
Color
Range
.
Press
▼
/
▲
button
to
select
the
option
and
then
press
◀/▶
to
adjust
the
value
in
the
sub
menu
;
NOTE
:
Contrast
:
This
item
can
adjust
the
highlight
intensity
of
the
picture
,
but
the
shadow
of
the
picture
is
invariable
.
Brightness
:
This
item
can
adjust
the
optical
fiber
output
of
the
entire
picture
,
it
will
effect
the
dark
region
of the
picture
.
Color
:
This item can adjust the saturation of the color based on your own like.
Tint
:
This item may use in compensating color changed with the transmission in the
NTSC code.
Sharpness
:
This
item
can
adjust
the
peaking
in
the
detail
of
the
picture
.
OSD Menu Operations
Adjust the OSD Screen
The
Sound
menu
offers
options
to
make
sound
enhancements
while
listening
through
the
built
-
in
speakers
How to Navigate:
Press
the
MENU
button
on
the
remote
control
.
then press
◀/▶
buttons
to
select
Sound
.
Press
the
▼
button
to
highlight
Sound Mode
,
then
press
the
◀/▶
button
to
select
your
sound
preference from
6
factory
options
:
Standard
>
News
>
Music
>
Movie
>
Sport
>
Custom
.
SOUND
Souund Mode < Custom >
Bass
Treble
Balance
Surround
AVC
Digital output
Audio Language
< Off >
< PCM >
< Off >
< English >
Select
Move
Exil
MENU
75
70
50
Picture Mode < Standard >
Contrast
Brightness
Color
Tint
Sharpness
Advanced Video >
Select
Move
Exil
MENU
50
50
50
0
50
< Normal >
Color Temp
Aspect Ratio
Noise Reduction
Adaptive Contrast
Auto Zoom
Color Range
Select
Move
<
16:9
>
<
Weak
>
<
On
>
<
Off
>
<
Full
>
Exil
MENU


