16
EN
Customizing the Function Settings
Language Setup
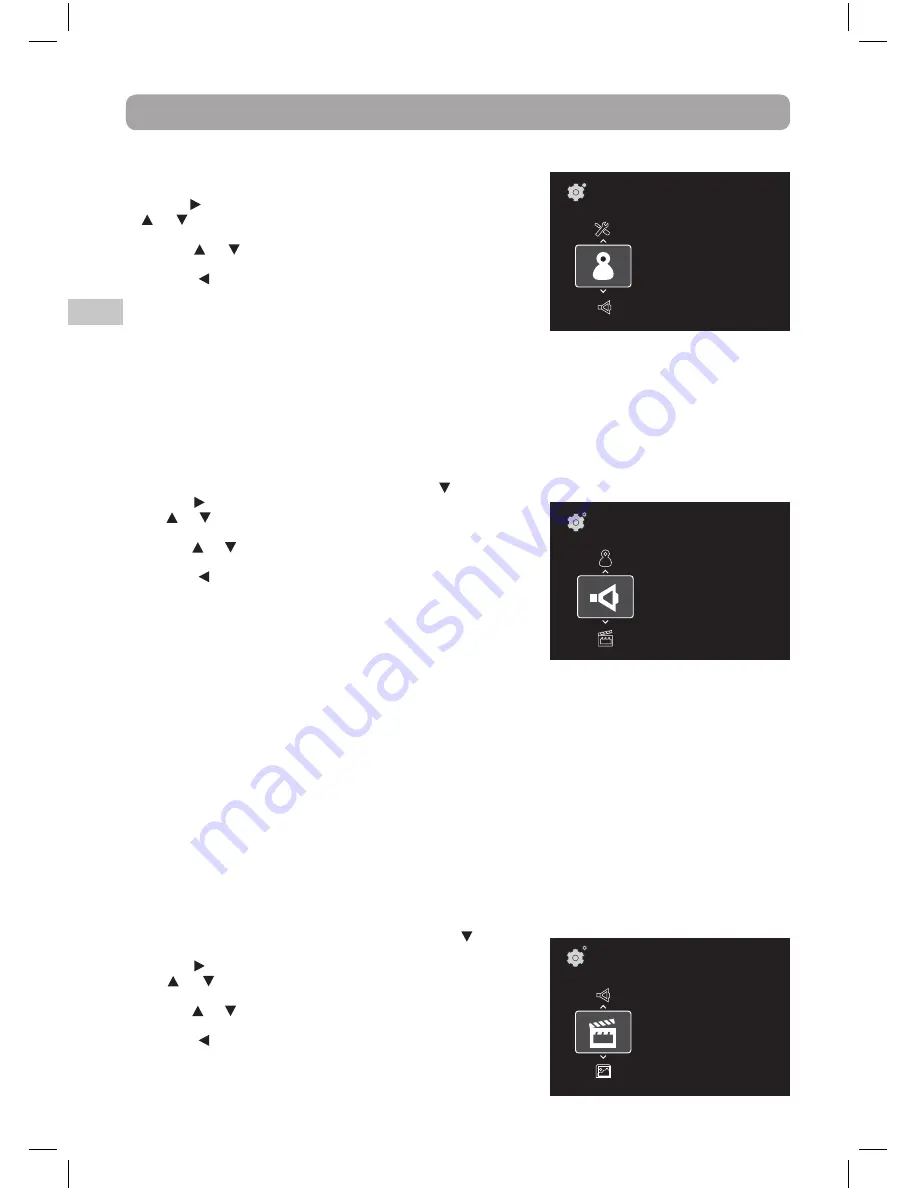
1. In STOP mode, press the SETUP button. Language is highlighted.
2. Use the button to move the highlight bar to the right, press the
or button to select Player Menu, Audio, Subtitles and Disc
Menu, press the OK button to select.
3. Use the or button to select your preferred language, then
press the OK button to confirm.
4. Press the button to go back to the previous menu. Repeat steps
2 and 3 to adjust other options.
5. To exit the SETUP MENU and return to the normal screen, press
the EXIT or SETUP button.
Note:
• Some discs may not play in the audio language selected. A prior language may be programmed on the disc.
• Some discs may be set to display subtitles in a language other than the one selected. A prior subtitle
language may be programmed on the disc.
• Some discs allow you to change subtitle selections via the disc menu only. If this is the case, press the MENU
button and choose the appropriate subtitle from the selection on the disc menu.
• Some discs may not included your pre-selected language. In this case, the player automatically displays disc
menus consistent with the disc’s initial language setting.
Setup\
Language
Subtitle
None>
Player Menu
English>
Audio
English>
Disc Menu
English>
Audio Setup
1. In STOP mode, press the SETUP button. Press the button to select Audio.
2. Use the button to move the highlight bar to the right, press
the or button to select Down Sampling, Digital Output and
Dynamic Range, press the OK button to select.
3. Use the or button to select your settings, then press the OK
button to confirm.
4. Press the button to go back to the previous menu. Repeat steps
2 and 3 to adjust other options.
5. To exit the SETUP MENU and return to the normal screen, press
the EXIT or SETUP button.
Down Sampling
This allows you to set the digital audio's bit rate to a lower value. If
you've connected an audio receiver to this unit and the receiver is having difficulty playing the audio correctly, try
setting Down Sampling to On.
Digital Output
This selects the format of digital audio sent over the HDMI output and COAXIAL Digital Audio output. If set to RAW,
it will output the audio format found on your disc (the "raw disc format") - this will typically be surround sound
format if you're playing a Blu-ray Disc or DVD. If set to PCM, it will output stereo audio, no matter what the original
format on the disc is.
Thus, if you've connected this unit to a surround sound receiver using a digital connection (HDMI or COAX), we
recommend you set Digital Output to RAW (raw disc format). If your receiver doesn't appear to support the surround
sound format you're playing, then try setting this to PCM (stereo).
Dynamic Range Control
This allows you to make the loud parts of a movie’s audio track quieter than they would be in the theatre, without
making the dialog of the actors any quieter. This would be useful, for instance, when you want to watch a movie in
the evening when others might be sleeping.
Video Setup
1. In STOP mode, press the SETUP button. Press the button to
select Video.
2. Use the button to move the highlight bar to the right, press
the or button to select TV Display, View Mode and HDMI
Resolution, press the OK button to select.
3. Use the or button to select your settings, then press the OK
button to confirm.
4. Press the button to go back to the previous menu. Repeat steps
2 and 3 to adjust other options.
5. To exit the SETUP MENU and return to the normal screen, press
the EXIT or SETUP button.
Setup\
Audio
Down Sampling Off>
Digital Output
RAW>
Dynamic Range
Off>
Setup\
Video
TV Display
16:9>
View Mode
Fill>
HDMI Resolution HDMI NATIVE 1080i>
BRC11082_ENG IB_20100902.indd 16
9/3/2010 10:27:08


